


Products
About Us
With Longer, Make It better


Trending searches
About Us
With Longer, Make It better


Replacing the Laser Fan on Ray5 mini/miniS
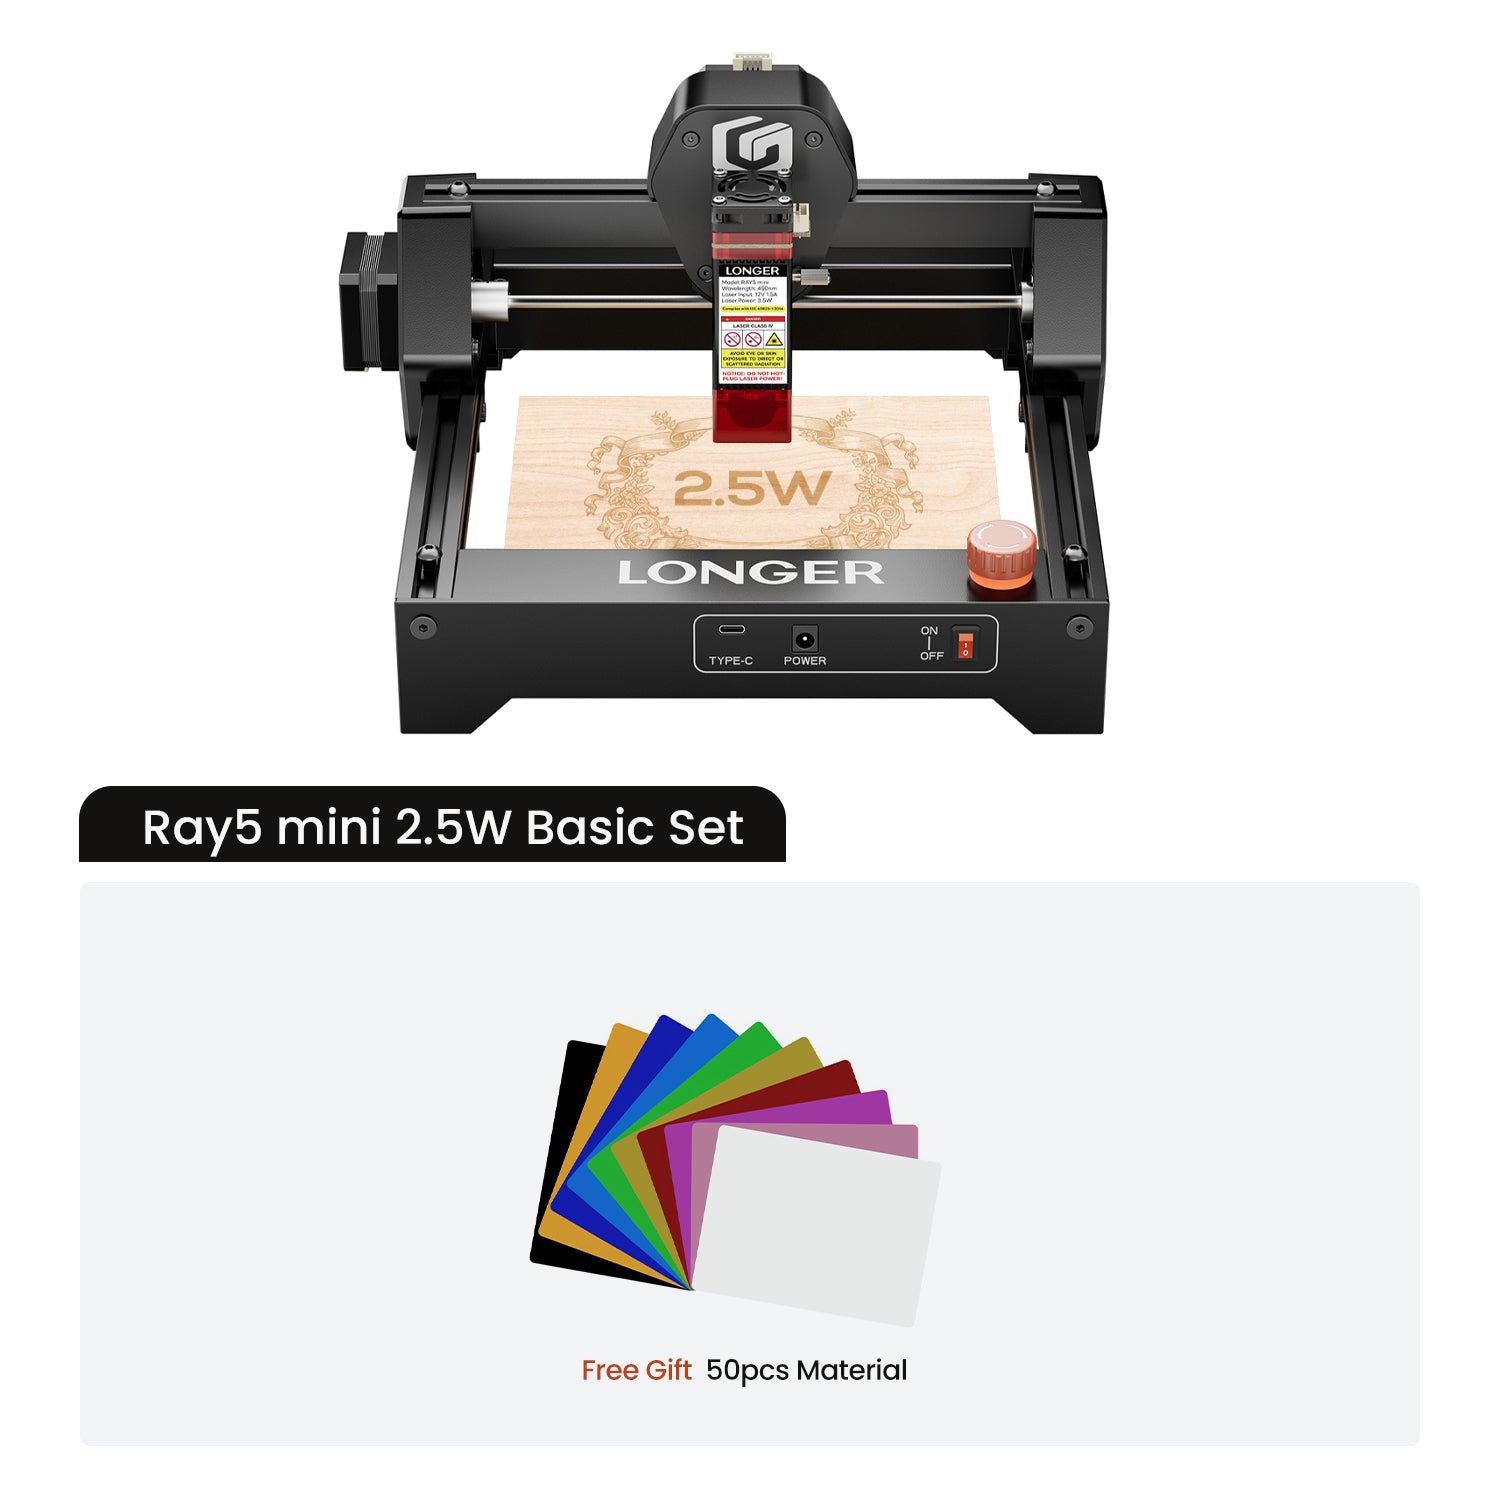
1、Ray5 mini/miniS 2.5/3.5W
1.1、Use a 2 mm hex wrench to loosen the screws. Note that there are four 1 mm black washers—do not lose them. 
1.2、Unplug the fan cable from the mainboard and remove the fan. 
1.3、Thread the new fan’s cable through the lower-left corner and connect it to the mainboard. 
1.4、Place the four washers between the fan and the frame, then secure it with screws. 
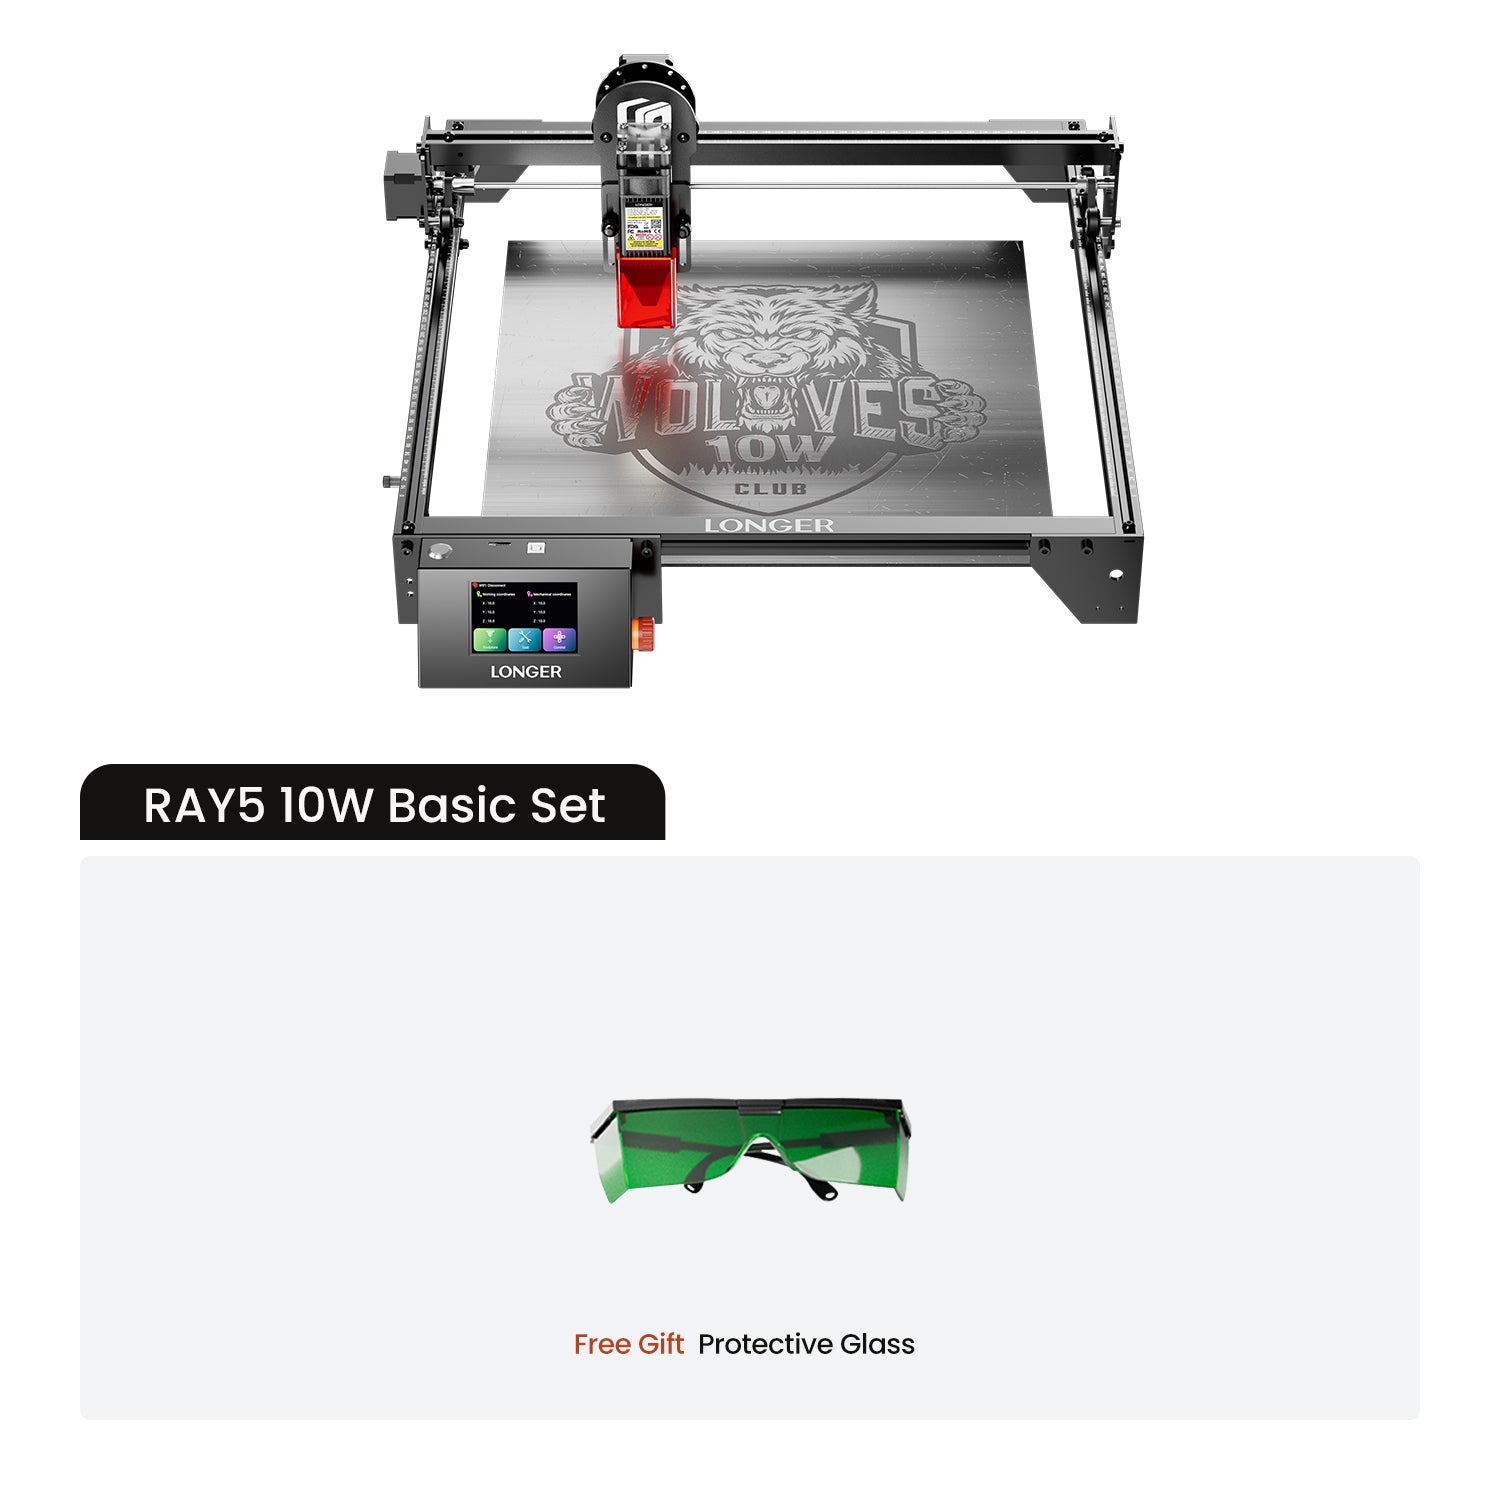
2、Ray5 mini/miniS 5.5/10W
2.1、Use a 2mm hex wrench to loosen the screws. Note that there are four 8 mm standoffs and four 12 mm standoffs—do not miss any. 
2.2、Disconnect the fan cable from the motherboard and remove the fan. 
2.3、Install the new fan, connect the fan cable to the motherboard, route the motherboard cables along the profile groove, and ensure the fan cable is positioned at the back of the laser module. 
2.4、Place the 8mm standoffs between the fan and the motherboard, and the 12mm standoffs between the motherboard and the transparent acrylic. Secure them with screws, making sure the transparent acrylic is oriented correctly to align with the laser module connector. Mini:
Mini:
MiniS:
- 选择一个选项会导致整个页面刷新。
!