


Products
About Us
With Longer, Make It better


Trending searches
About Us
With Longer, Make It better


Replacing the Ribbon Cable on Ray5 mini/miniS
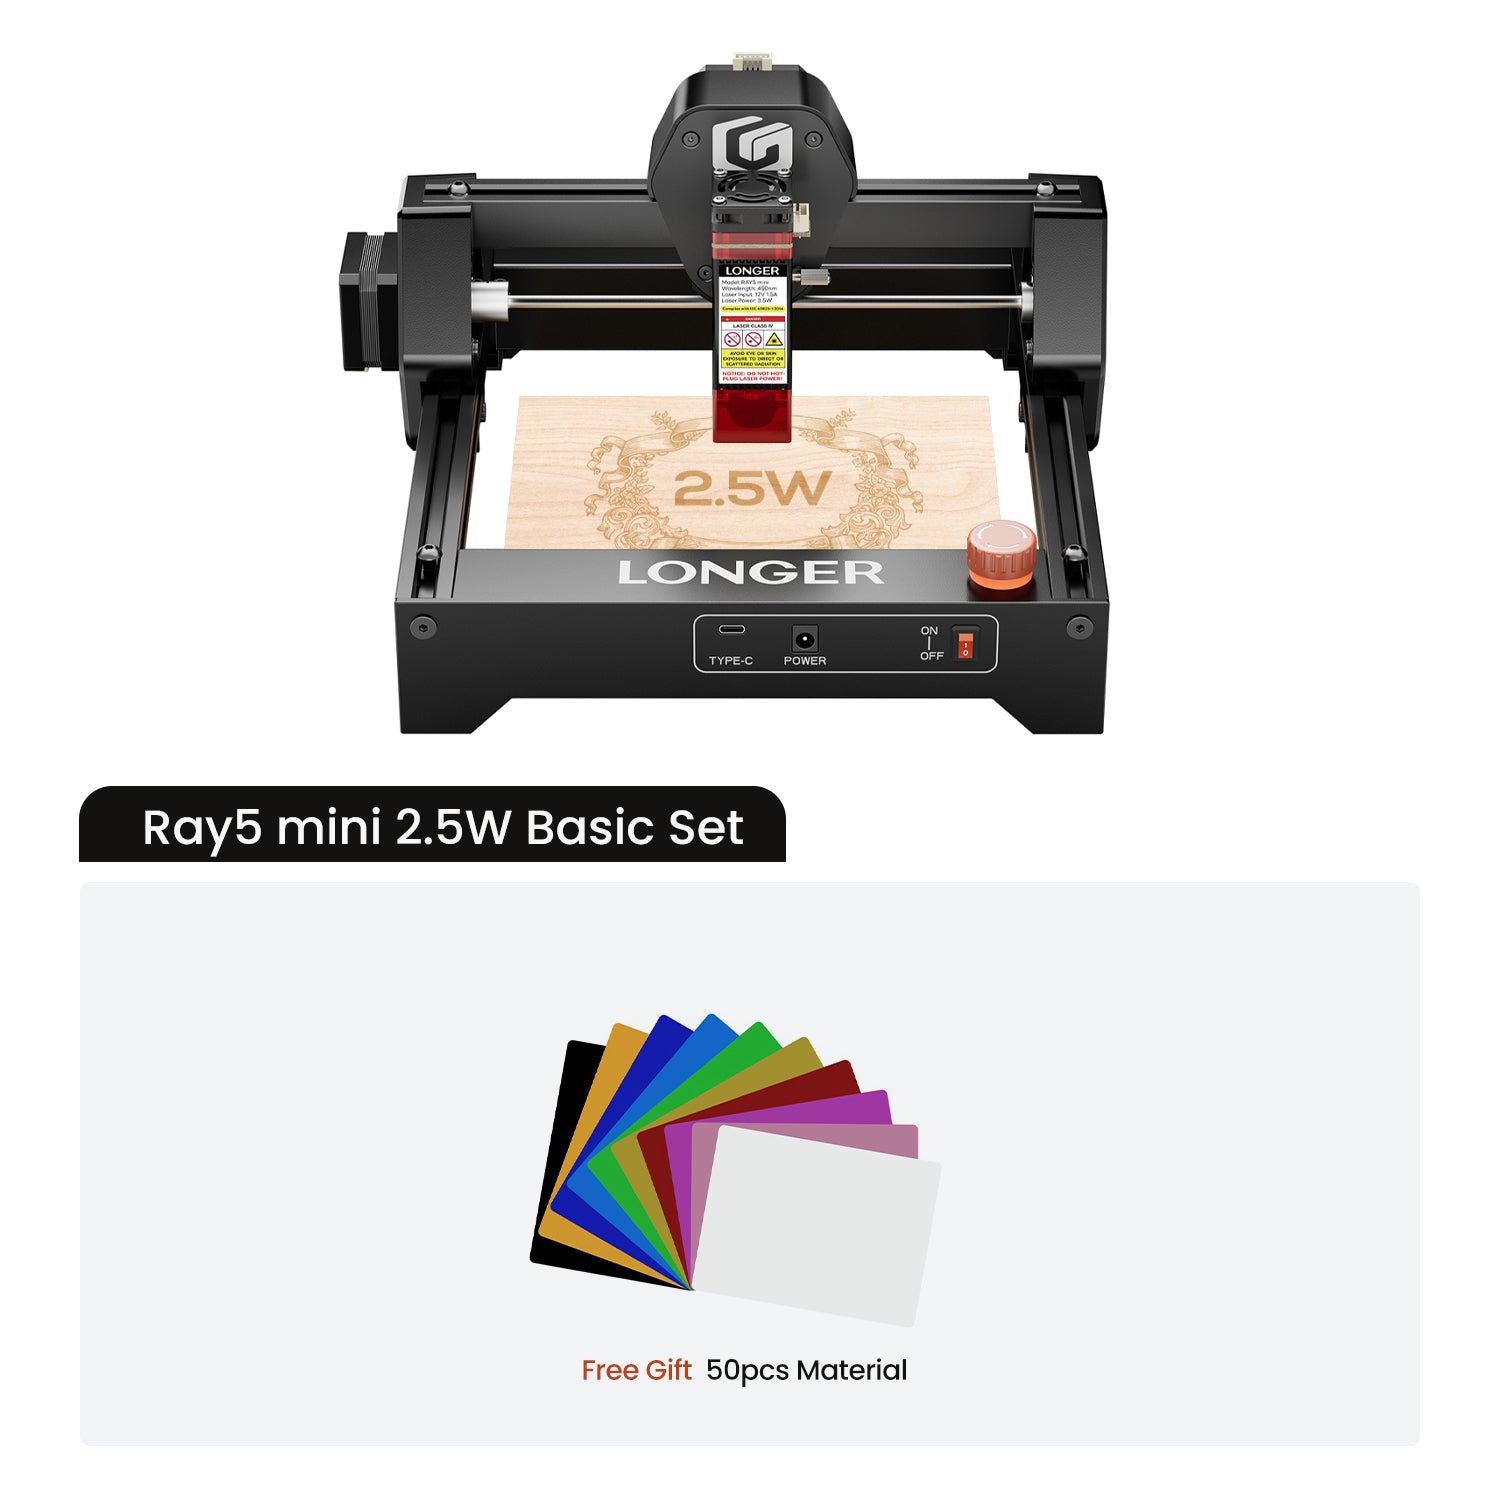
Ray5 mini and miniS use the same type of ribbon cable, and the replacement method is similar. This guide takes the Ray5 mini as an example.
1. Loosen the Velcro and disconnect the cables for the laser, X/Y-axis motors, and the X-axis limit switch. For the Ray5 miniS, you also need to remove the acrylic base to make the operation easier. 


2. Use a 2.5 mm hex wrench to loosen the four screws and remove the front beam cover.
3. Use a 2.5 mm hex wrench to loosen the four screws and remove the mainboard.
4. Disconnect the X and Y axis motor cables (X, Y), the laser cable (PWM), and the X-axis limit switch cable (X-) from the mainboard. 
5. Insert the new combined cable into the mainboard according to the cable labels and the markings on the mainboard. Place the mainboard inside the front beam, routing the cable through the gap near the Y-axis limit switch. Make sure the TYPE-C and POWER ports at the front of the beam align correctly with the mainboard connectors. 

6. Secure the mainboard with screws using a 2.5 mm hex wrench, and then install the cover plate.
7. Insert the X-axis motor (X), X-axis limit switch (X), Y-axis motor (Y), and laser according to the cable labels, completing the replacement of the combined cable.
Mini:MiniS:
- 选择一个选项会导致整个页面刷新。
!