Laser Engraver Blogs

Reasons the Ray5 10W / 5W Stops During Engraving

I. Software and Connection Issues (Most Common)

1. Data Transmission Interruption (USB/Cable Issues)
Cause:
This is one of the most common causes. Poor-quality USB cables, loose connections, overly long cables, or interference can cause brief interruptions in data transmission, leading the machine to stop.

Troubleshooting:

Reconnect both ends of the USB cable (computer and engraver).

Try using a high-quality, shielded, and as short as possible USB cable.

Keep the USB cable away from power cords and motor cables to avoid interference.

If using a network connection, check for network stability.


2. Computer or Software Issues
Cause:
Insufficient computer performance, system freezing, unresponsive software, or conflicts with other programs.

Troubleshooting:

Restart the software and computer — this is often the simplest and most effective fix.

Check the computer’s power management settings: ensure the system is not in “Power Saver” mode to prevent USB ports or hard drives from sleeping.

Lower the data output speed: in your laser engraving software (e.g., LightBurn), look for the “Output Frequency (kHz)” or similar setting. If it’s too high (above 20 kHz), reduce it to improve stability.

Open Task Manager while running the job to check whether CPU or memory usage is maxed out.


3. File or Design Issues
Cause:
The design file is overly complex, contains too many small line segments or points, or the G-code file is corrupted.

Troubleshooting:

Optimize the design: use “Combine,” “Simplify Path,” or similar tools in vector software to reduce unnecessary nodes.

Check for stray points: zoom in on your design to locate and delete tiny, irrelevant points or lines that may cause empty movements.

Regenerate the G-code: save the file as a new version or re-export it from the software.

II. Electrical and Hardware Issues

1. Power Supply Problems
Cause:
Unstable power supply to the laser engraver or computer.

Troubleshooting:

Check that all power plugs are firmly inserted.

Confirm that the voltage selector switch on the engraver is set correctly (110V/220V).

Avoid sharing a power circuit with other high-power appliances (e.g., air conditioners) that can cause sudden voltage drops.

2. Overheat Protection
Cause:
The laser module, stepper motor driver, or mainboard overheats, triggering an automatic safety shutdown.

Troubleshooting:

Check whether all cooling fans (laser, mainboard, and motor drivers) are running properly.

Ensure good ventilation in the workspace and avoid high ambient temperatures.

3. Motor Stall or Step Loss
Cause:
If machine movement is obstructed or the load is too heavy, the motor cannot reach its commanded position, and the controller triggers an emergency stop.

Troubleshooting:

Check that guide rails and belts are properly tensioned—not too tight or too loose.

Clean rails of dust and debris and apply suitable lubrication.

Check for any foreign objects blocking the laser head or gantry movement.

Reduce the motor “acceleration” setting in the software to allow smoother start/stop motion.


4. Limit Switch False Trigger
Cause:
The machine accidentally triggers a limit switch during operation, which causes an emergency stop and reset.

Troubleshooting:

Check whether the limit switch lever is loose.

Inspect cables for damage that could cause short circuits or false signals.

Move the laser head manually—if you hear a “click” before reaching the end, the limit switch may be triggering too early.


III. Control Board and Firmware Issues

1. Control Board Malfunction
Cause:
The components on the control board may be aged, damaged, or affected by static electricity.

Troubleshooting:

Observe the indicator lights on the control board when the machine stops—abnormal blinking or power loss may indicate a fault.

Restart the control board by turning the machine off and back on.

If possible, try refreshing or updating the firmware.
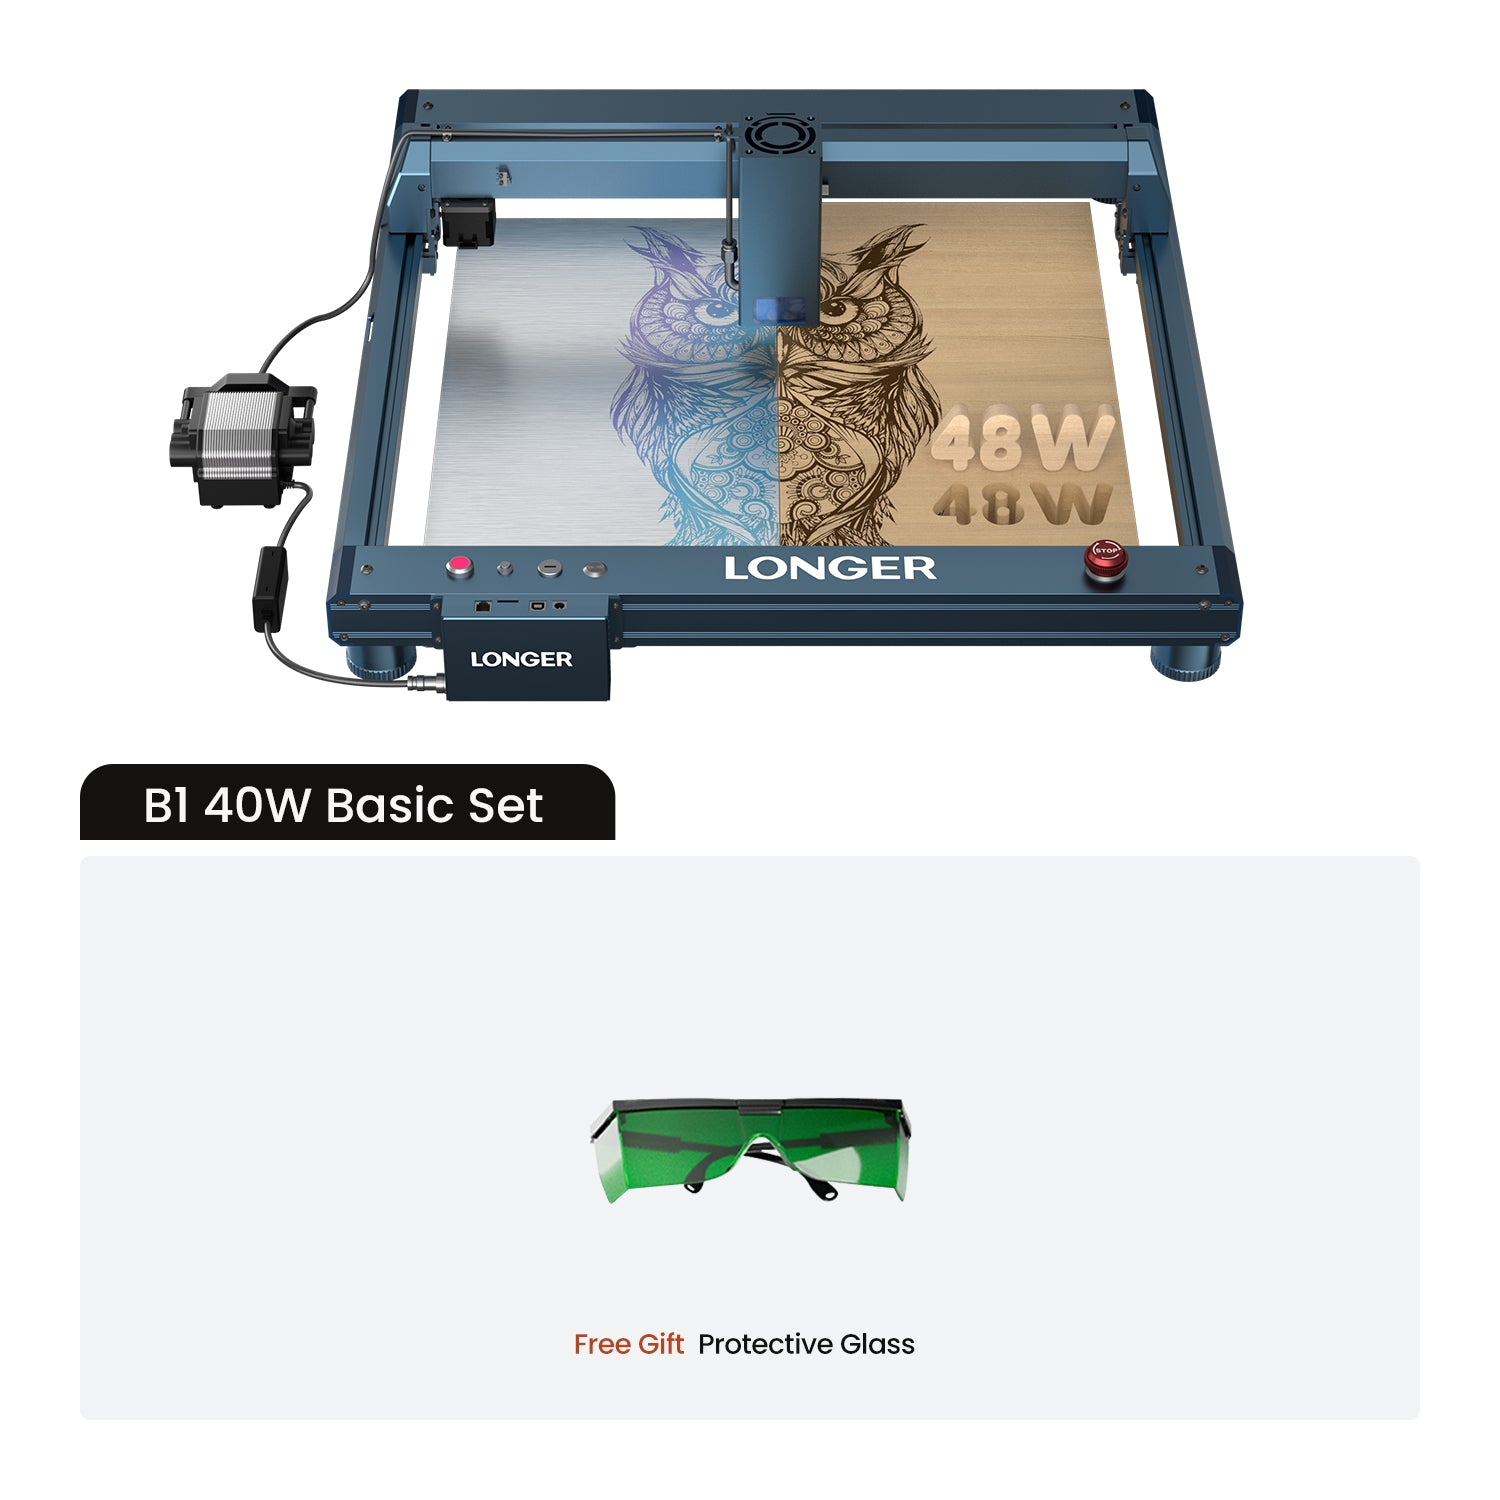
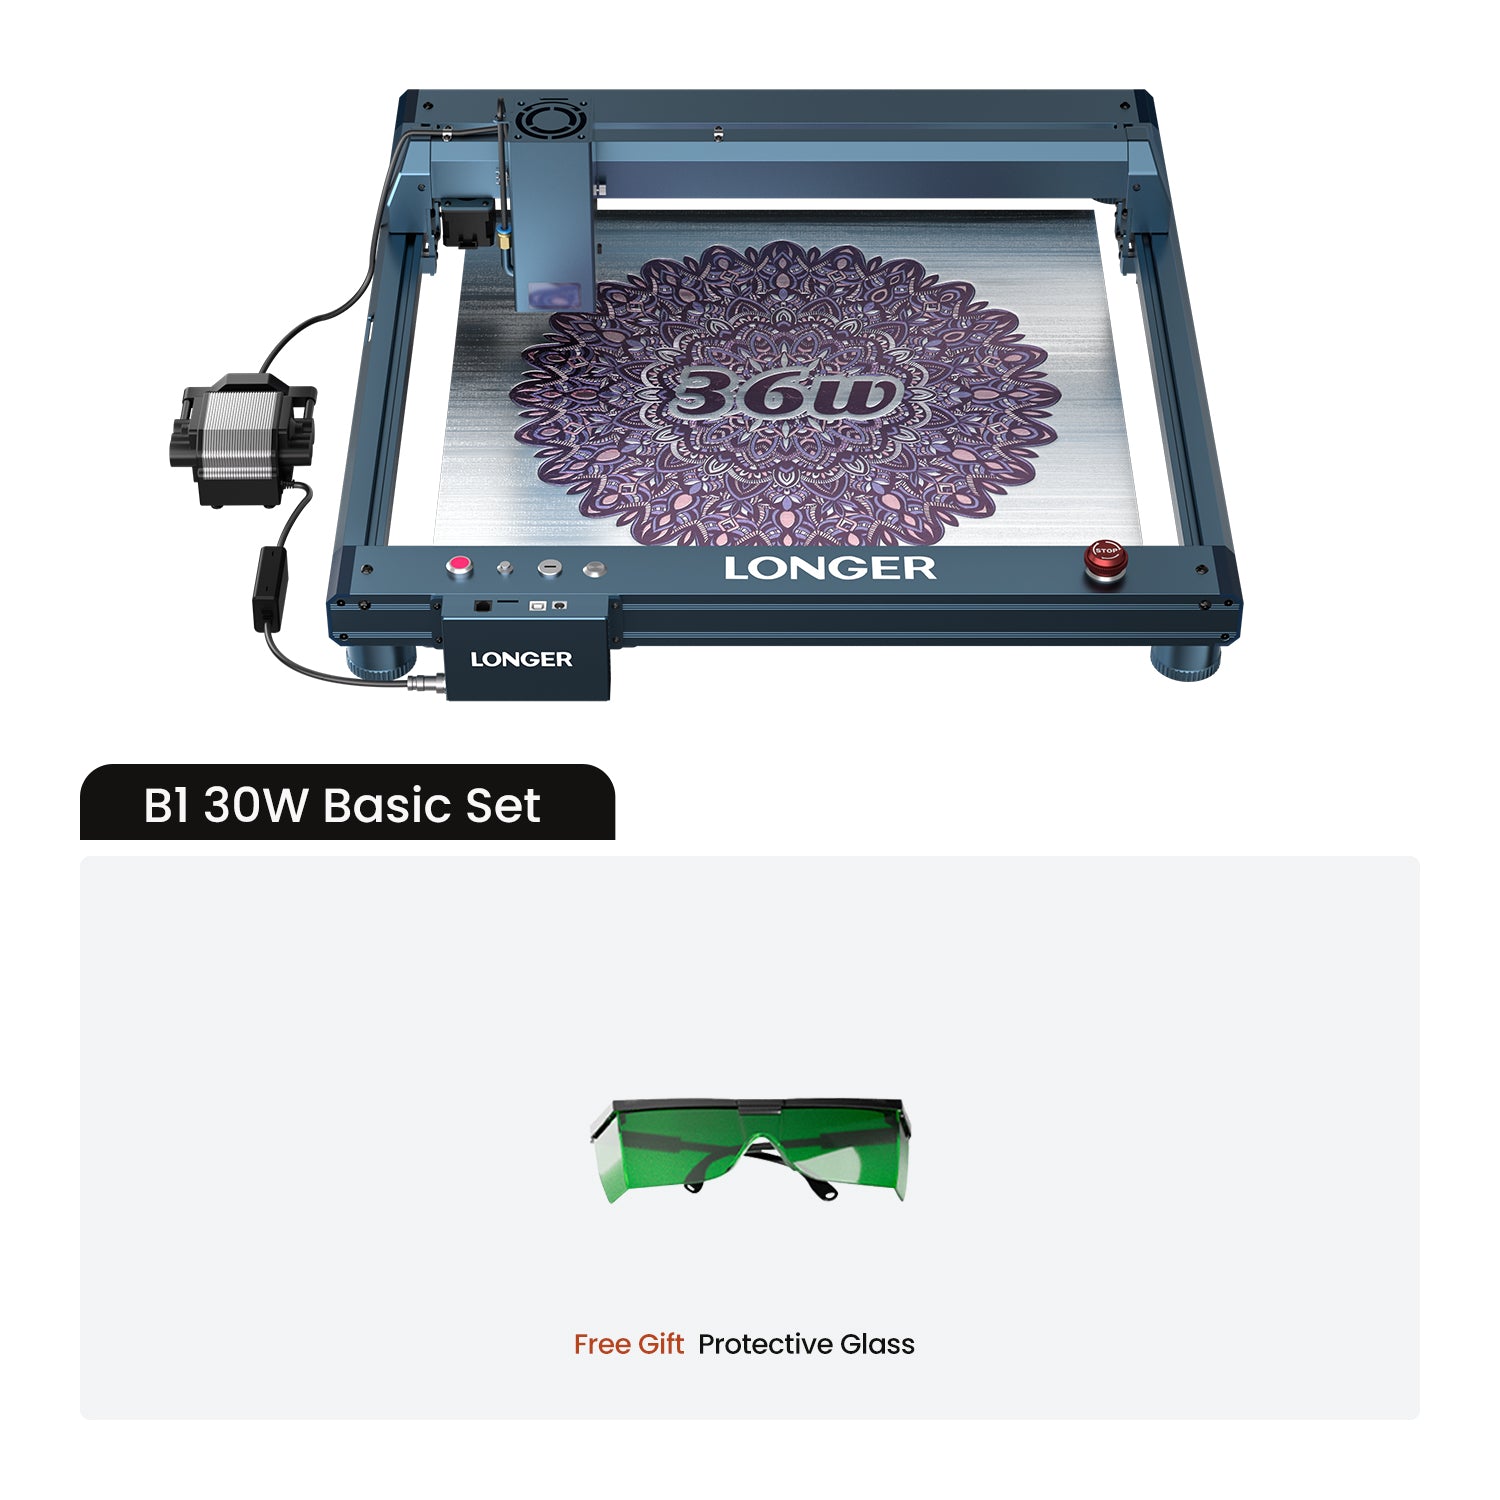
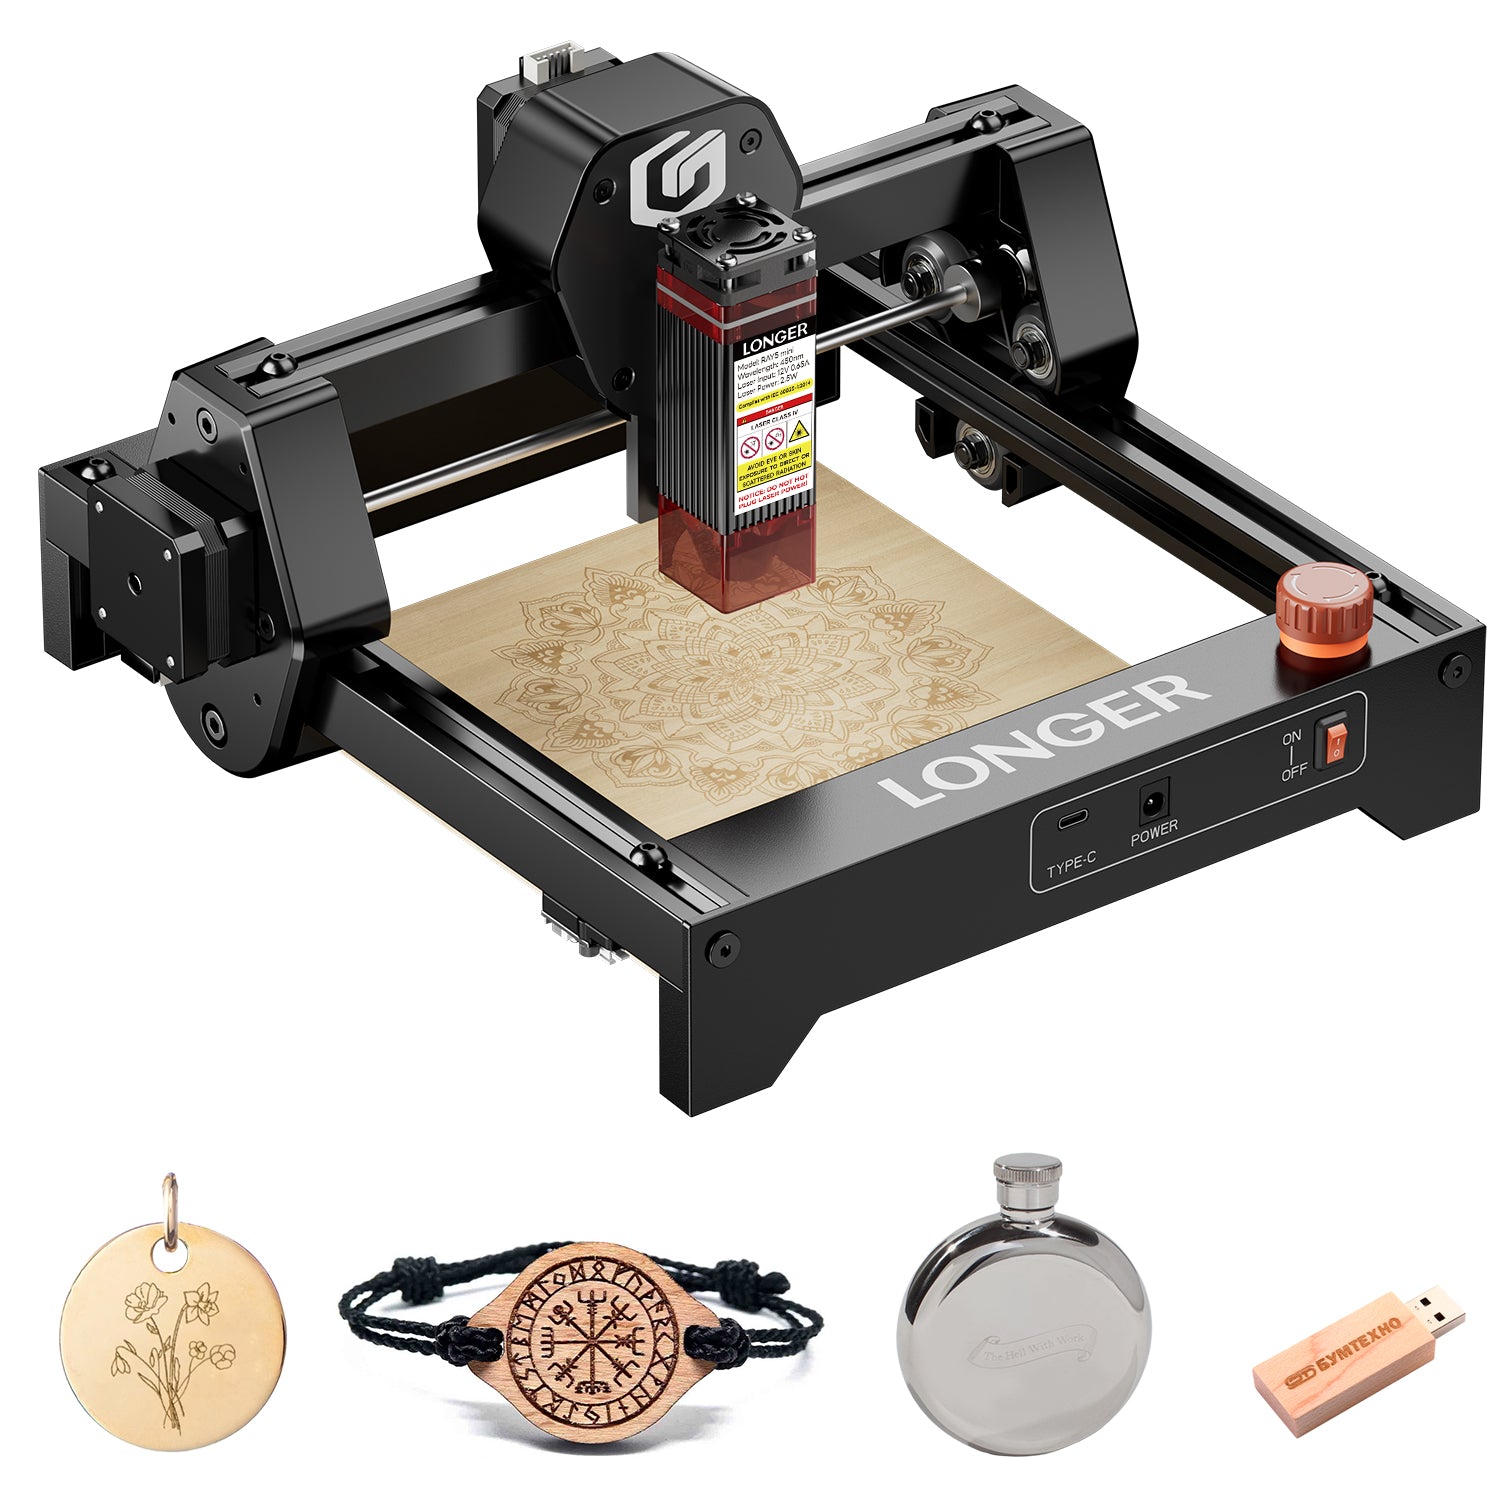
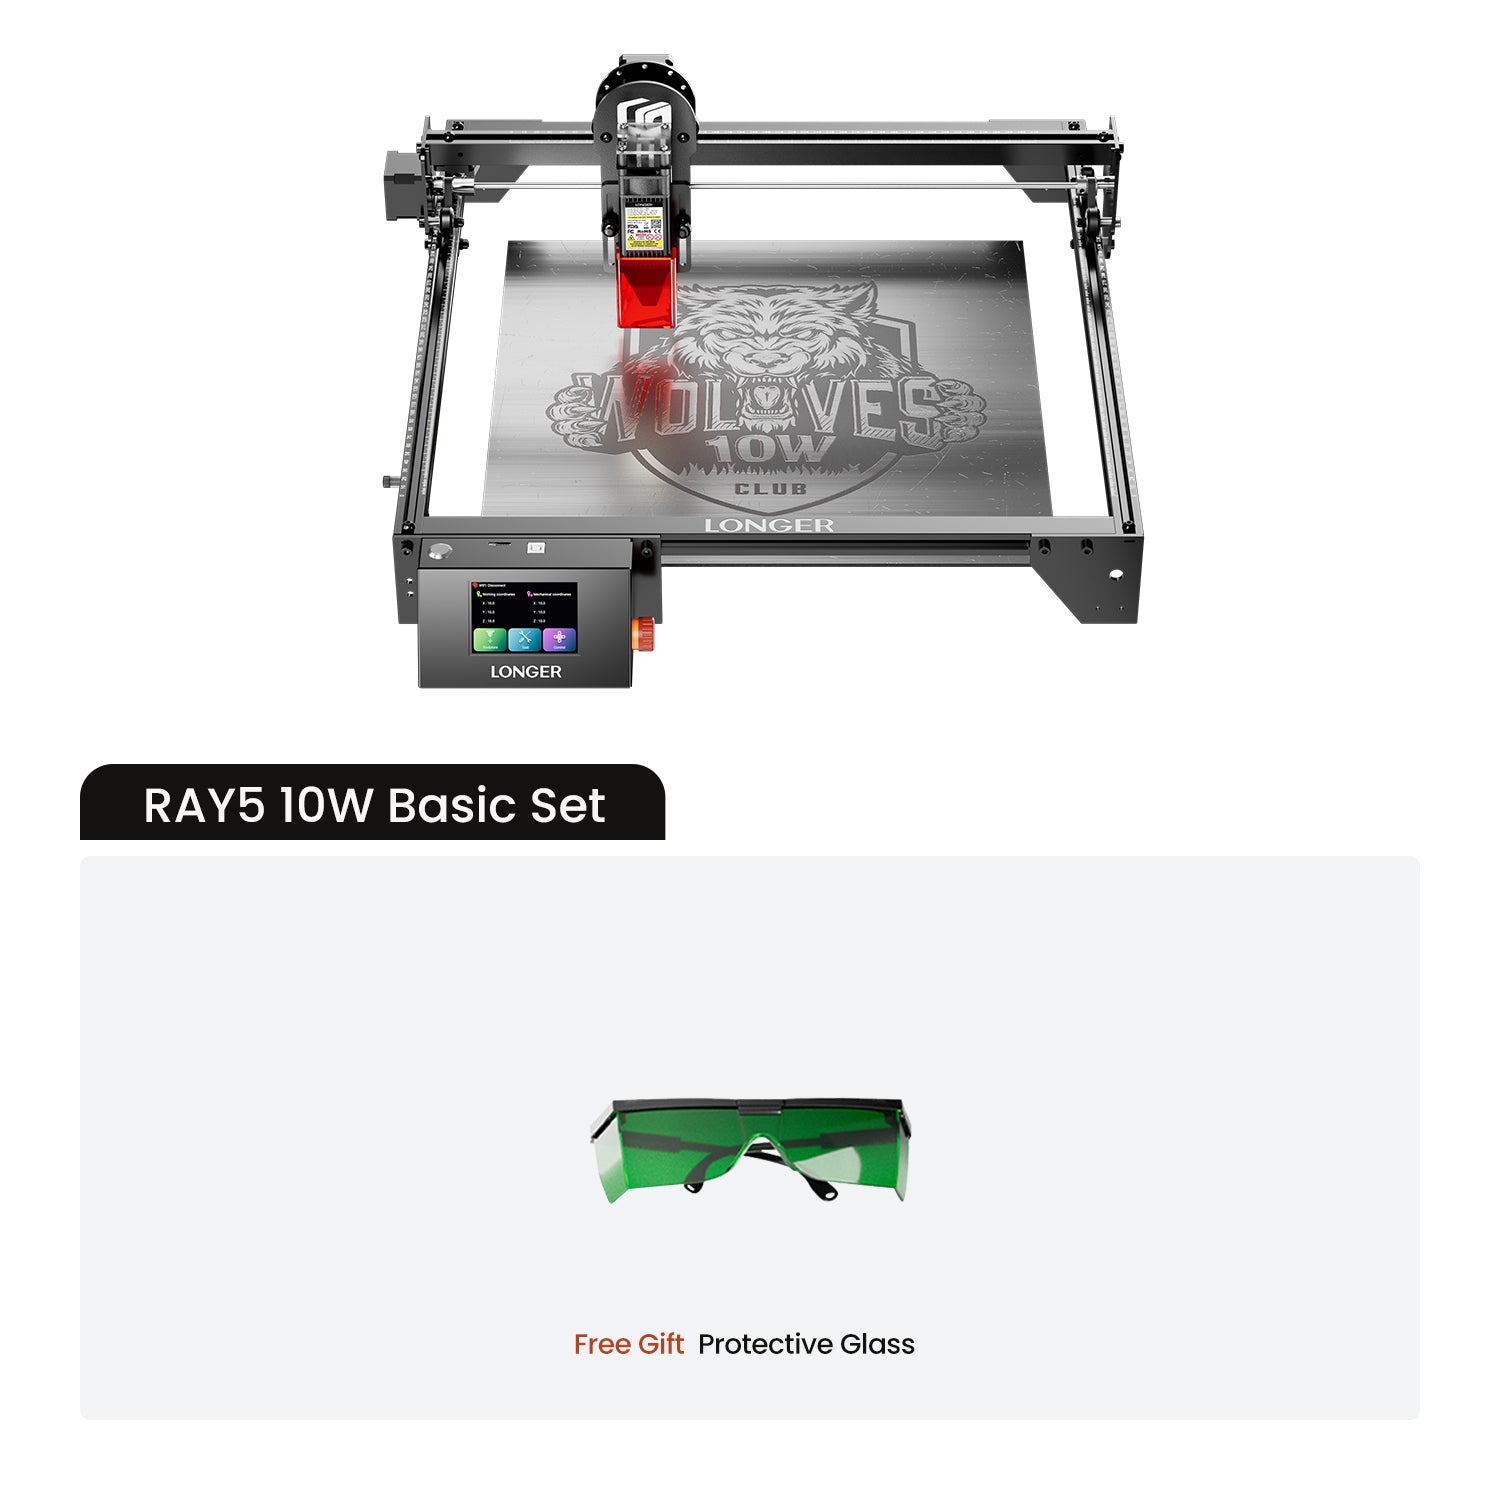
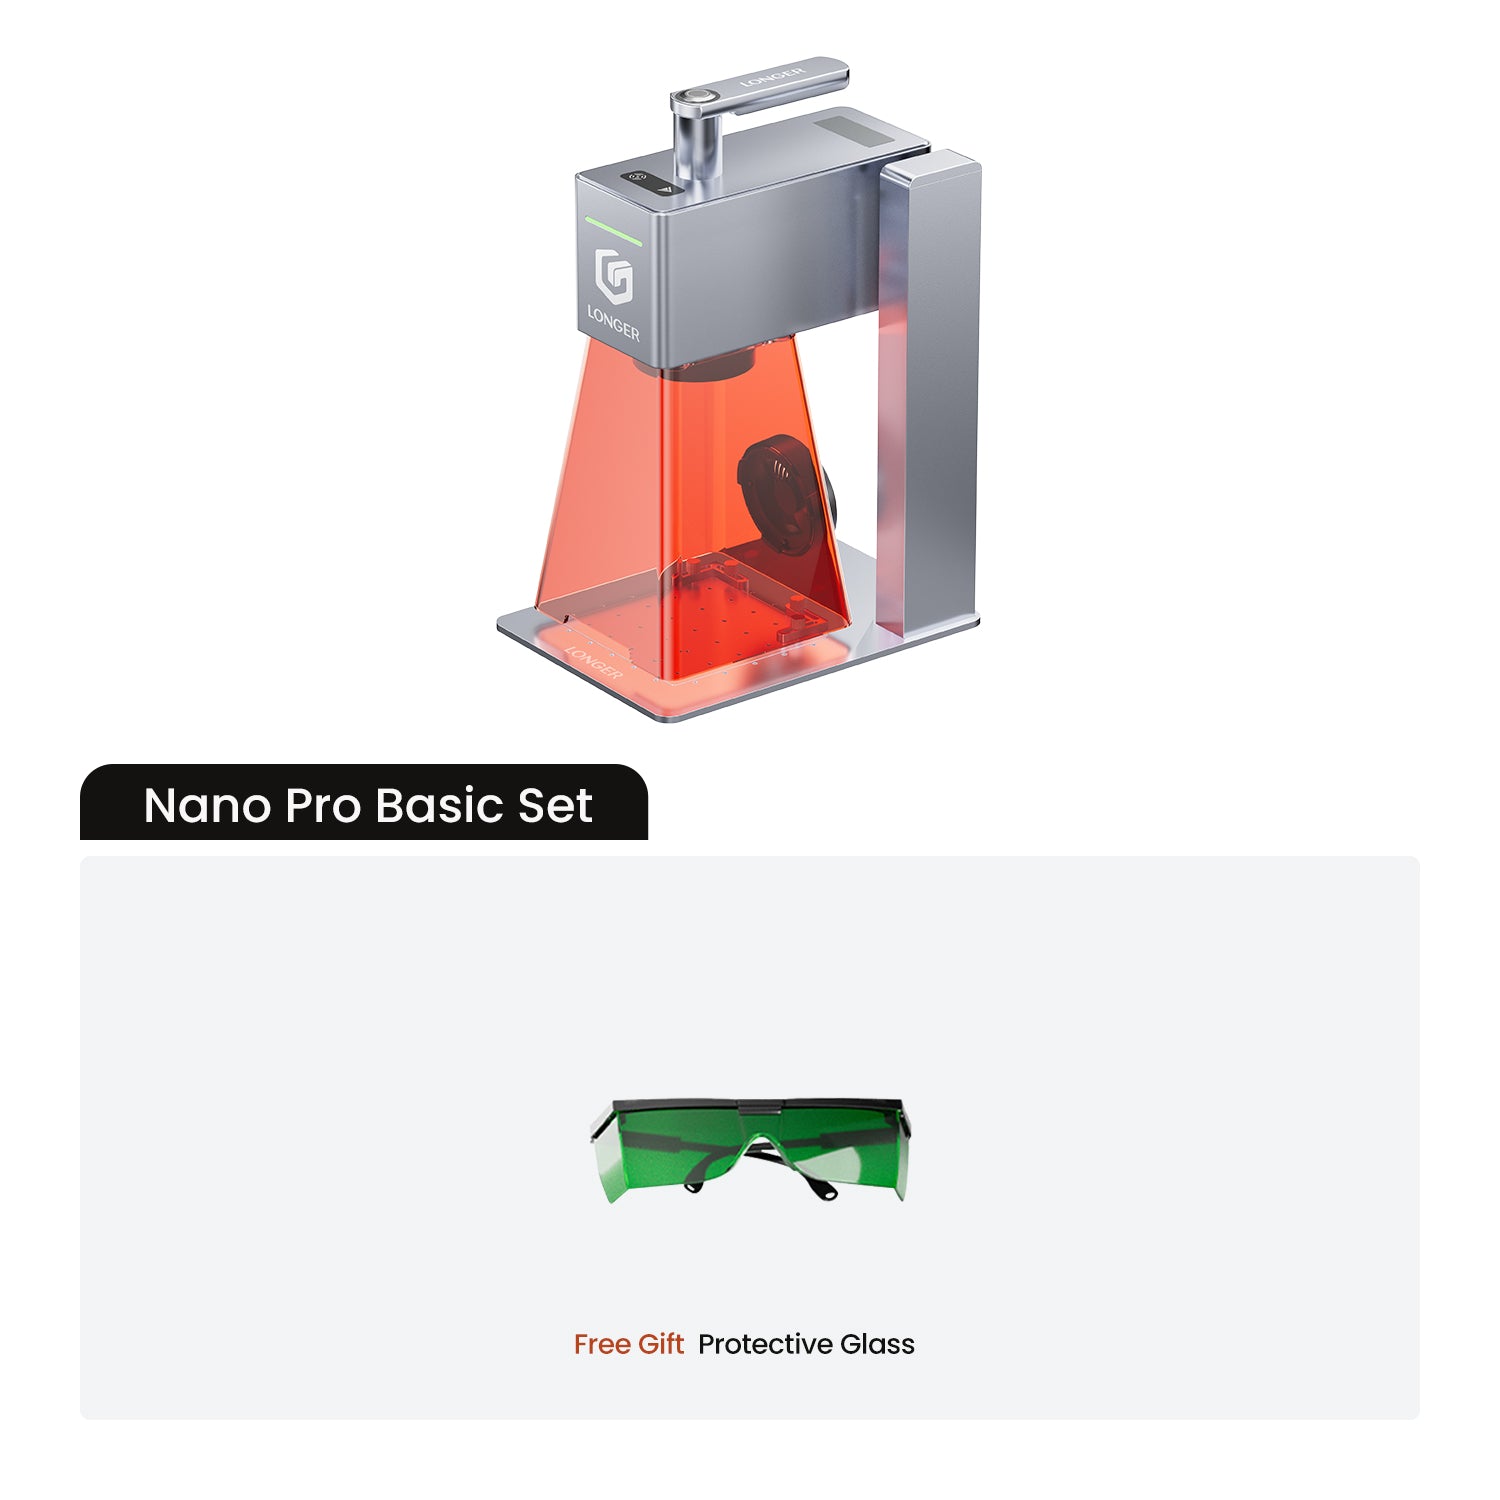
By Laser Engraver Blogs | November 11, 2025
How to Clean the Laser Window Lens and Nozzle on Ray5 mini/miniS

1. Disconnect the laser cable, loosen the M3*14 or 7-shaped thumbscrews, and remove the laser module.

Ray5 mini/miniS 2.5/3.5W 

Ray5 mini/miniS 5.5/10W

2、Use a 2mm Allen wrench to loosen the four mounting screws and remove the nozzle. For the 2.5W/3.5W laser heads on the Ray5 mini/miniS, the nozzle is magnetic and can be removed directly.

3、Moisten a microfiber cloth or paper towel with alcohol, and wipe the laser window lens and the acrylic part of the nozzle.

4、After cleaning, reinstall the nozzle onto the laser. Note: the side of the nozzle with the notch should face the back of the laser.Mini:

MiniS:

By Laser Engraver Blogs | November 10, 2025
Replacing the Laser Fan on Ray5 mini/miniS

1、Ray5 mini/miniS 2.5/3.5W

1.1、Use a 2 mm hex wrench to loosen the screws. Note that there are four 1 mm black washers—do not lose them.

1.2、Unplug the fan cable from the mainboard and remove the fan.

1.3、Thread the new fan’s cable through the lower-left corner and connect it to the mainboard.

1.4、Place the four washers between the fan and the frame, then secure it with screws.

2、Ray5 mini/miniS 5.5/10W

2.1、Use a 2mm hex wrench to loosen the screws. Note that there are four 8 mm standoffs and four 12 mm standoffs—do not miss any.

2.2、Disconnect the fan cable from the motherboard and remove the fan.

2.3、Install the new fan, connect the fan cable to the motherboard, route the motherboard cables along the profile groove, and ensure the fan cable is positioned at the back of the laser module.

2.4、Place the 8mm standoffs between the fan and the motherboard, and the 12mm standoffs between the motherboard and the transparent acrylic. Secure them with screws, making sure the transparent acrylic is oriented correctly to align with the laser module connector.Mini:

MiniS:

By Laser Engraver Blogs | November 10, 2025
How to Replace the Laser Window Lens on Ray5 mini/miniS

1. Remove the laser protective cover

For 5.5W/3.5W models: directly remove the protective cover.

2.5W/3.5W

10W: Use an M2 hex wrench to loosen the screws securing the protective cover.

10W

2. Unscrew the window lens by turning it counterclockwise.


2.5W/3.5W                    10W

3. Install the new window lens.

Mini:

MiniS:

By Laser Engraver Blogs | November 10, 2025
Ray5 mini/miniS Laser Module Replacement

Different wattage laser modules use different mounting structures: 2.5W and 3.5W lasers are secured with plastic fixtures, while 5.5W and 10W lasers are mounted using metal sliders and dovetail slots.

1、Ray5 mini/miniS 2.5/3.5W

1.1、Remove the Old Laser
Unplug the laser cable, loosen the M3*14 hand screws, and remove the old laser module.

1.2、Install the New Laser
Align the plastic mount on the back of the laser with the X-axis frame, slide it down vertically, tighten the hand screws, and connect the laser cable.

2、Ray5 mini/miniS 5.5/10W

2.1、Remove the Old Laser
Unplug the laser cable, loosen the L-shaped hand screws, and take out the old laser. 

Loosen the screws on the back of the laser and remove the dovetail rail. Then install the dovetail rail onto the new laser.

2.2、Install the new laser:

 Align the dovetail rail on the back of the laser with the metal slider on the X-axis frame, slide it down vertically, tighten the thumbscrews, and connect the laser and its cables. Mini:

MiniS:

By Laser Engraver Blogs | November 10, 2025
Replacing the Motor on Ray5 Mini/MiniS

Replacing the X-axis or Y-axis motor follows a similar procedure and is not model-specific. This guide uses the Ray5 Mini X-axis motor as an example.

1. Disconnect the X/Y-axis motor cables and the laser module cable.

2. Loosen the M3×14 screws or the L-shaped hand-tight screws, and remove the laser module.

Ray5 mini/miniS 2.5/3.5W 

Ray5 mini/miniS 5.5/10W

For the Ray5 MiniS, you also need to remove the side acrylic covers:

Right-side acrylic cover: Remove 8 screws.

Left-side acrylic cover: Remove 8 screws. Important: Disconnect the door switch cable, but do not disconnect the emergency stop cable.

Right-side acrylic cover 

Left-side acrylic cover 

Door switch

2. Use a 2mm hex wrench to loosen the four screws, then remove the slider plastic part or the metal slider along with the plastic component.

Ray5 mini/miniS 2.5/3.5W 

Ray5 mini/miniS 5.5/10W

3. Use a 2.5 mm hex wrench to loosen the four screws, then remove the X/Y-axis motor.

4. When installing the new motor, for the Ray5 mini, the X-axis motor connector faces left and the Y-axis motor connector faces backward; for the Ray5 miniS, the X-axis motor connector faces left and the Y-axis motor connector faces upward. Ensure the timing belt is properly seated on the coupler.

5. Install the slider plastic piece or metal slider with plastic piece onto the X-axis bracket; the Ray5 mini motor replacement is now complete.

6. For the Ray5 miniS, also reinstall the right and left acrylic covers; the Ray5 miniS motor replacement is now complete.

Mini:

MiniS:

By Laser Engraver Blogs | November 10, 2025
Ray5 mini/miniS Mainboard Replacement

The Ray5 mini and miniS use the same mainboard, and the replacement procedure is similar. This guide uses the Ray5 mini X-axis as an example.

1. Use a 2.5 mm hex wrench to loosen the four screws and remove the front beam cover. For the Ray5 miniS, you also need to remove the acrylic base plate to facilitate operation. 


2. Use a 2.5 mm Allen wrench to loosen the four screws and remove the mainboard.

3. Disconnect the X and Y axis motors (X, Y), the emergency stop (MS), the laser (PWM), and the X and Y axis limit switches (X-, Y-) cables from the mainboard.

4. Connect the cables to the new mainboard, matching each cable label with the corresponding port on the mainboard. Place the new mainboard inside the front beam, routing the cables through the gap near the Y-axis limit switch. Make sure the TYPE-C and POWER ports at the front of the beam align correctly with the mainboard connectors.

5. Use a 2.5 mm hex wrench and screws to secure the mainboard, then reinstall the cover. This completes the mainboard replacement.

 Mini:

MiniS:

By Laser Engraver Blogs | November 10, 2025
Ray5 mini/miniS Timing Belt Replacement

1. Disconnect the laser cable, loosen the M3*14 or L-shaped hand screws, and remove the laser module. 

Ray5 mini/miniS 2.5/3.5W

Ray5 mini/miniS 5.5/10W

For the Ray5 miniS, you also need to remove the top acrylic cover (12 screws).

Top acrylic cover

2、Use a 2mm hex wrench to loosen the screws (4 pieces) and remove the slider plastic part or metal slider along with the plastic part.

Ray5 mini/miniS 2.5/3.5W 

Ray5 mini/miniS 5.5/10W

3、Use a hex wrench to loosen the screws securing both sides of the X-axis (2 screws) and the front and rear of the Y-axis (2 screws on each side, total 4 screws), then remove the timing belt. (Note: The 2 screws that secure the timing belt are T-slot screws—do not miss them.)

4. Thread the new timing belt through the pulleys and the connecting shaft in sequence, ensuring it is properly seated on the shaft. (Note: When passing the belt over the pulleys, you can use a screwdriver to guide its path and gently slide the pulleys left and right to ensure the belt passes smoothly.)

5、First, insert one of the T-shaped screws into the profile along the X-axis, pressing it onto the timing belt, and then tighten it. On the other side, pull the timing belt tight, insert the T-shaped screw, and tighten it. After installation, press the timing belt to check for elasticity; if the pulleys move smoothly without sticking, the installation is complete.

6、Finally, install the slider and plastic parts. For the Ray5 miniS, also reinstall the top acrylic cover. The timing belt replacement is now complete.

 Mini:

MiniS:

By Laser Engraver Blogs | November 10, 2025
Replacing the Ribbon Cable on Ray5 mini/miniS

Ray5 mini and miniS use the same type of ribbon cable, and the replacement method is similar. This guide takes the Ray5 mini as an example.

1. Loosen the Velcro and disconnect the cables for the laser, X/Y-axis motors, and the X-axis limit switch. For the Ray5 miniS, you also need to remove the acrylic base to make the operation easier.

2. Use a 2.5 mm hex wrench to loosen the four screws and remove the front beam cover. 

3. Use a 2.5 mm hex wrench to loosen the four screws and remove the mainboard.

4. Disconnect the X and Y axis motor cables (X, Y), the laser cable (PWM), and the X-axis limit switch cable (X-) from the mainboard.

5. Insert the new combined cable into the mainboard according to the cable labels and the markings on the mainboard. Place the mainboard inside the front beam, routing the cable through the gap near the Y-axis limit switch. Make sure the TYPE-C and POWER ports at the front of the beam align correctly with the mainboard connectors.

6. Secure the mainboard with screws using a 2.5 mm hex wrench, and then install the cover plate.

7. Insert the X-axis motor (X), X-axis limit switch (X), Y-axis motor (Y), and laser according to the cable labels, completing the replacement of the combined cable.

Mini:MiniS:

By Laser Engraver Blogs | November 10, 2025
Ray5 MiniS: Engraved Patterns Are Unclear


The failures of laser engraving marks are unclear and may be due to incorrect focus, mismatch of parameters and materials, etc. Please refer to the following steps to check.

1) First make sure the focus is correct.

 Use the focus block to adjust the focal length. 

2) Check if the S value in Lightburn

That is, click Lightburn-Edit-Device Setting and check whether the S-value MAX is 1000.

3) Check the parameters

Check whether the engraving parameters are correct, especially the speed unit; please refer to the parameter table on the official website. And for the LaserGRBL software, the value of S-MAX is 10 times the target laser power, such as when the laser power is 100%, S-MAX needs to be set to 1000%

4) Turn on the constant power

When editing parameters, make sure the laser mode is set to constant power mode, as shown in the figure.

5) Check the window mirror

Check whether the window mirror of the laser head unit is contaminated. If there is contamination, it is recommended to use lens cleaning paper or a dust-free cloth soaked in alcohol to wipe gently to avoid damaging the coating.


By Laser Engraver Blogs | November 10, 2025