


Products
About Us
With Longer, Make It better


Trending searches
Popular products
About Us
With Longer, Make It better


Ray5 mini/miniS Timing Belt Replacement
1. Disconnect the laser cable, loosen the M3*14 or L-shaped hand screws, and remove the laser module.

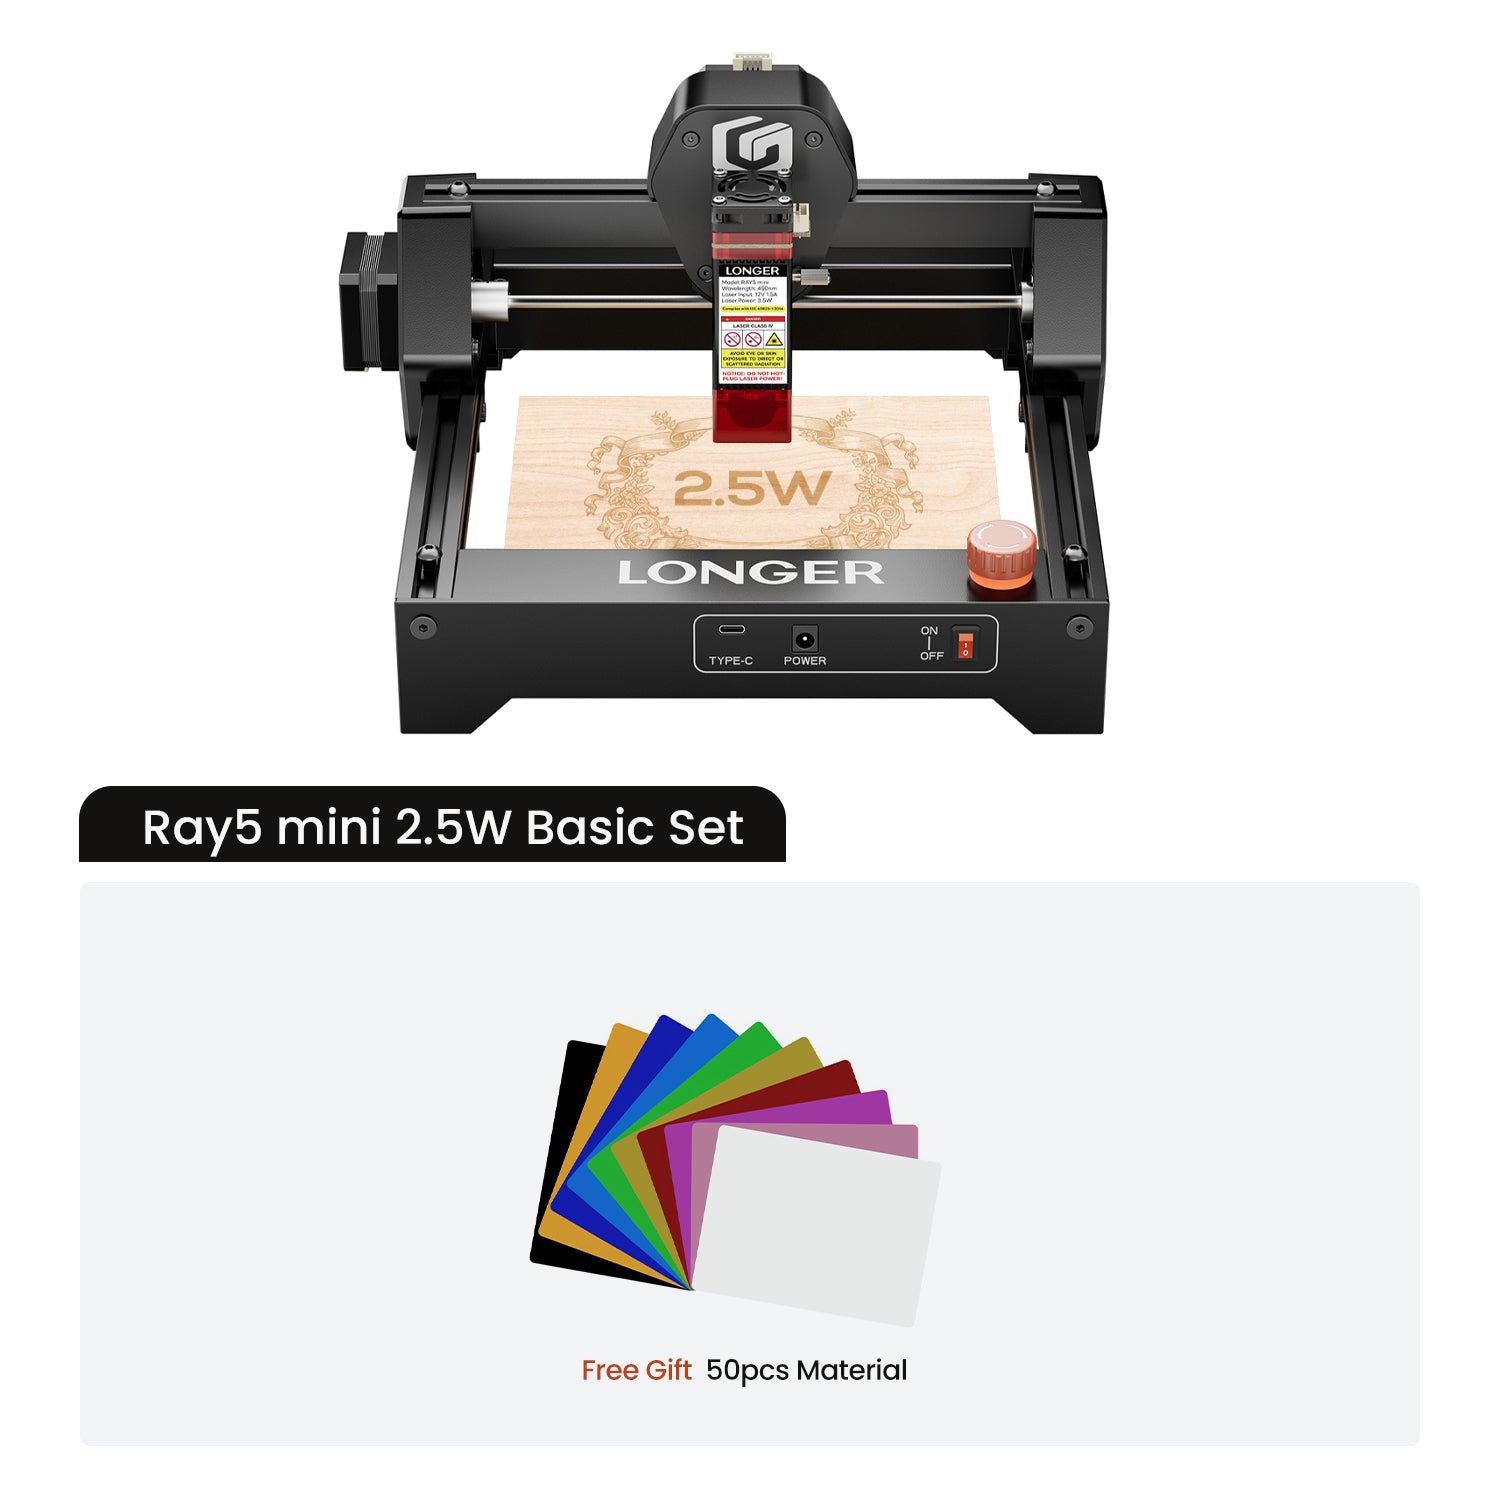
Ray5 mini/miniS 2.5/3.5W 
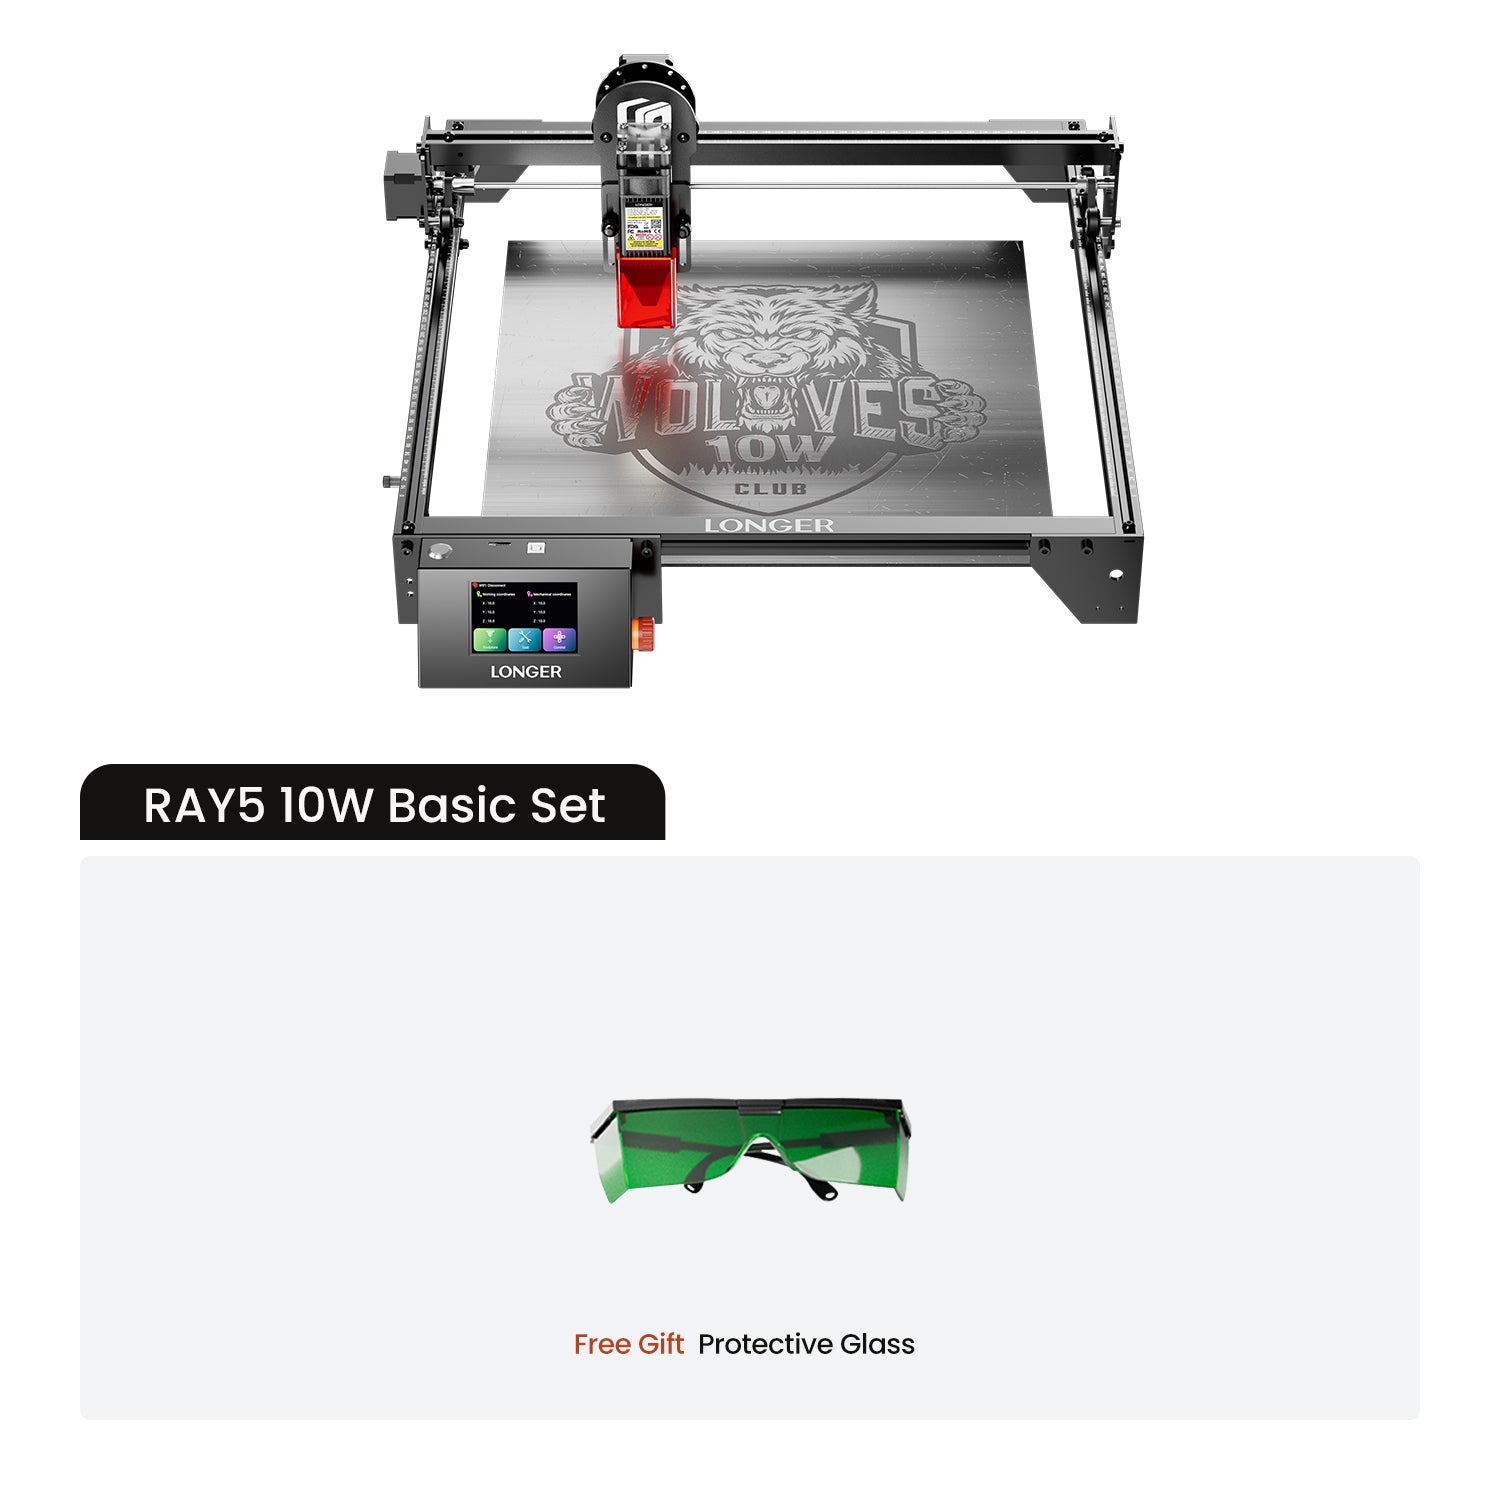
Ray5 mini/miniS 5.5/10W
For the Ray5 miniS, you also need to remove the top acrylic cover (12 screws). 
Top acrylic cover
2、Use a 2mm hex wrench to loosen the screws (4 pieces) and remove the slider plastic part or metal slider along with the plastic part. 
Ray5 mini/miniS 2.5/3.5W


Ray5 mini/miniS 5.5/10W
3、Use a hex wrench to loosen the screws securing both sides of the X-axis (2 screws) and the front and rear of the Y-axis (2 screws on each side, total 4 screws), then remove the timing belt. (Note: The 2 screws that secure the timing belt are T-slot screws—do not miss them.)
4. Thread the new timing belt through the pulleys and the connecting shaft in sequence, ensuring it is properly seated on the shaft. (Note: When passing the belt over the pulleys, you can use a screwdriver to guide its path and gently slide the pulleys left and right to ensure the belt passes smoothly.) 
5、First, insert one of the T-shaped screws into the profile along the X-axis, pressing it onto the timing belt, and then tighten it. On the other side, pull the timing belt tight, insert the T-shaped screw, and tighten it. After installation, press the timing belt to check for elasticity; if the pulleys move smoothly without sticking, the installation is complete.
6、Finally, install the slider and plastic parts. For the Ray5 miniS, also reinstall the top acrylic cover. The timing belt replacement is now complete.
Mini:
MiniS:
- Choosing a selection results in a full page refresh.
!