Products
Trending searches
Popular collections
Carro ($0)
Carro ($0)


ABSTRACT
In the world of business, first impressions matter — and a well-designed, custom-engraved business card can speak volumes. With the LONGER Nano Series laser engraving machine, you can effortlessly batch engrave anodized aluminum business cards to create sleek, personalized pieces that stand out. Whether you're a creative entrepreneur, brand designer, or small business owner, this guide will show you how to set up, align, and execute batch engravings with precision and ease. Let’s get started!
1. Prepare the Necessary Tools and Materials
L-shaped Positioning Pieces *2
Anodized Aluminum Business Cards (a few pieces)
Engraving Material
2. Set Up the Laser Engraving Machine
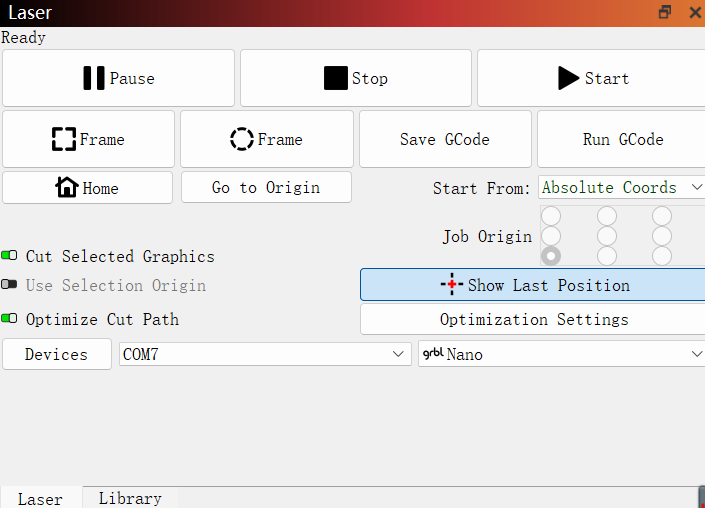
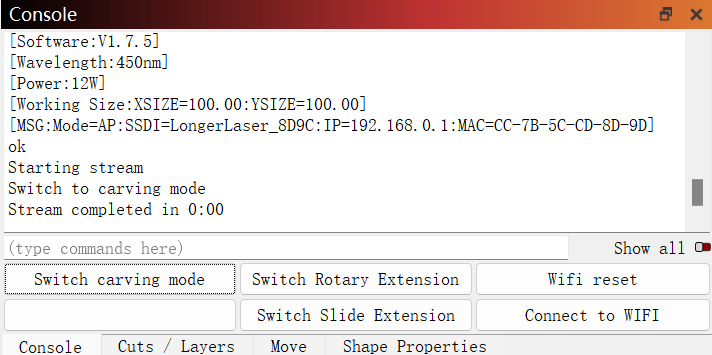
Connect the engraving machine to your computer using the Type-C data cable with the red connector, then power on the machine. Launch LightBurn or LaserGRBL software (this guide uses LightBurn as an example). Import the configuration file and select the correct serial port to connect the computer to the engraving machine (you can refer to the connection video provided on the YouTube channel). In the Console, click Switch carving mode to switch the machine to engraving mode.
3. Using the L-shaped Positioning Pieces
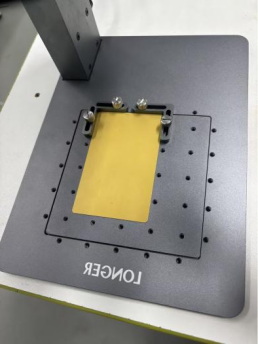
First, use M3X8 Thumb Screws to fasten the L-shaped positioning pieces to the baseplate, ensuring that the positioning pieces are not tilted. Position the engraving material against the L-shaped pieces to ensure consistent positioning during engraving, enabling repeatable engravings as shown in the diagram below:
5. Adjust the Laser Parameters
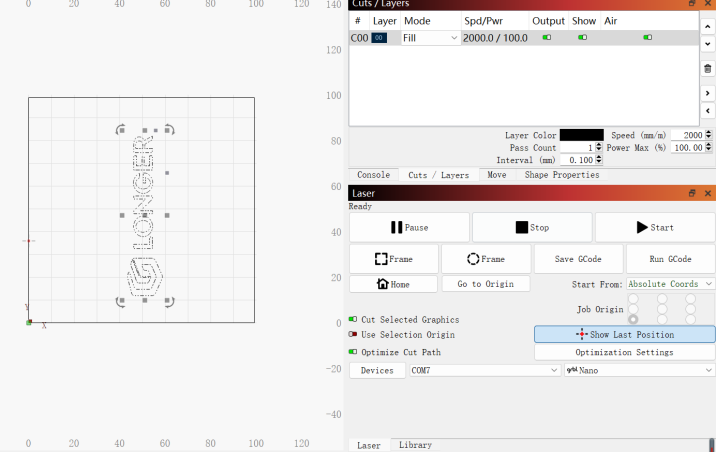
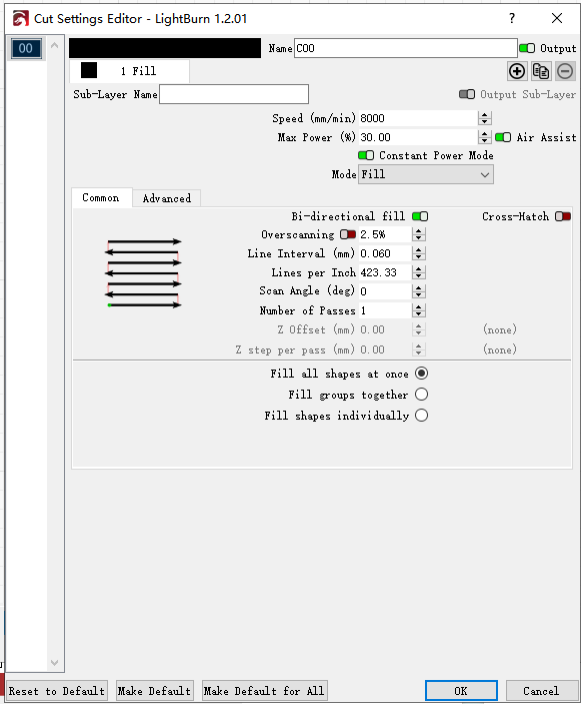
Set the laser power, engraving speed, and line interval based on the anodized aluminum material. A recommended setting for black-green material would be:
Speed: 8000mm/min
Power: 30%
Line Interval: 0.06mm
Enable Constant Power (note that different colors require different power settings, and these values are for reference).
6. Start Engraving
First, run a test engraving. Select the design and click Switch to carving mode in the Console, then click Start in the Laser page to begin the test engraving. Ensure the parameters deliver the expected results. Once satisfied with the test results, proceed with batch engraving.
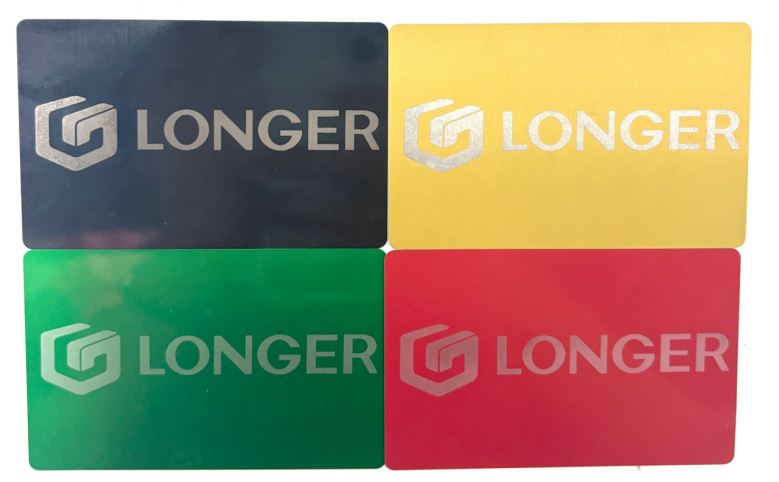
Finally, here is the result image
Conclusion
The LONGER Nano Series exemplifies how advanced engineering can enhance not just performance, but also user safety and device reliability. With real-time temperature monitoring, motion sensing, effective blue light protection, flame-retardant shielding, and USB data interruption safeguards, the Nano Series offers a robust safety infrastructure designed for modern creators.
Whether you're a hobbyist, a small business owner, or a professional engraver, the Nano Series gives you the freedom to create with confidence—knowing your safety is always a top priority.
RELATED POSTS
Program
Company
Visit
(+1) 888-575-9099
Customer Service: support@longer.net
Brand Cooperation: info@longer.net


!

