Ray5 5w-10w-20w, which one is better for you?

Ray5 5w-10w-20w, which one is better for you?

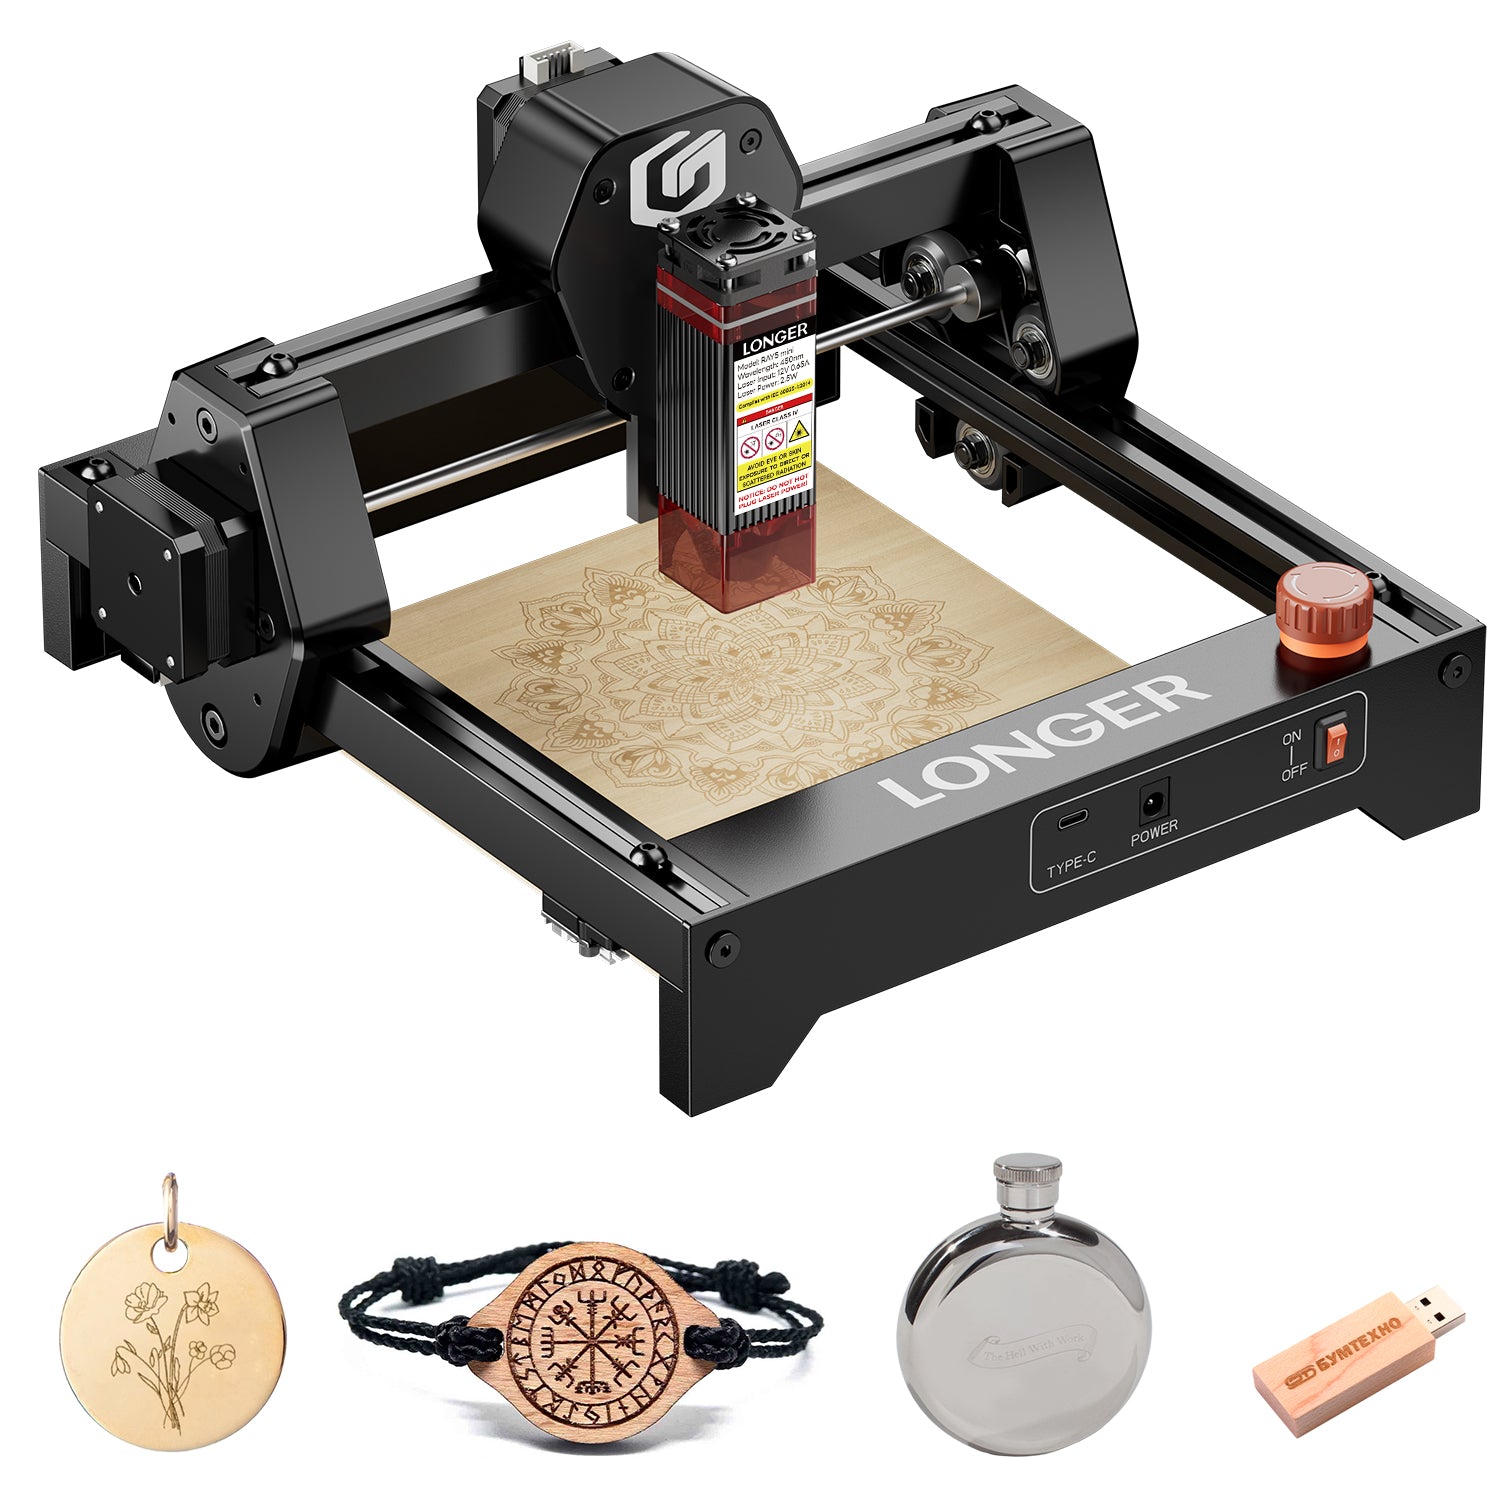
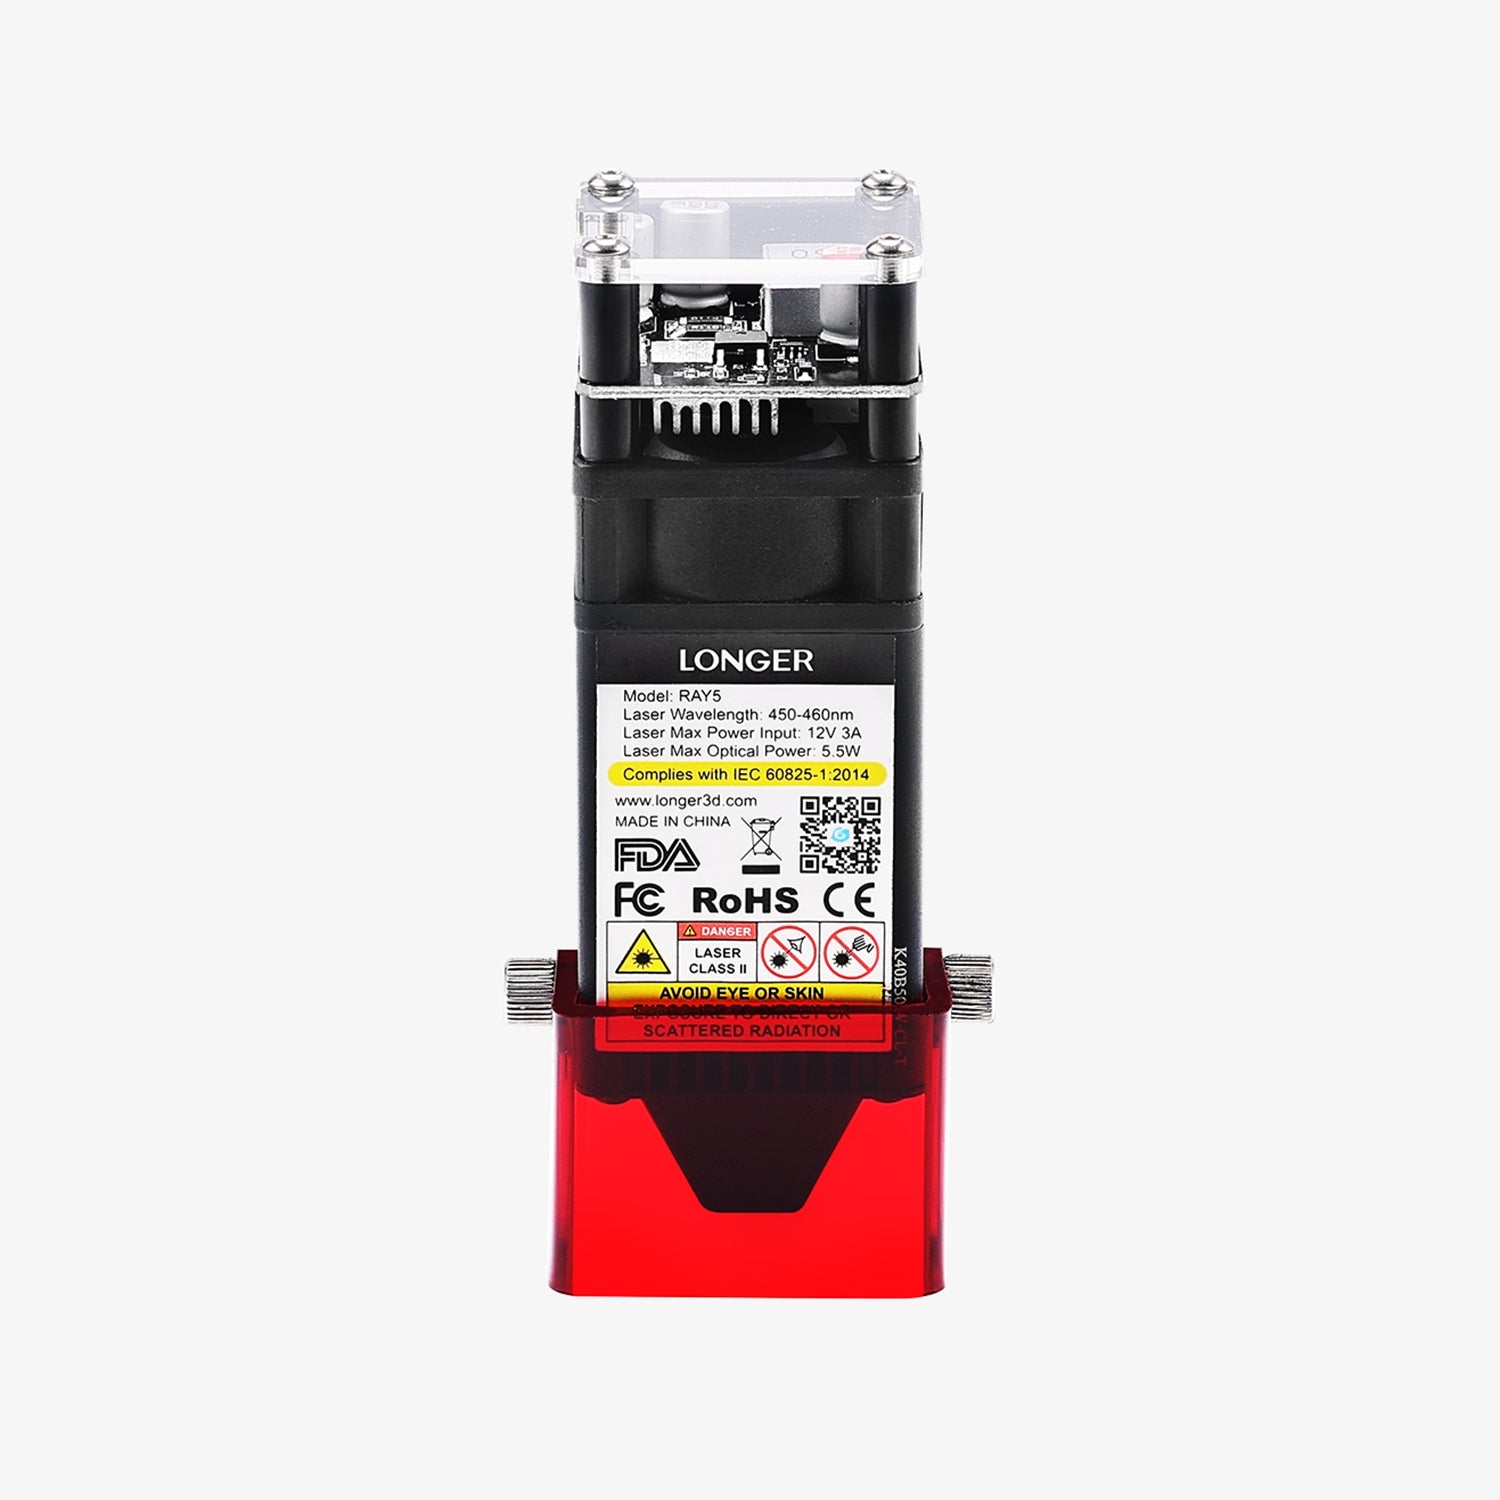
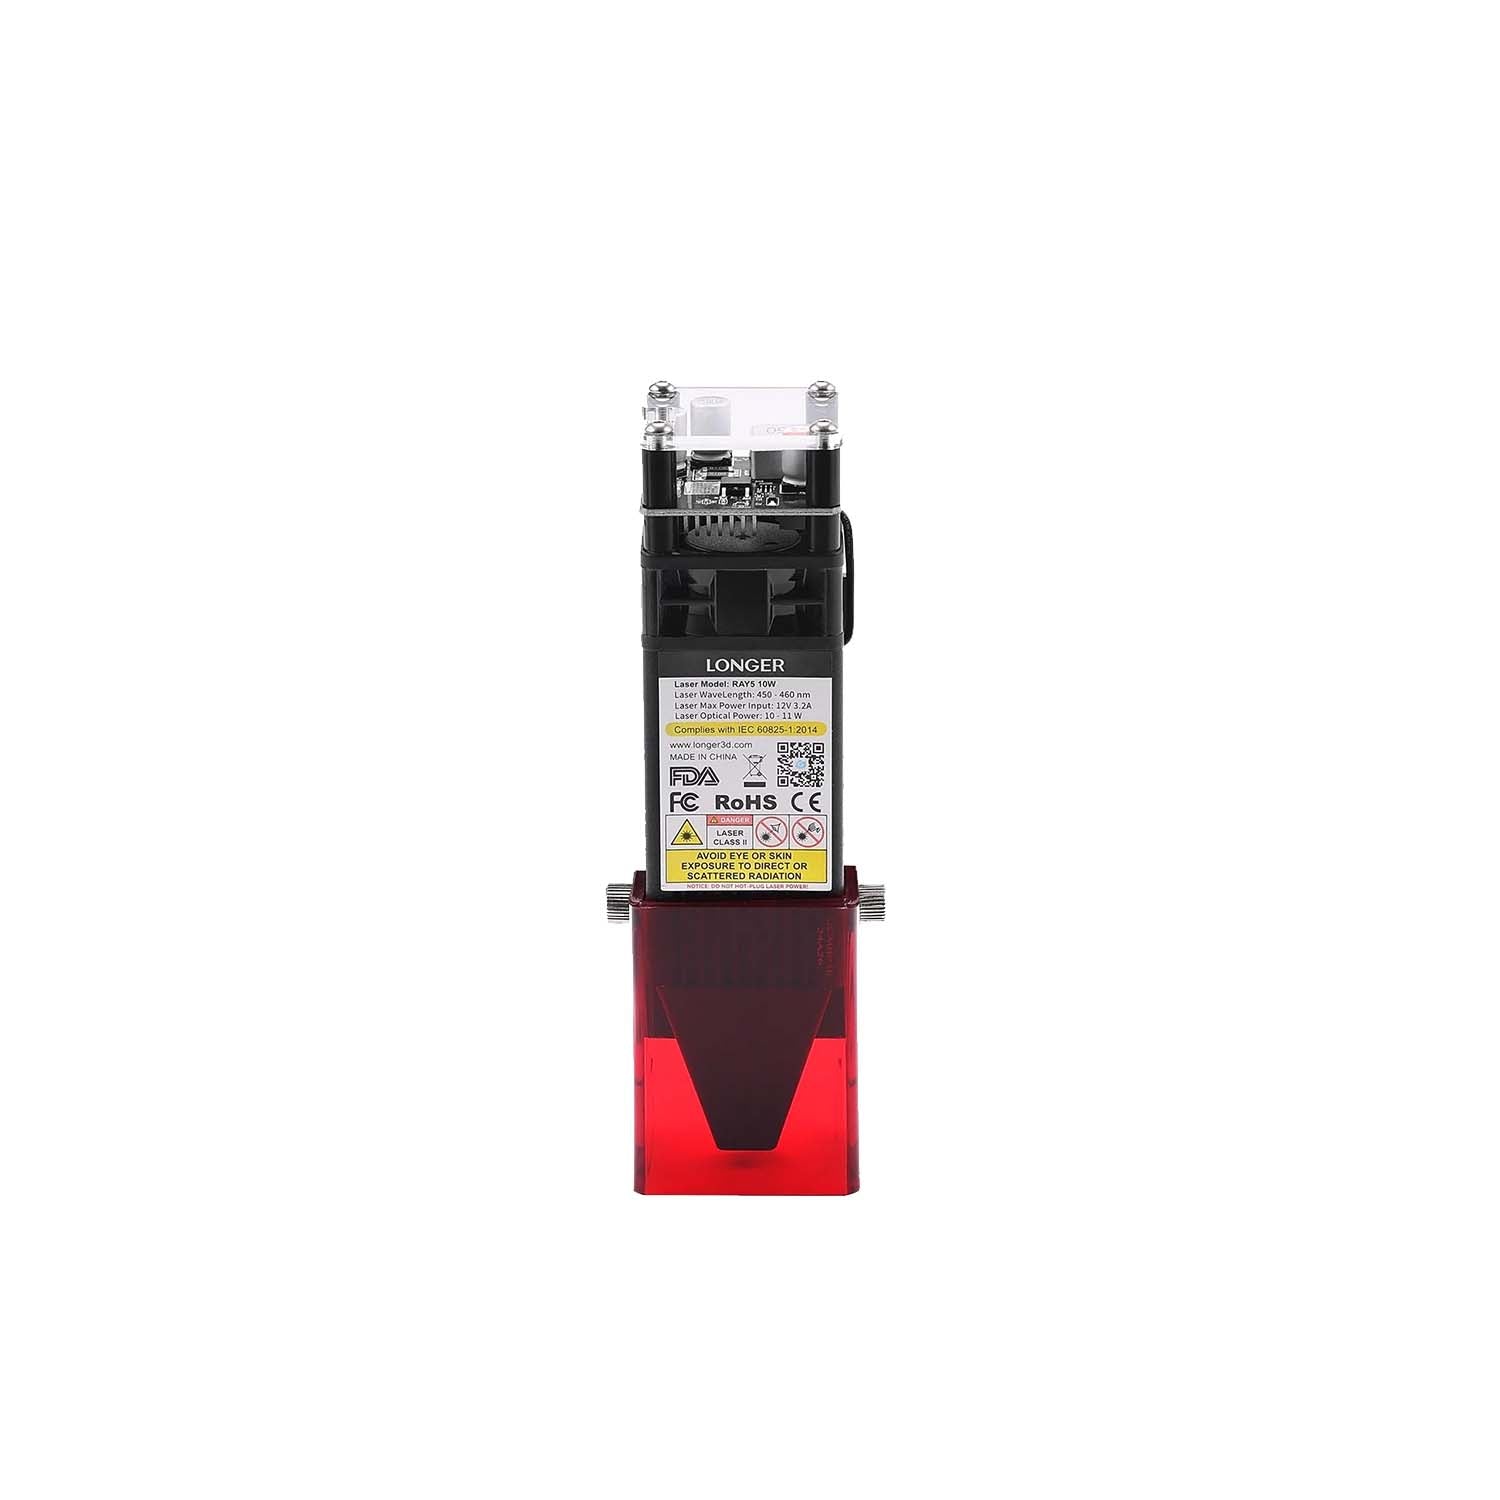
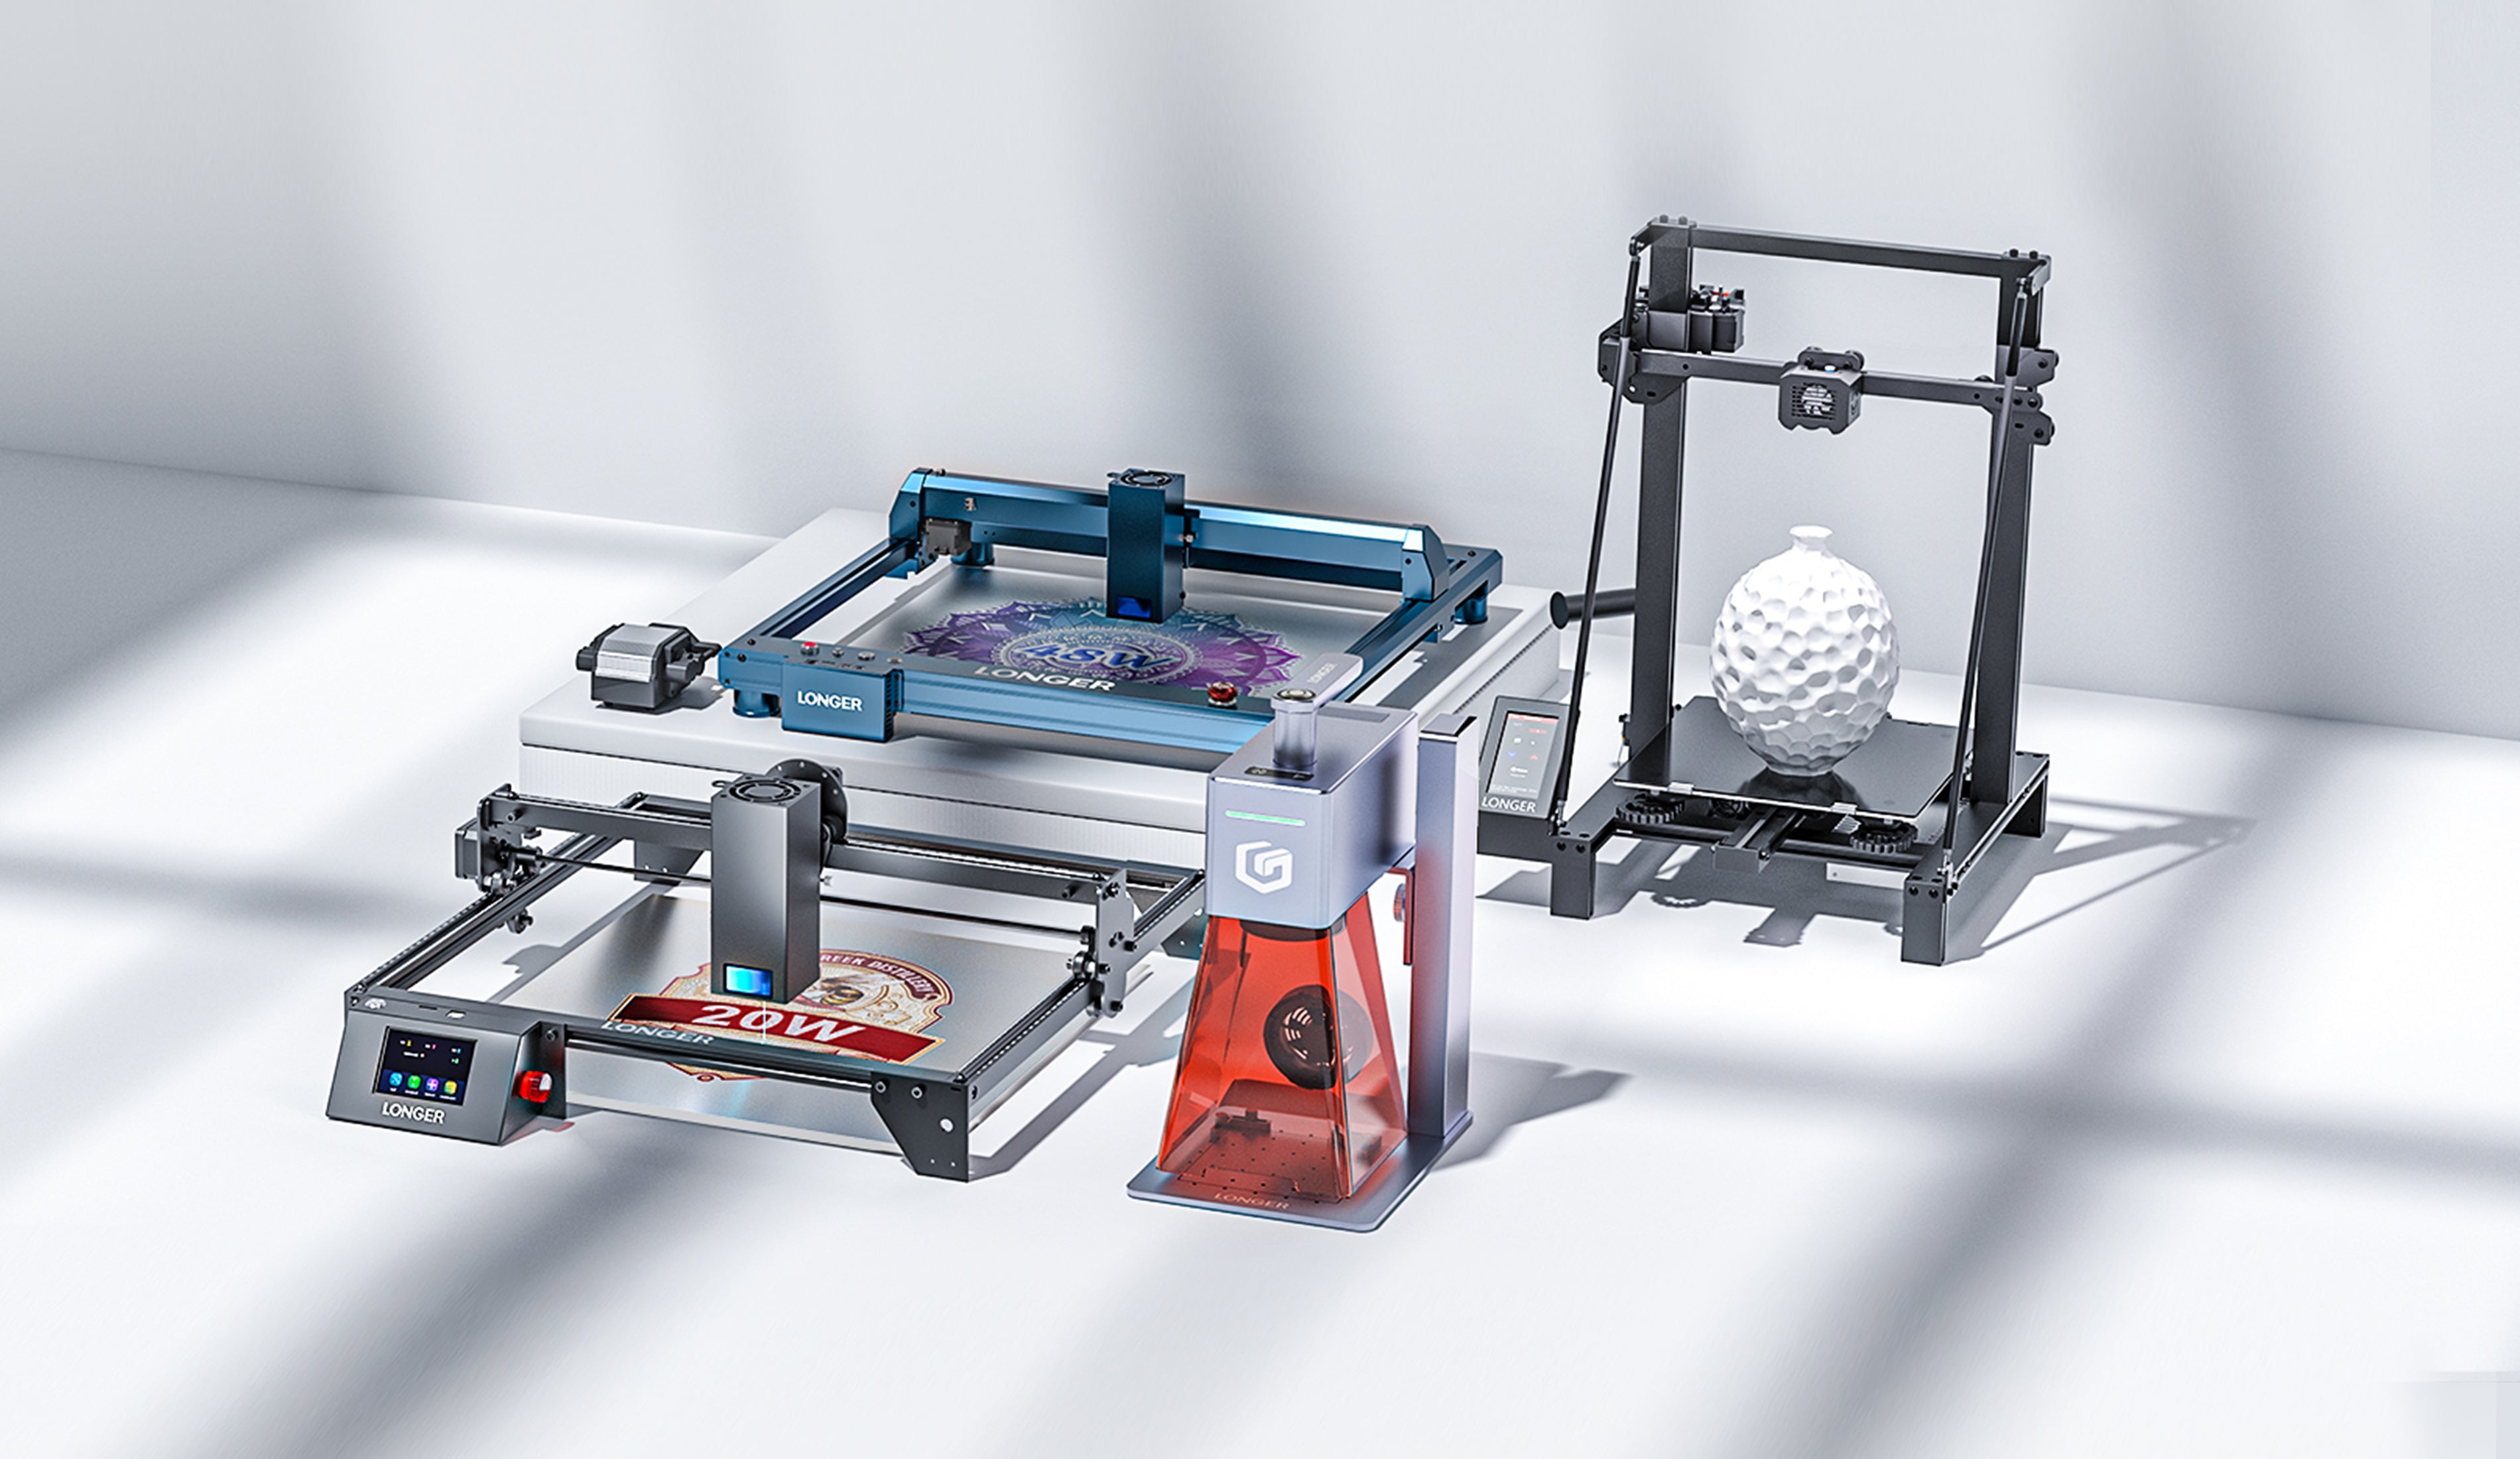
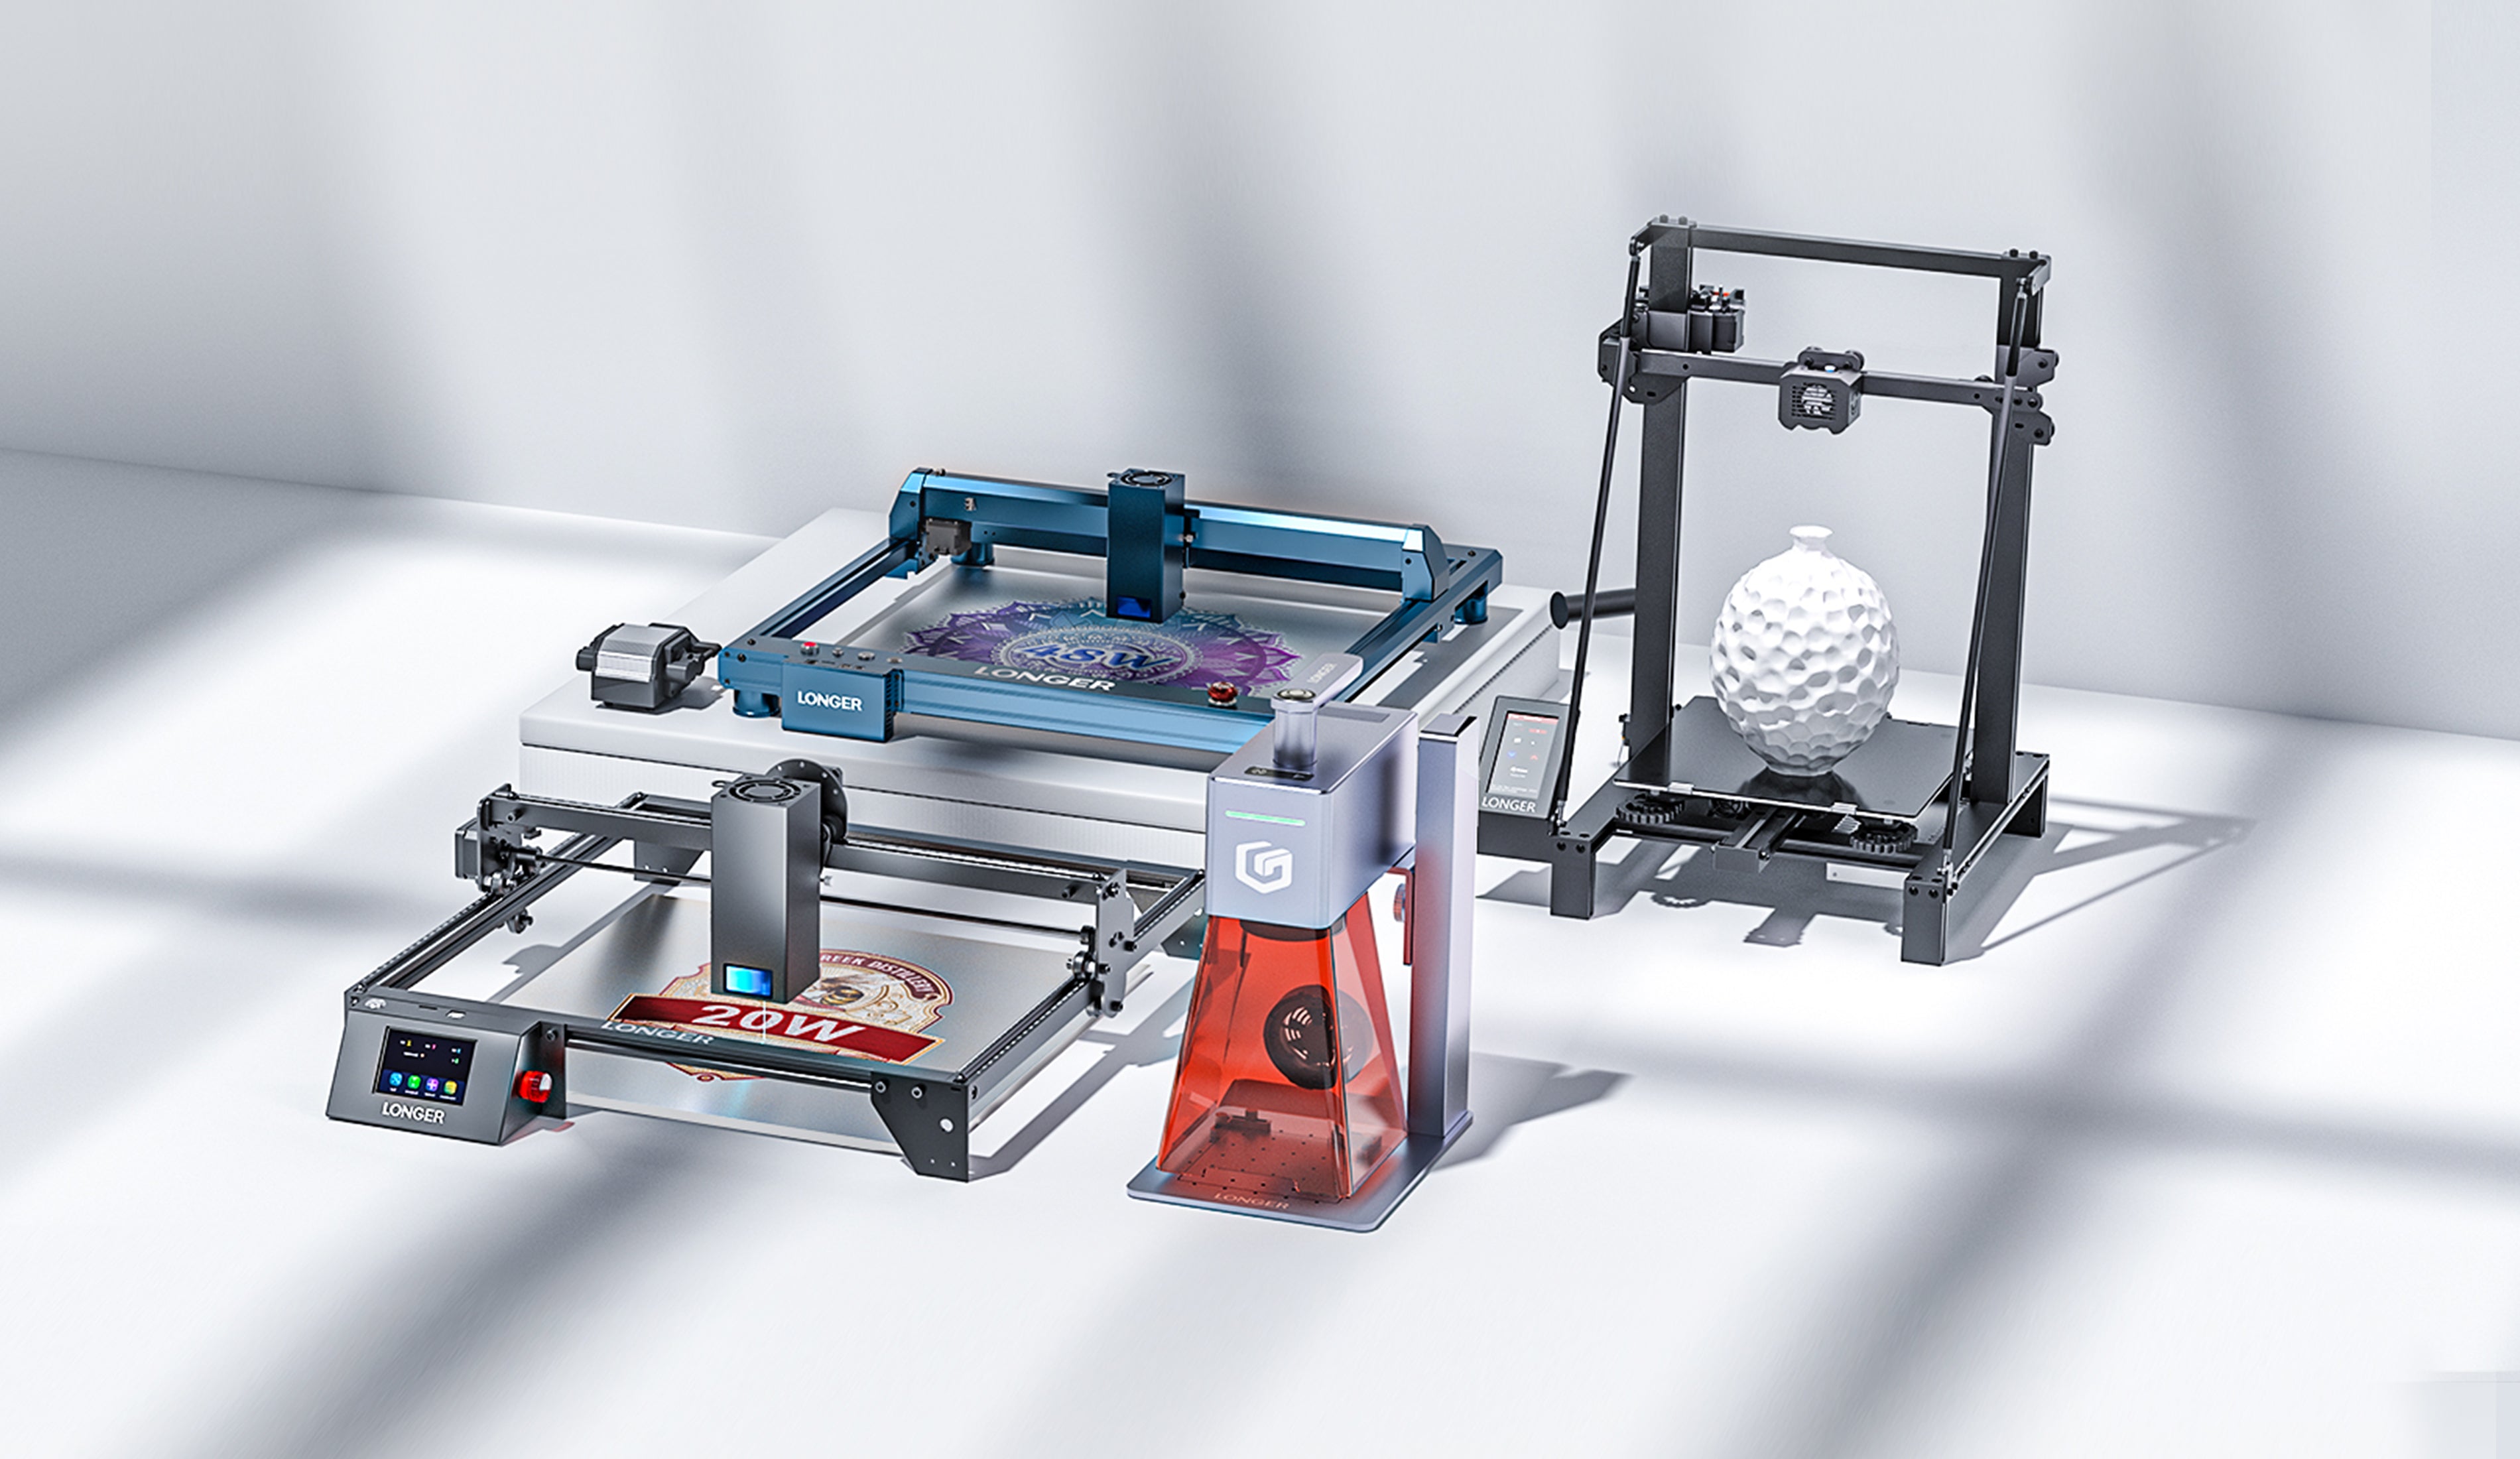
The Longer Ray5 Laser Engravers are versatile tools that allow you to engrave and cut a wide range of materials with precision and speed; the powers currently available for Longer Ray5 are 5W, 10W and 20w (also available in 30W laser head). This comparison will explore the key differences between these three models, helping you choose the one that best suits your needs. 

Laser Module Power
One of the factors to take into account is the laser power, measured in watts (W), which is important to consider when choosing a Laser Engravers, as power determines the cutting capacity and processing speed of the laser. 
a) Longer Ray5 5W is ideal for beginners and engraving projects on thin materials such as wood, metal, leather and acrylic and many more. The 5W power is sufficient for most home engravings and offers high accuracy thanks to its ultra-fine spot compression of 0.08mm x 0.08mm.
b) Longer Ray5 10W offers more power, allowing you to cut thicker materials and work faster. This module is suitable for projects that require a little more power than the 5W model, but still remains accessible for home use.
c) The Longer Ray5 20W is a more powerful model, ideal for cutting materials up to 15mm thick and for jobs that require a higher cutting speed. This laser module is perfect for advanced users and professionals who work with more resistant materials and need greater efficiency, so it is a valuable ally both in the home and in professional environments with mass production

Working speed
Working speed is another crucial aspect to consider. All three Longer Ray5 models reach a speed of 10,000 mm/min, but the power of the laser affects the actual cutting and engraving speed. The 20W model, thanks to its higher power, can complete projects faster than the 5W and 10W models, also reducing the number of passes during the cutting phase. 

Workspace
The workspace is another important feature. All three models offer a working area of around 400 x 400 mm, which means that all models are suitable for projects of similar size, but the 20W model allows you to make more use of the area as it can carry out extensive machining in less time. 

Variety of materials
Each Longer Ray5 model is designed to work with a variety of materials, but the power of the laser determines which materials can be cut and engraved more or less effectively. The 5W model is ideal for materials such as wood, metal and acrylic, while the 10W model can handle the same materials but with greater thickness when cutting. On the other hand, the 20W model increases the processing possibilities, as it is perfect for very thick and resistant materials, such as wood up to 15 mm, aluminum, glass, stainless steel, leather, and many other materials typical of the professional field.

Engraving accuracy
The accuracy of the engraving is another factor to consider. All three models offer high accuracy; in particular, the 5W model turns out to be a good compromise between quality and price, but the 10W model is particularly appreciated for its ability to emit a laser beam with an ultra-fine spot of 0.06 mm x 0.06 mm, excellent for detailed engravings. On the other hand, the 20W model, thanks to its greater power, can easily obtain engravings on tough materials such as stainless steel, and expresses its full potential during cutting operations. 

In conclusion, the choice between the Longer Ray5 5W, 10W, and 20W Laser Engravers depends on your specific needs. For a beginner, the 5W model is a good option to start this hobby. For greater power and processing speed, the 10W model is a good option and certainly the most recommended in the home. On the other hand, for more demanding jobs and thick materials, the 20W model is the ideal choice, especially for professional use. 

By Blog de grabador láser | February 17, 2025
LONGER Research: How can the Nano Series Combines Lightweight Design with High Performance for the Best Laser Engraving Experience?

LONGER Research: How can the Nano Series Combines Lightweight Design with High Performance for the Best Laser Engraving Experience?

ABSTRACT
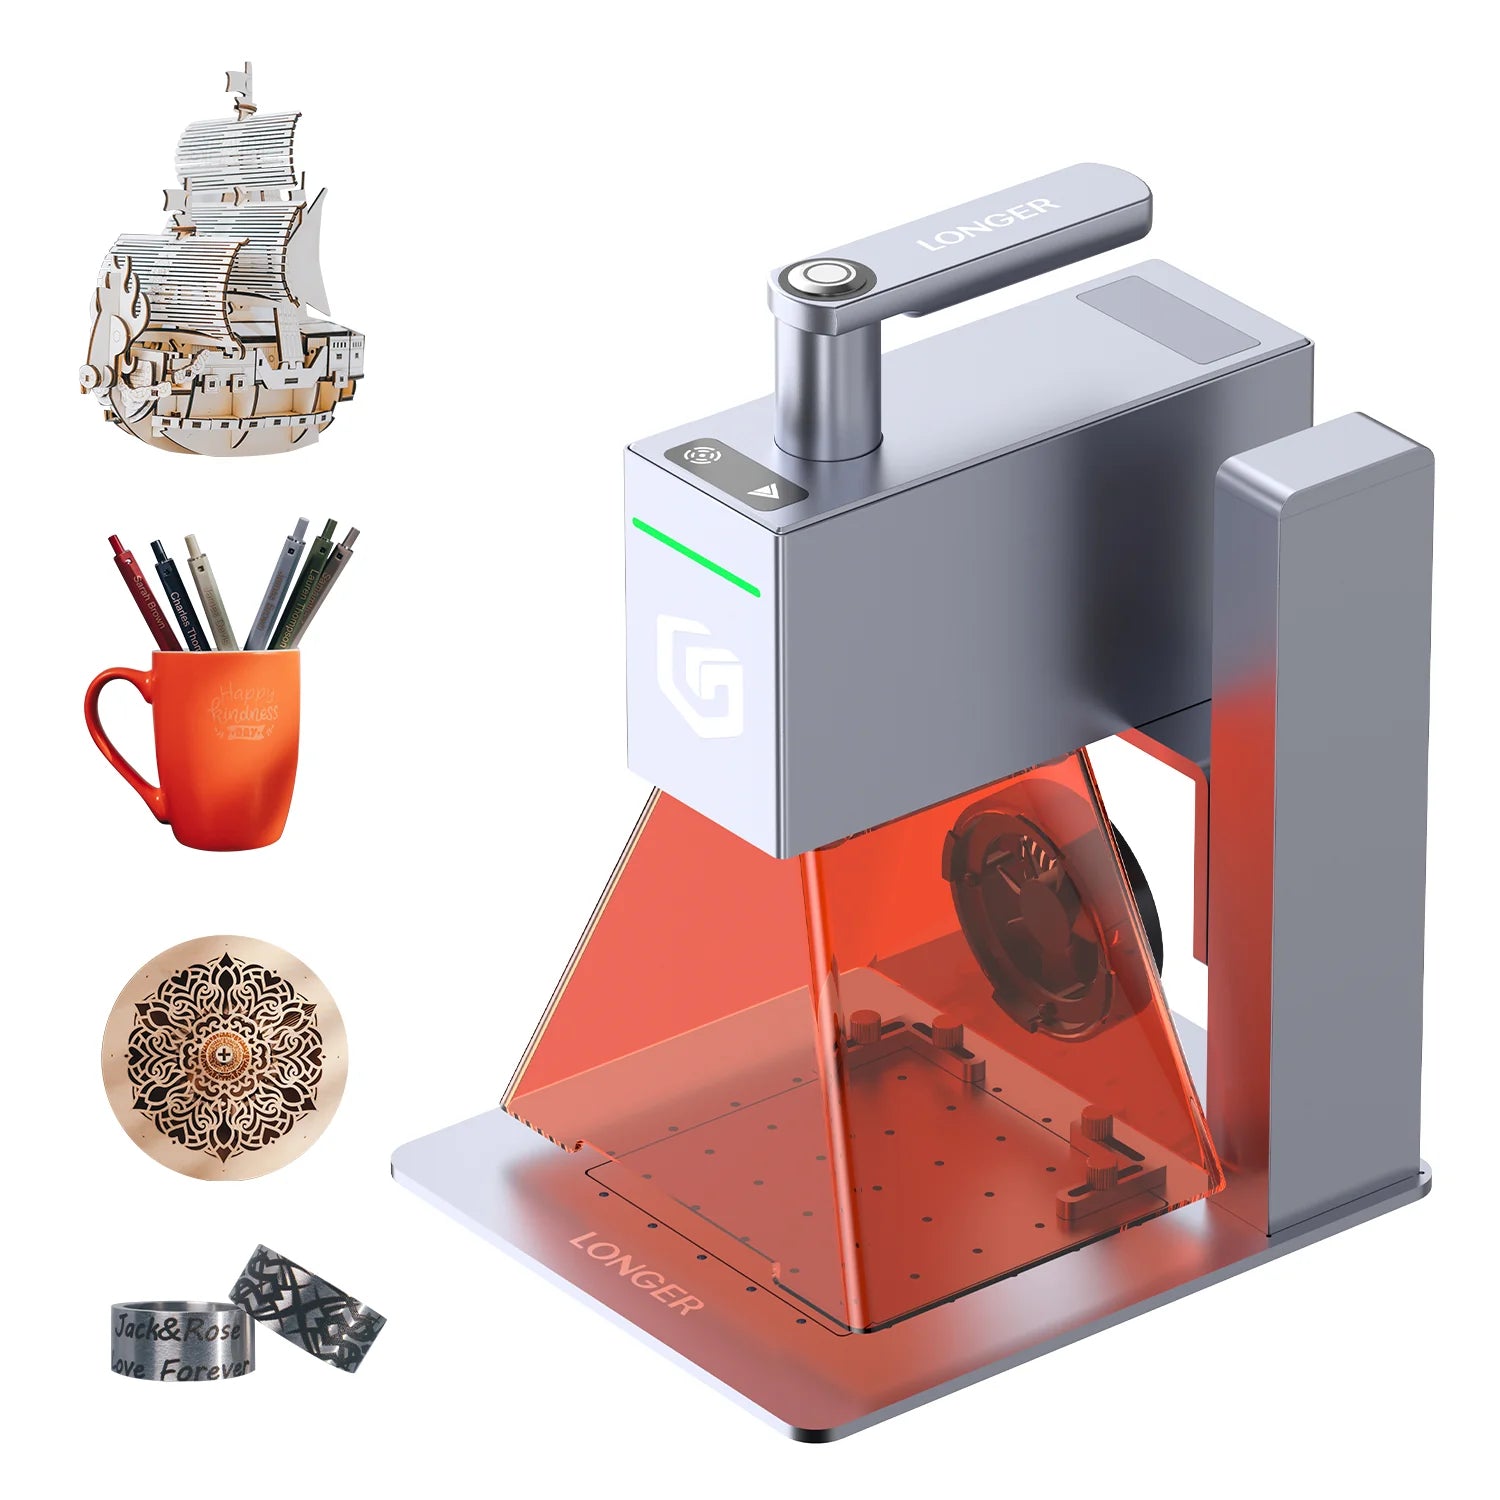
In today’s fast-paced world, efficiency and convenience are essential, especially for those seeking the best laser engraver to handle diverse engraving projects. The Nano series laser engraver, known for its compact and portable laser engraving machine design, exemplifies a balance of lightweight build and high functionality. Here, we’ll explore how this engraver cutter laser model achieves impressive portability while maintaining powerful performance, making it ideal for everything from wood engraving to intricate stone engraving.

1. Lightweight Design of the Nano Series

From the outset, the Nano series was designed as a portable laser engraver, with a focus on a streamlined layout that reduces unnecessary components and weight without compromising functionality. By integrating components like the main board, laser head, lenses, sensors, and galvanometer motors into a compact structure, the Nano series achieves the power of a full-sized laser cutter and engraver in a much smaller, lighter form. 

Constructed from lightweight but high-strength aluminum alloy, this portable engraver prioritizes durability alongside weight reduction, creating an engraving machine for jewelry, glass, wood, and other materials. At a fraction of the weight of traditional frame lasers, the Nano series still provides outstanding power and precision, earning it a place among the best laser engravers for portability without sacrificing quality.

2. High Performance Capabilities of the Nano Series
The high-performance aspects of the Nano series cover several key features:

(1) Laser Power
Equipped with high-power imported diode laser heads, the Nano series laser cutter offers significant power advantages. For example, the Nano Pro incorporates two high-performance laser chips, reaching up to 12W, providing a 20% increase over the more common 10W laser heads. This power boost enables the Nano Pro to cut wood up to 10mm thick and engrave color on stainless steel, making it a top choice as a laser engraver for wood and other materials.

(2) Engraving Speed
Using a high-speed galvo system, the Nano series enables engraving speeds that exceed those of traditional frame-based machines. Additionally, its unique distortion correction algorithm ensures precise laser beam positioning, making it highly effective for detailed wood engraving, glass engraving, and stone engraving applications. With speeds up to 5000mm/s and a preview speed of 32000mm/s, the Nano series stands out as a fast, reliable handheld laser engraver.

(3) Safety Measures 
Prioritizing user safety, the Nano series laser engraver includes temperature sensors and accelerometers. The laser engraver automatically shuts off if it detects sudden tilting or drops, providing peace of mind during operation. Additionally, the protective enclosure, made from a flame-resistant material, intercepts over 99.5% of blue light, protecting users’ eyes from potential harm (although proper laser goggles are always recommended during operation).


Conclusion
Combining portability, high performance, and safety, the Nano series is truly the best laser engraver for users who need a reliable, portable laser engraver and cutter for various materials and applications. Whether you’re setting up a little machine shop store or crafting intricate designs at home, the Nano series is the versatile, powerful solution you’ve been looking for.

By Blog de grabador láser | February 17, 2025
LONGER How to: Adjust the Engraving Position When Using a Rotary for Engraving

ABSTRACT
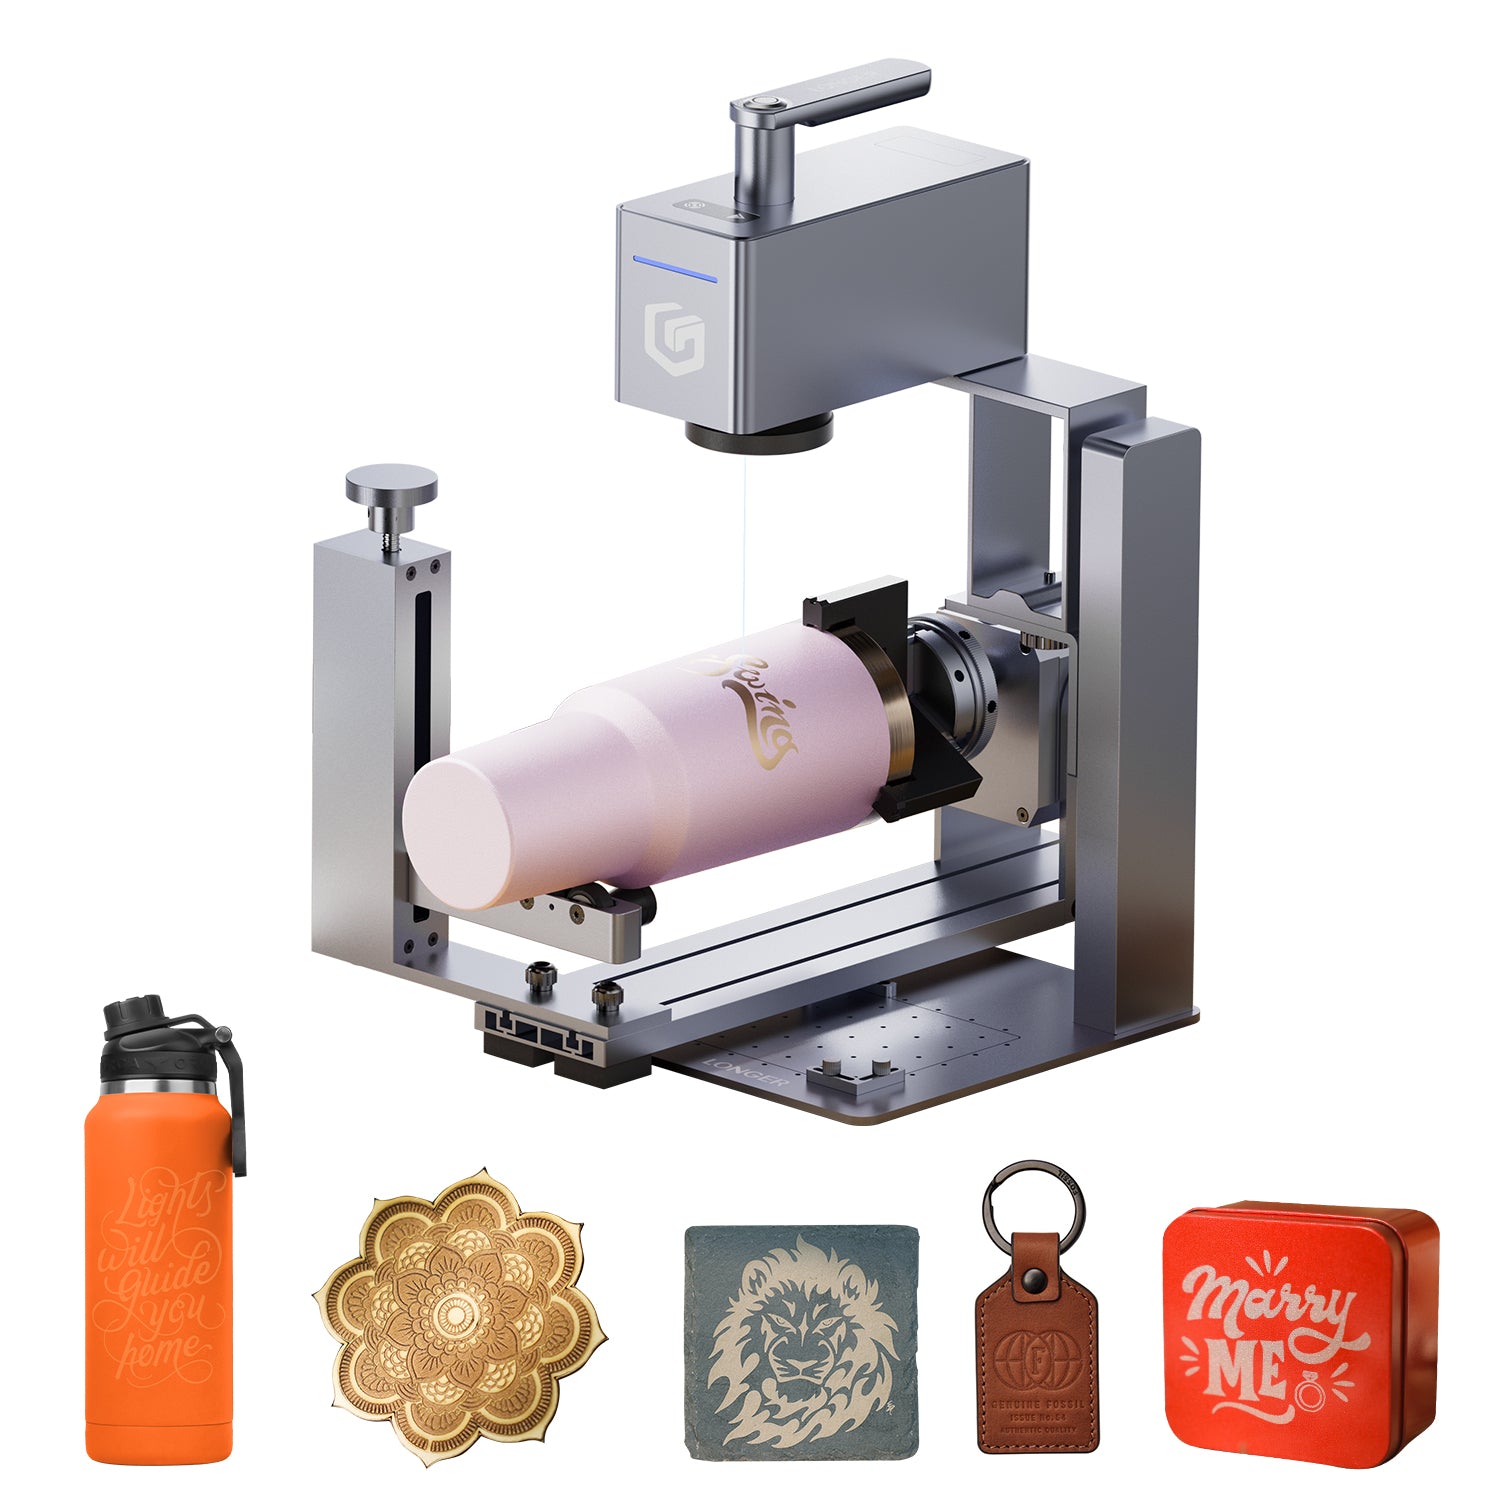
When using the rotary for engraving on the Nano series laser engravers laser cutter, achieving a good engraving result requires setting the correct frame size and position. If the engraving position is not quite right, you’ll need to adjust it. It’s also essential to focus the laser beforehand, which is covered in another blog, "LONGER How-to: Achieve Optimal Focusing with the LONGER Nano Series Using the Rotary." Here, we’ll focus on how to adjust the engraving position while using the rotary.

1) Method One: Manually Adjusting the Rotary
a. After focusing, you can adjust the object’s position by manually rotating the rotary. As you rotate, watch the laser focus point relative to the object, ensuring that the engraving start point is at the highest point.

b. If the position isn’t precise enough, fine-tune the rotation angle of the rotary to shift the engraving start point. This may require patience and careful adjustments to achieve accurate alignment of the engraving pattern.

2) Method Two: Using the Move Window in LightBurn Software

a.Click the "Fire" button to emit a low-power laser spot (2% power is recommended to avoid high intensity). The blue dot that appears will indicate the engraving start point.

b. Using the up, down, left, and right arrows in the Move window, precisely adjust the blue dot’s position. Carefully move it to the exact spot where you want to begin engraving.

c. Start engraving once you’ve confirmed the position. Monitor the process to ensure the Longer Nano and Longer Nano Pro portable laser engraving machine engraving proceeds as planned.


Conclusion
Adjusting the engraving position when using a rotary on the Nano series laser engraver is straightforward with a little practice and the right tools. By either manually rotating the rotary or using the precise controls in LightBurn, you can achieve accurate placement and ensure your designs align perfectly on your material. Taking the time to adjust the starting point and position before engraving can make a big difference in the final result, helping you create detailed and professional-quality engravings with ease. Happy engraving!

By Blog de grabador láser | February 17, 2025
LONGER How to: Prevent Vibration When Using Chucks with the Longer Nano Pro 12W
Welcome to our guide on using the LONGER Nano series engravers with the rotary clamp! Getting the right focus is key to preventing any blurriness or distortion in your engraving patterns. Let’s dive in and explore how to quickly and accurately adjust the focus when using the Nano Pro 12W alongside the rotary clamp.
By Blog de grabador láser | October 29, 2024
LONGER How-to: Achieve Optimal Focusing with the LONGER Nano Series Using the Rotary
This guide provides essential steps for avoiding vibrations when using chucks on the Longer Nano. When engraving curved surfaces, chucks are used to secure cylindrical objects for rotational engraving. If the chuck is not properly adjusted, vibrations may occur during engraving, which can distort the design.
By Blog de grabador láser | October 29, 2024
LONGER Research: LONGER Nano Pro 12W Field Lens Function Introduction
The Nano Pro 12W laser engraver's field lens is designed with this focal length-to-wavelength relationship in mind, optimizing lens curvature and lens combinations to achieve a minimized spot size. This design not only enhances engraving detail but also enabling users to complete intricate engraving tasks in less time.
By Blog de grabador láser | October 28, 2024
LONGER Research: Introduction to Galvo Technology in LONGER Laser Systems
In LONGER's Nano series laser engraving machines, particularly the LONGER Nano Pro 12W, the structure of the galvo scanning marking head is composed of XY scanning mirrors, field lenses, galvos, and computer-controlled marking software.
By Blog de grabador láser | October 28, 2024
LONGER Research: Enhancing Personal Electronics with the Laser B1 20W Engraver

Laser engraving technology has revolutionized the personalization of personal electronics, moving beyond industrial applications to become an accessible tool for individual use. LONGER has been at the forefront of this transition, developing compact and efficient laser engravers that allow users to customize their electronic devices with unique designs.


Introduction

The Laser B1 20W engraver is an excellent example of this advancement, offering a powerful 20W diode laser with a wavelength of 450nm. Its working area of 450x440mm (17.72x17.32 inches) provides ample space for engraving various devices, while the fixed focus length of 50mm and a precise laser spot size of 0.08x0.15mm ensure detailed and accurate engravings. This makes it ideal for customizing a wide range of materials, including wood, acrylic, and metals commonly used in electronics.


One of the standout features of the Laser B1 20W is its ability to work at a fast speed of 36,000 mm/min, powered by a rated power of 105W. This high-speed capability is particularly beneficial for businesses and hobbyists who need to produce intricate designs quickly and efficiently. Moreover, the engraver's compatibility with popular design software like LaserGRBL and LightBurn, as well as various image formats (JPG, PNG, BMP, GIF, SVG, AI, etc.), allows for seamless integration into existing workflows.


Owning a laser engraver like the Laser B1 20W offers significant advantages over traditional customization methods. For instance, it allows for the creation of highly personalized items, which can make electronic devices not only unique but also serve practical purposes, such as labeling for security or organization. The engraver can cut up to 25mm of pine wood and 35mm of acrylic, and even 0.05mm of stainless steel, making it versatile enough to handle a variety of projects.


Here are some applications of laser engraving in personal electronics:


Smartphone and Tablet Customization:

Users can engrave distinctive patterns, logos, or personal designs on the back covers of smartphones and tablets, providing a unique look and feel that stands out.

Laptop and Notebook Personalization:

Engraving laptops and notebooks with custom artwork, monograms, or business logos not only enhances the aesthetic appeal but also adds a layer of security by making the devices easily identifiable.

Wireless Earbuds and Headphones:

Laser engraving initials, designs, or text on the surfaces of wireless earbuds and headphones can create fashionable and personalized accessories.


USB Drives and Power Banks:

These everyday gadgets can be transformed into stylish accessories with engraved logos, messages, or images, making them perfect for gifts or promotional items.

Smartwatch Customization:

Smartwatches, with their intricate designs and limited space, are ideal for laser engraving. Users can add personal numbers, favorite drawings, or other designs to the watch face or casing.

Game Console Personalization:

Gamers can engrave their consoles, controllers, and accessories with unique tags or designs, adding a personal touch to their gaming experience.


Laser-Etched Circuit Boards:

Although not as common, laser engraving can also be used by DIY enthusiasts and small-scale producers to create printed circuit boards (PCBs), offering a more precise and faster alternative to traditional chemical etching processes.

The Laser B1 20W engraver thus opens up numerous possibilities for personalization and customization in the realm of personal electronics. By enabling the creation of unique designs, it not only enhances the aesthetic appeal of devices but also adds practical benefits, such as easy identification and branding. As laser engraving technology continues to develop, we can expect even more innovative applications in the consumer electronics sector.


By Blog de grabador láser | October 25, 2024
Type-C cables for Longer Nano

Longer Nano Series (Longer Nano Pro 12W and Nano 6W) is a powerful and versatile laser engraver, as it allows you to engrave multiple types of materials anywhere thanks to its compact size. Adopting the latest technologies, it allows it to be used in a practical and simple way, and for this reason all its connections are made via USB Type-C cables. Type-C cables allow a stable and secure connection, but at the same time they are easily usable cables even without particular problems; however, not all Type-C cables are created equal, and the differences are often not easily recognizable. Therefore, if one of the Type-C cables in your Longer Nano needs to be replaced as a result of loss or damage, you should carefully choose a Type-C cable that does not cause any problems.

USB Type-C cables have become a common standard for charging and data transfer in many modern devices, from mobile phones to laptops. However, their specifications can vary greatly, affecting performance and type of use. One of the most important aspects to consider in Type-C cables is their voltage and current capacity. Some cables only support 5V and a few milliamps (mA), making them only suitable for charging low-power devices such as earbuds. Other cables, on the other hand, can support much higher currents, up to 5A, allowing fast charging of devices such as smartphones and laptops. In addition, some cables are designed to support higher voltages of up to 20V, which is essential for fast charging. Fast charging is a feature of Type-C cables that adopt Power Delivery (PD) technology, which can provide up to 240W of power, allowing you to quickly charge devices such as laptops and tablets. Due to the great power, it is important that the cable is certified for fast charging, to avoid compatibility and safety issues.

When a device is connected to a PD-compatible power source, these two communicate with each other to determine the amount of power needed. Then both the voltage and current are adjusted according to the needs of the device, providing exactly the amount of energy required. PD technology supports various voltage levels, ranging from 5V up to 20V, in intermediate increments of 9V and 15V, allowing it to adapt to different power needs.

Another issue to keep in mind is that some cables are designed for charging only and do not support data transfer. Only cables certified to the USB 3.1 Gen 2 standard can transfer data at very high speeds of up to 10Gbps, so if you need to transfer large amounts of data, it's essential to choose a cable that supports fast transfer speeds.

So, based on these premises, when it is necessary to replace one of the Type-C cables of Longer Nano it is good to choose a cable compatible with PD and USB 3.1, so as to be sure that everything works at its best. When choosing, keep in mind that thicker cables can support higher currents without overheating, they also use better materials for connectors and internal wires, reducing resistance and improving the efficiency of charging and data transfer. Certifications are also important, so a cable from a certified brand, which ensures full compatibility with PD and USB 3.1 can be a good choice. Usually cables equipped with these characteristics also integrate a display that indicates the instantaneous power supplied, and which can therefore guarantee their full compatibility with the assigned task.


By Blog de grabador láser | October 19, 2024
Power vs Speed Test with LaserGRBL for Longer Ray5 & B1

Longer Ray5 5W and Longer B1 allow you to engrave and cut different types of materials, quickly and easily. However, for each type of processing it is necessary to set different parameters regarding power and speed, precisely because each type of material reacts differently to the laser beam.

In detail, some materials such as metal react differently depending on the speed and power of the laser beam with which it is hit. This means that by varying power and speed it is possible to obtain different shades of color on the engraved metal; This technique is the secret behind multicolored creations on metal.

Both Longer Ray5 5W and Longer B1 can both engrave metal, however the best performance is obtained by using Longer B1, which is much more suitable for multicolor engravings on metal.


In order to obtain the correct parameters for a multicolor engraving on metal, LaserGRBL has a powerful Power vs Speed Test tool, which allows you to quickly determine the most specific and correct parameters. From the LaserGRBL home screen, select Generate – Power vs Speed Test:


This screen will open:


First, set the Power(S) value range, remembering that LaserGRBL adopts S-10 for 1% power and S-1000 for 100% power; for example, a good idea is to set power range from 100 to 1000 with 10 steps. After this, it is possible to set the values for Speed(F), for example from 3000 to 9000 for wood, or from 100 to 1500 for metal & steel (with 7 steps and low step size).
Next, proceed with editing the Quality with a recommended value from 8000 to 12000 lines/mm. Adjust the speed and power about the engraving of labels (you can use the recommended parameters from the parameters tables, for example 1000 and 500 values could be ok).

Once done, click “Create!”.


This screen shows the result of the sample test created.

At this point, press File - Save (Advanced Option) to export the test file as Gcode, copy it to the microSD and start the Power vs Speed Test on Longer Ray5 and Longer B1.


When Ray5 or B1 has completed the job, examine accurately the result and you can determine which parameters are best to set.

Note that, before exporting the Gcode, you can always run the Cutting Test using the USB cable connection, if you prefer.


By Blog de grabador láser | October 18, 2024