Operation Tutorial

How to Troubleshoot and Fix a Non-Working Air Pump on Your Laser Engraver

If your laser engraver’s air pump suddenly stops working, don’t panic — most issues are simple to diagnose and fix. Whether you’re using a Longer, xTool, or other diode laser, the air assist system plays a vital role in keeping cuts clean and preventing smoke buildup. This guide walks you through a professional, step-by-step troubleshooting process to identify whether the issue lies in your power connection, software control, wiring, or the pump itself.

Step 1: Basic Checks

Before diving into multimeters and wiring, start with the basics. The majority of “pump not working” issues come from overlooked connections or software misconfigurations.

1. Check Power and Physical Connections

  • Confirm Power Supply:
    Make sure the laser engraver’s power cable is securely plugged in and the outlet has power. Test the outlet with another device, such as a phone charger, to rule out external issues.

    Confirm Power Supply
  • Inspect Cable Connections:
    Check whether the air pump cable is firmly connected to the laser’s mainboard. A loose or detached connector can easily stop the pump from receiving power or control signals.

    Inspect Cable Connections

2. Verify Software Settings

In most cases, the air pump is controlled via your engraving software, such as LightBurn or LaserGRBL.

  • Check Air Assist Settings:
    Go to your device settings and look for air assist options.

    • Command M8 turns the air pump ON.

      Command M8 turns the air pump ON
    • Command M7 turns it OFF.

      Command M7 turns it OFF


      Ensure that your engraving layer has air assist enabled in the software.

  • Manual Pump Test:
    Most Longer and other modern laser engravers have a manual air pump control button on the touchscreen interface.
    Try tapping it — if the pump starts, the issue was software-related. If it doesn’t respond, move to hardware diagnostics.

Step 2: Deeper Diagnostics Based on Symptoms

Once you’ve ruled out the basics, the next step is to identify which symptom applies to your air pump.

Case 1: The Air Pump Has No Sound or Vibration

If the air pump shows no sign of life — no hum, vibration, or airflow — it likely means power isn’t reaching the pump motor.

A. Check Input Voltage with a Multimeter

  • Purpose: Determine whether power is being supplied to the pump.

  • How:

    1. Set your multimeter to DC voltage mode (choose a range above 24V).

    2. Activate the air pump in software (LightBurn → enable M8).

    3. Touch the multimeter probes to the air pump’s positive and negative terminals.

  • Results:

    • Voltage Present (12V/24V): Power is fine — the pump itself is likely faulty.

    • No or Very Low Voltage: The issue lies in the mainboard control circuit, MOSFET switch, or power supply line.

B. Test Pump with External Power

To isolate the problem, directly connect the pump to an external DC power source (such as an old router power adapter).

  • If the pump runs normally: The issue is with your engraver’s control circuit.

  • If the pump still doesn’t start: The pump motor is burnt out or mechanically jammed and must be replaced.

C. Check for Physical Damage

  • Overheating or Burning Smell: The internal coil may have burnt out.

  • Blocked Rotor: Foreign particles inside the air intake may cause the impeller to jam. Carefully open the housing and remove debris if possible.

Case 2: The Air Pump Makes Noise but No Air Comes Out

If you hear the motor spinning or vibrating but no air is flowing, the issue is likely airflow blockage or internal mechanical wear.

A. Test Airflow at the Pump Outlet

  • Disconnect the output hose and turn on the pump.

  • If you feel strong air coming out, the pump is fine — the problem lies downstream (air hose, nozzle, or fittings).

  • If the airflow is still weak, the problem is internal.

B. Inspect the Air Path

  1. Air Tubing:
    Ensure the hose isn’t bent, kinked, or compressed.

  2. Connectors:
    Tighten all quick couplings and listen for hissing leaks.

  3. Nozzle Blockage:
    The laser head nozzle is a common clog point. Smoke residue or molten particles can block the tiny air outlet.
    Use a fine cleaning needle or compressed air to gently unclog it.

C. Check Internal Pump Components

Depending on your air pump type (diaphragm or piston), internal wear can cause weak airflow.

  • Diaphragm Tear: The rubber diaphragm may rupture after extended use, preventing pressure buildup.

  • Worn Piston or Seal: For piston-type pumps, aging seals cause air leakage and low pressure.
    Replacing these parts is often more cost-effective than buying a new pump.

Summary: Step-by-Step Diagnosis Map

Symptom Possible Cause Recommended Action
No power, no sound Power line disconnected, bad MOSFET, blown fuse Check cable, mainboard, and measure voltage
Pump hums but no air Blocked hose or nozzle, internal diaphragm failure Clean air path, inspect diaphragm
Weak airflow Leaks or internal wear Tighten connectors, replace seals
Works via external power Mainboard control circuit issue Replace MOSFET or contact support
Pump smells burnt Motor coil failure Replace air pump

Final Tips for Preventing Future Air Pump Issues

  • Keep your air filters and hoses clean to avoid smoke particle buildup.

  • Avoid running the air pump continuously when not engraving.

  • Perform regular cleaning of the laser head nozzle to prevent clogging.

  • Use an external air assist filter if engraving materials that generate heavy smoke or resin.

By following these structured steps, you’ll be able to confidently identify and fix any laser engraver air pump malfunction — whether it’s a faulty cable, software misconfiguration, or internal damage.
With a little patience and the right approach, you can bring your Longer or any other laser engraver back to peak performance and keep your engraving results sharp, clean, and consistent.

By Operation Tutorial | October 29, 2025
How to Troubleshoot a Laser Engraver That Won’t Work After Startup

Few things are more frustrating for creators and makers than turning on a laser engraver—only to find that nothing happens. Whether your laser won’t move, won’t fire, or isn’t connecting to the software, the good news is that most problems can be fixed with careful, methodical troubleshooting.

In this guide, we’ll walk you through two key stages of diagnosis:

  1. Basic checks – covering power, software, and communication issues.

  2. Hardware-level troubleshooting – focusing on the motion system, controller board, and laser module.

By following these steps, you can quickly identify the cause and bring your machine back to life.

Stage 1: Basic Inspection — Start with the Simple Things

This stage solves the most common and often overlooked issues.

1. Power and Physical Connection Check

Main power and emergency stop:

  • Confirm that the wall outlet has power.

  • Ensure the machine’s power cord is fully inserted.

  • Check that the main power switch on the engraver is turned ON.

  • Most importantly: verify that the emergency stop button is not pressed down.

    • If it is, twist it clockwise to release it.

Internal cables:

  • Open the control box and inspect power and data cables leading to the mainboard, laser power supply, and stepper motor drivers.

  • Look for loose connections, unplugged wires, or signs of burning or discoloration.

A loose cable or a triggered emergency stop is one of the most common reasons why a laser engraver won’t start.

2. Software and Communication Check

Connection status:

  • Make sure your control software—such as LightBurn or LaserGRBL—is successfully connected to the machine’s controller.

  • Most software shows a small indicator (usually green) when the connection is active.

COM port and driver verification:

  • Open Device Manager on your computer and check whether the correct COM port appears when you connect the engraver.

  • If you see a yellow exclamation mark, reinstall the USB driver.

  • Try a different USB port or cable if the connection is unstable.

Device configuration:

  • In your engraving software, ensure that you’ve selected the correct device profile and communication port.

  • Double-check your power and speed settings — the laser power should never be set to 0%.

Manual control test:

  • In the control panel, try jogging the machine using X+ / X– / Y+ / Y– buttons.

    • If the laser head moves correctly, motion control is functioning.

  • Next, use the “Fire” or “Test Laser” function to see if the laser emits light.
    ⚠️ Do not test with materials under the laser; ensure the focus is correct and maintain safety precautions.

Interpreting the results:

  • Moves but no light → problem with the laser module or power supply.

  • No motion, no light → issue with mainboard or power supply.

  • Moves and fires correctly → issue likely in your design file or engraving parameters.

3. Mechanical Movement Check

When powered off, try gently pushing the laser head along both X and Y axes.

  • If it feels tight or jammed, inspect for belt tension issues or obstructions.

  • Belts should not be too tight (causing drag) or too loose (causing slippage).

A simple mechanical misalignment can sometimes cause the engraver to fail its homing sequence or stop responding.

Stage 2: Deep Hardware Diagnostics

If all basic checks pass but the problem persists, it’s time to investigate specific hardware components.

1. Motion System Inspection

Limit switches:

  • If your machine moves toward one side immediately after startup and crashes, a limit switch may be shorted or incorrectly wired.

  • Use a multimeter to test continuity:

    • When not pressed, the switch should show open circuit.

    • When pressed, it should show closed circuit.

  • Incorrect readings indicate a faulty or miswired switch.

Stepper drivers and motors:

  • Check the driver module LEDs for power indicators.

  • Swap motor cables between axes to confirm if the issue follows the motor or stays with the axis (a great way to isolate the cause).

2. Laser Power System

Laser power supply:

  • Verify that the laser’s power source delivers the correct voltage (usually 12V or 24V).

  • Inspect the PWM (Pulse Width Modulation) signal cable between the mainboard and laser module.

  • If the laser doesn’t fire even with correct voltage, the module may be faulty.

Air assist and focus lens:

  • Ensure your laser head lens is clean.

  • Air assist should function properly—blocked airflow can cause overheating and poor cutting quality.

3. Controller Board and Firmware

Power input check:

  • The controller board should receive stable voltage (use a multimeter to verify).

  • If fans or LEDs on the board don’t turn on, the issue is in the power circuit.

Firmware status:

  • Try reconnecting the engraver via software.

  • If the firmware doesn’t respond, consider re-flashing or updating it according to manufacturer instructions.

Physical inspection:

  • Look for signs of burnt chips, bulging capacitors, or unusual odors.

    • These are strong indicators of hardware failure.

Quick Reference: Diagnose by Symptom

Symptom Possible Cause
No lights, no fan Power cable, main switch, emergency stop, fuse
Software not connecting USB cable, COM port, driver issue
Connected but no motion Mainboard power, motor drivers, firmware
Moves but no laser output Laser power supply, PWM signal, laser module
Moves uncontrollably Limit switch wiring, motor direction setting
Stops mid-job USB interference, overheating, complex G-code

Final Tips for Successful Recovery

  1. Always start from simple to complex—most failures are due to basic issues like loose plugs or emergency stop engagement.

  2. Keep your firmware and software updated.

  3. Use a surge-protected outlet to prevent electrical damage.

  4. Maintain clean optics and stable cooling to avoid long-term damage.

  5. Document your findings—troubleshooting once creates a reference for next time.

Conclusion

Troubleshooting a laser engraver that fails to start may sound daunting, but with a structured approach, you can isolate the cause in minutes. From checking power lines and communication ports to inspecting hardware modules, each step narrows down the issue systematically.

By mastering this diagnostic routine, you not only save repair costs but also deepen your understanding of how your laser engraver truly works.

Remember: the key to reliability is patience, process, and precision—just like laser engraving itself.

By Operation Tutorial | October 29, 2025
RAY5 40W Laser Engraver Maintenance Guide: Preventing Belt Breakage and Fixing Vibration Issues

The RAY5 40W laser engraver is known for its precision and reliability, but like any mechanical device, it requires proper maintenance to ensure consistent performance. Two of the most common issues users encounter are timing belt breakage and engraving vibration. Both problems not only affect engraving quality but can also shorten the machine’s lifespan if left unaddressed.
This guide covers the most effective methods to prevent belt damage and eliminate vibration for optimal engraving results.

1. Preventing Timing Belt Breakage

A broken timing belt can bring your entire engraving workflow to a halt. Understanding why it happens and how to prevent it can save you time, money, and frustration.

1.1 Avoid Frequent Disassembly

Avoid Frequent Disassembly

The fixed end of the timing belt is made of polymer materials that wear down with repeated tightening and loosening. Every disassembly slightly reduces its structural strength.
👉 Tip: Avoid unnecessary belt removal or adjustments unless absolutely required.

1.2 Tighten Screws with Proper Torque

Tighten Screws with Proper Torque

Overtightening the screws at the belt’s fixed point can cause uneven tension or even shear damage to the belt.
👉 Tip: Use a torque wrench and follow the manufacturer’s recommended torque settings to ensure even pressure and prevent micro-tears in the belt.

1.3 Add Cushioning Materials

Add Cushioning Materials

Installing rubber pads or nylon washers between the metal bracket and the belt can distribute stress more evenly and minimize direct shear. Applying a small amount of silicone grease at the contact points also reduces friction, effectively extending the belt’s life.

Result: With these three preventive actions, the risk of belt breakage drops significantly, and your engraver can operate smoothly over longer production cycles.

2. Fixing Engraving Vibration Issues

Vibration during operation is a common cause of poor engraving precision and blurred results. Proper alignment and tension adjustments can effectively eliminate this issue.

2.1 Check Machine Level and Axis Alignment

Check Machine Level and Axis Alignment

Ensure that your RAY5 40W is placed on a stable, level surface. Use a spirit level to check the base frame.
Then, inspect the X-axis and Y-axis rails — even a small misalignment can lead to high-frequency vibrations. If needed, loosen the rail brackets and realign both axes until they run perfectly parallel.

2.2 Adjust Timing Belt Tension

Adjust Timing Belt Tension

A belt that’s too loose causes lagging and vibration, while an overly tight belt increases motor load and noise.
👉 Tip: The ideal tension allows a 2–3mm elastic deflection when gently pressing the belt at its midpoint. Check the belt regularly and replace any worn or deformed parts.

2.3 Fine-Tune Roller Tightness

Fine-Tune Roller Tightness

Loose rollers can wobble; overtight ones increase friction and wear. Adjust the eccentric nuts on the rollers until they spin smoothly without side play.
👉 Maintenance Tip: Inspect the rollers every few weeks, especially after high-speed engraving jobs, to maintain stable mechanical performance.

Result: With proper leveling, belt tension, and roller tuning, you can eliminate most vibration problems and achieve cleaner, sharper engraving results.

3. Maintenance Summary

Problem Cause Solution Expected Outcome
Belt Breakage Over-tightening or repeated disassembly Use torque wrench, add rubber pad, apply silicone grease Extended belt life
Engraving Vibration Misaligned axes, loose belts, roller imbalance Re-level machine, adjust tension, fine-tune rollers Improved engraving precision
Reduced Durability Poor maintenance habits Regular inspections, preventive actions Long-term machine stability

4. Final Thoughts

Maintaining your RAY5 40W laser engraver is not just about fixing issues when they appear—it’s about preventing them from happening.
By following these guidelines on belt maintenance, alignment, and vibration control, you’ll ensure your engraver performs with consistent precision and minimal downtime.
A few minutes of maintenance can save hours of rework and extend the machine’s service life significantly.

By Operation Tutorial | October 21, 2025
LaserBurn AI User Guide

Before diving into the workflow, let’s first clarify the core principles and technical definitions of the four AI features in LaserBurn.

1. Text-to-Image

Feature Overview:
This is the most fundamental and essential AI image generation function. By entering a descriptive phrase (known as a Prompt), the AI model generates a brand-new image from scratch that visually matches the description.

2. Image-to-Image

Feature Overview:
This function allows users to recreate or enhance an existing image by applying new prompts. It can alter the image’s style, tone, or content, or even generate a completely new composition based on the original structure.

3. Auto Focus

Feature Overview:
The autofocus function eliminates the need for manual adjustments. Using software-driven calibration, it automatically completes the focusing process.
LaserBurn identifies focus success when two points converge — ensuring high precision, reducing human error, and maintaining consistent, reliable focusing results. The fully electronic adjustment enables rapid optimization of the focal plane, significantly improving both efficiency and repeatability.

4. Batch Fill

Feature Overview:
Batch Fill allows users to simultaneously engrave multiple isolated, enclosed shapes (e.g., text, vector graphics, logos).
By using the built-in camera, the system automatically detects and aligns multiple similar materials and fills them with the same engraving pattern — enabling high efficiency and uniformity across all processed items.

II. Step-by-Step Practical Guide

Let’s walk through a practical example that connects all four features — creating a marketing poster for a new Cyberpunk-style phone case.

Step 1: Text-to-Image — Create the Initial Concept

Goal: Generate the main product visual for a cyberpunk-themed phone case.

Process:

  1. Open the Text-to-Image module in the AI creation tool.

  2. Enter the prompt — this is the key step; the more detailed, the better.

    Prompt (positive):

    Cyberpunk phone case, glowing neon blue liquid, intricate circuit pattern on surface, metal texture, dark background, cinematic lighting, futuristic, 8k, highly detailed

    Prompt (negative):

    blurry, ugly, deformed, watermark, text

    (Used to exclude unwanted elements.)

  3. Choose parameters:

    • Style: Select a colorful, sci-fi-oriented style for poster visuals.

    • Aspect ratio: Set to 9:16 or as needed for your design.

  4. Click Generate to produce the image.

Click Generate to produce the image

Step 2: Image-to-Image — Refine or Replace the Background

Goal: Keep the phone case design but make the background more dynamic and futuristic.

Process:

  1. Import the generated image from Step 1 into the Image-to-Image module.

  2. Enter the new prompt:

    A busy neon-lit city street at night with cars flying by in the background and lights reflecting off the rain-soaked ground
  3. Select the output image that best integrates the product and background.

Select the output image that best integrates the product and background

Step 3: Auto Focus

Goal: Ensure precise laser focus to avoid uneven engraving caused by incorrect focal distance.

Process:

  1. Place the phone case under the laser head.

  2. In the focus settings, click Auto Focus.

  3. The machine will automatically adjust until the two focus points converge — then you can proceed to engraving.

Auto Focus

Step 4: Batch Fill

Goal: Automate multi-object engraving to ensure high consistency and productivity.

Process:

  1. On the left toolbar, select the Camera function and click Capture.

  2. Place the materials to be engraved within the working area, then position one reference item on the material surface.

  3. Enable the AI Enhancement Mode and click Batch Fill.

  4. Wait until all engraving objects are properly recognized and duplicated across materials.

Wait until all engraving objects are properly recognized and duplicated across materials.

III. Application Scenarios

When combined, these four features cover almost the entire creative and production pipeline — from concept generation to final product output.

Text-to-Image

Use Cases:

  • Concept Design: Game characters, environments, and architectural ideation.

  • Inspiration: Visualizing story scenes or creative concepts.

  • Art Creation: Producing unique digital artworks.

  • Social Media Assets: Quickly generating visuals that match your post content.

Image-to-Image

Use Cases:

  • Style Transfer: Turn a regular photo into a sketch or painting.

  • Product Visualization: Convert hand-drawn sketches into realistic renders.

  • Old Photo Restoration: Restore and restyle vintage photos.

Auto Focus

Use Cases:

  • Camera Detection: When material surfaces are uneven, the Z-axis automatically adjusts to keep the camera focus consistent.

  • Control Logic: Driven by a stepper motor, the lens performs active tracking and continuous autofocus for precision measurement and positioning.

Batch Fill

Use Cases:

  • Mass Engraving: Serial numbers, logos, QR codes, or names on materials like metal, wood, or acrylic.

  • Variable Data Engraving:
    For instance, entering “Not: 1” automatically generates a series:

    Not: 2, Not: 3, Not: 4

✅ Tip:

Mastering the four AI features — Text-to-Image, Image-to-Image, Auto Focus, and Batch Fill — allows creators to seamlessly transition from imagination to execution, achieving efficient, consistent, and visually stunning engraving results with LaserBurn.

By Operation Tutorial | October 20, 2025
LONGER How To: The Easiest Guide for Rotary Roller usage
By Operation Tutorial | September 3, 2025
LONGER How To: Solving Ray5 Firmware Compatibility Issues from 1.2.4 to 2.2.12
By Operation Tutorial | September 3, 2025
[GPs check]- LONGER Research: Introduction to Color Engraving on Stainless Steel with Nano Pro 12W

As the back-to-school season approaches, whether you're a student majoring in art and design, a campus DIY enthusiast, or a young entrepreneur about to launch a small business, a suitable laser engraver could become a powerful tool for your learning, creativity, and hands-on practice. With a wide range of laser engravers on the market, how do you choose the one that suits you best? This article provides a comprehensive guide based on key factors and offers exclusive back-to-school deals to help you purchase your ideal device at a more affordable price.

Laser Module Type Based on Material
Different laser modules are suitable for engraving different materials. If you mainly work with wood, dark acrylic, leather, fabric, leaves, or stone, a blue laser module is an excellent choice. Blue lasers can accurately engrave intricate patterns and textures on these surfaces, making them ideal for wooden crafts or decorative leatherwork.

If you're working with metals like gold, silver, copper, iron, or aluminum, an infrared (IR) laser module is better suited. These high-energy lasers are capable of precise marking and engraving on metal surfaces.


Higher power isn't always better. For beginners working mainly with wood and acrylic, a mid-range power level, such as 10W, is typically sufficient. A 10W blue laser can achieve detailed engraving and cut 8mm basswood in one pass, significantly boosting efficiency.


Entry-Level & Light Projects (thin wood, paper, leather, some acrylic): 
Recommended Power: 6W - 10W 
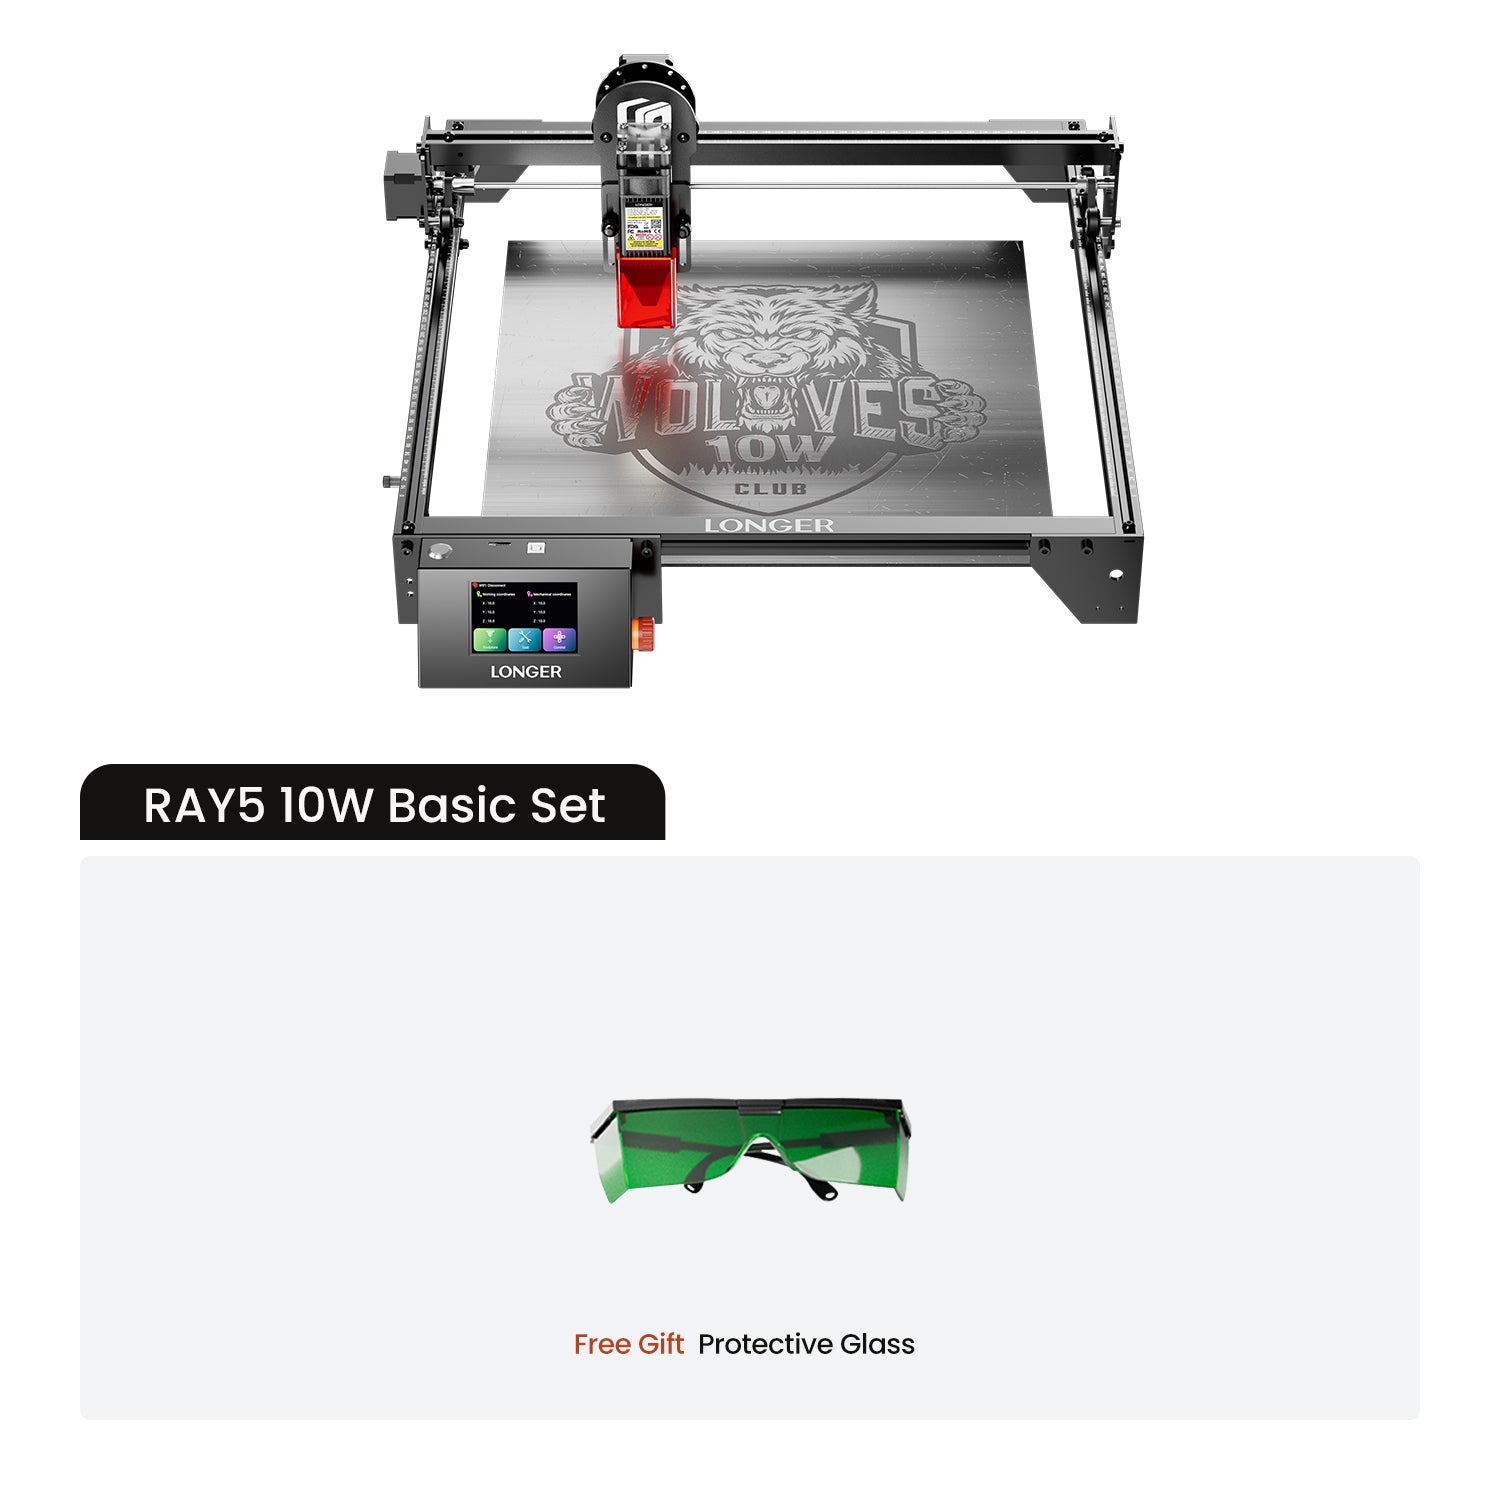
Suggested Models: Nano 6W, RAY5 10W 
Features: Affordable, compact, desktop-friendly, easy to learn. Great for hobbyists and small handmade projects.

Scenario-Based Model Selection

Usage scenarios also influence your choice of engraver. For home use and large-format creations, an XY-axis motion engraver is ideal. The laser head moves over a fixed work area and is great for large wood panels, full leather sheets, and more.

For small-batch studio production like phone cases, metal tags, and electronics, galvo-style engravers offer much faster engraving. These machines use mirrors to direct the laser beam without moving the workpiece. However, galvo engravers are generally more expensive.


LONGER's laser engravers use optimized hardware and software algorithms to break the traditional XY-axis speed barrier, reaching up to 36,000mm/min. This enables large-scale engraving with near-galvo speeds at a much better price-performance ratio.


Professional & High-Efficiency Use (large format, dense materials, fast cutting): 
Recommended Power: 40W+ 
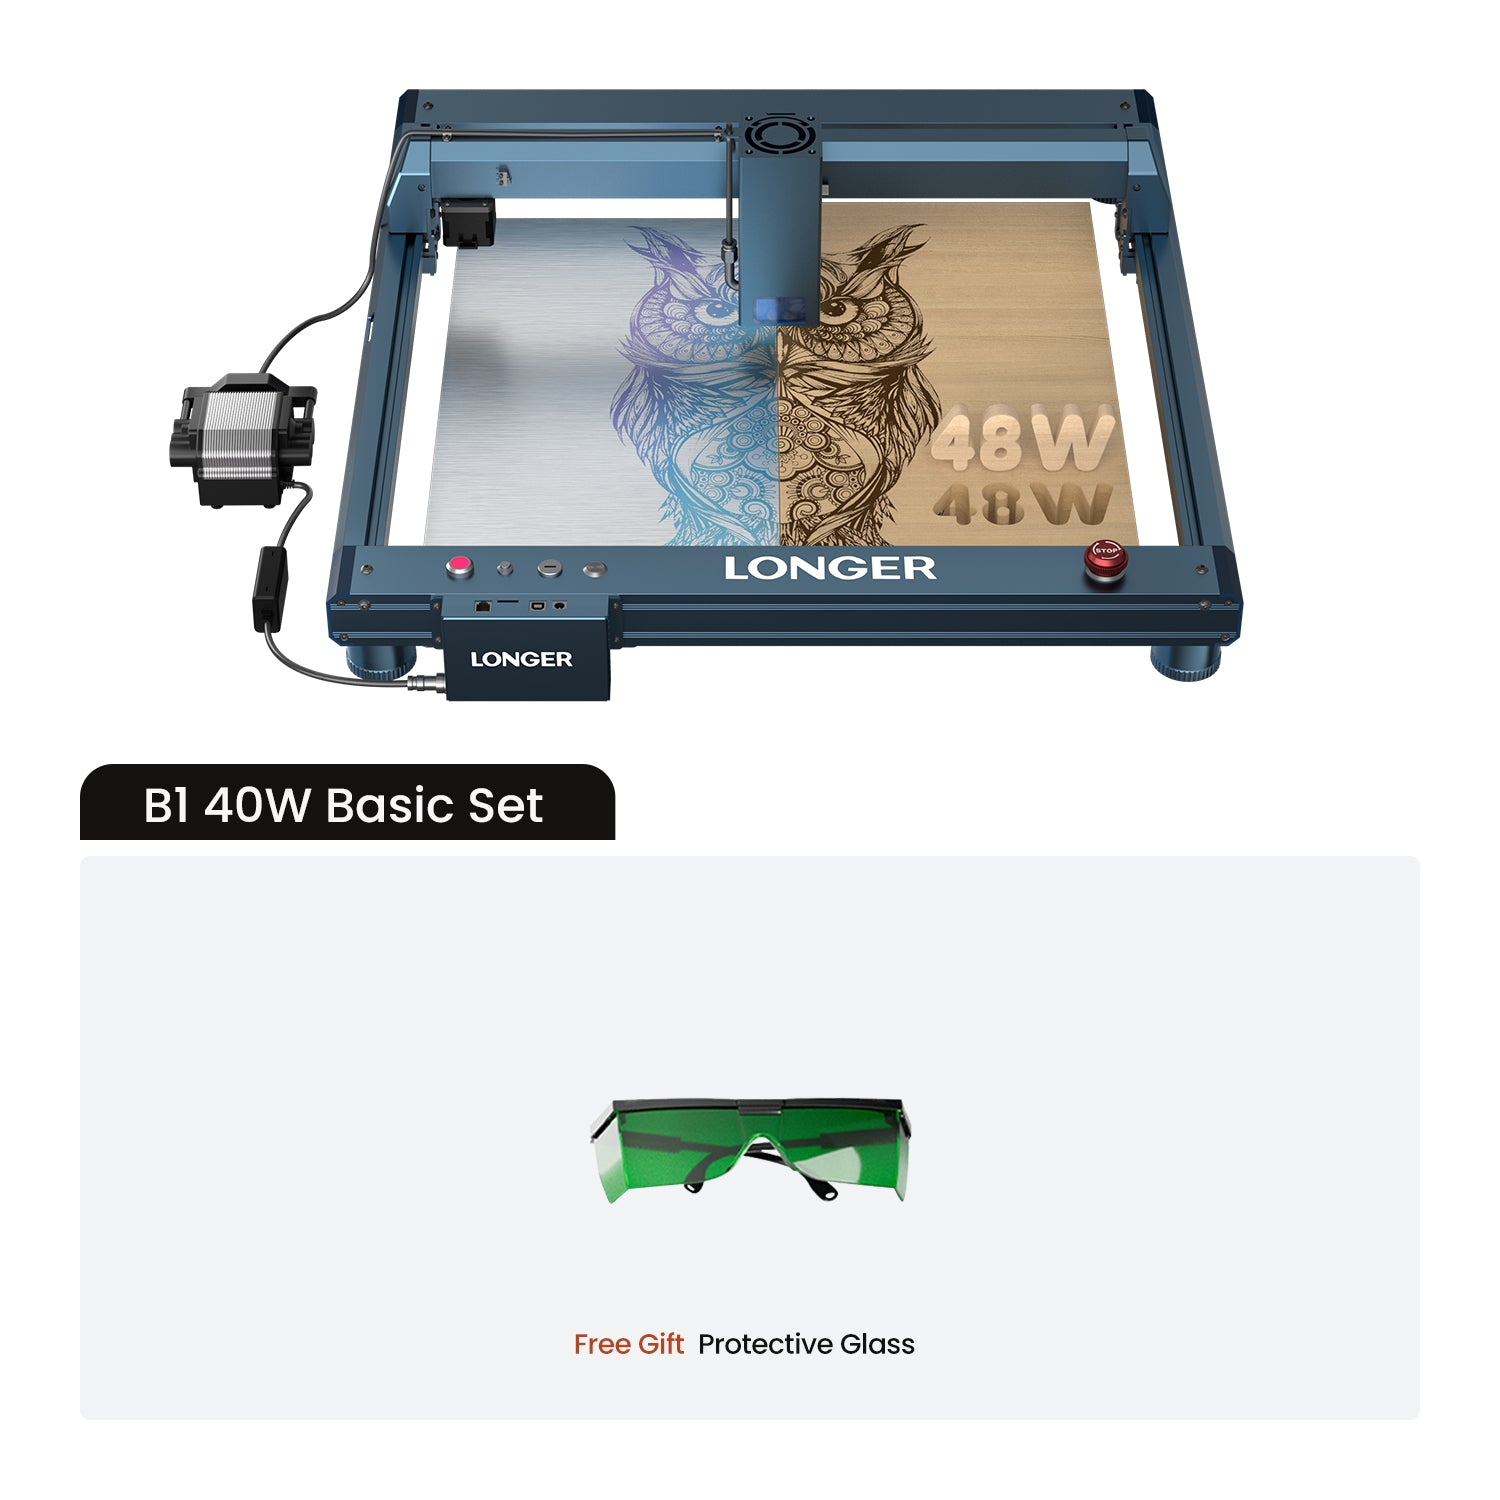
Suggested Models: B1 40W series 
Features: Powerful performance, faster cutting speeds, suitable for heavy-duty tasks and studio production.


Focus on Key Specs: Balancing Precision, Speed, and Power
Precision Affects Quality Engraving precision directly impacts the detail and quality of finished products. For studios or creators with high standards, invest in higher precision models within your budget.


Engraving speed is also crucial for productivity and profitability. Faster engraving means more output in less time—essential for batch orders and customer satisfaction. Different machines offer different speed and precision balances. Choose based on your production needs and budget to ensure both quality and efficiency.


LONGER uses compressed laser spot technology that narrows the beam to just 0.08*0.1mm, enabling ultra-fine detail like hair textures and crisp lines.


Intermediate & Mainstream Use (thicker wood, dark acrylic, fine engraving, small batch production): 
Recommended Power: 20W - 30W 
Suggested Models: Ray5 20W series, Nano Pro 12W 
Features: Excellent balance of speed, accuracy, and material versatility. Ideal for makerspaces, design students, and small studios.

Consider Safety and User-Friendliness

Safety First As laser engravers emit radiation, choose machines certified as Class 1 Laser Products. These comply with strict safety standards and ensure user protection.
Look for features like:


Enclosed shielding to block light and smoke
Auto power-off in case of errors
Emergency stop buttons
Alarms for abnormal operations
Some models also include protective shields, multiple sensors, exhaust fans, child locks, and more.


Ease of Use Assembly-free machines greatly improve the user experience. Some engravers require complex setup, which can discourage beginners. Choose plug-and-play models when possible. LONGER emphasizes ease of use with pre-calibrated, ready-to-use machines. Just unbox, plug in, connect to software, and start engraving—no tedious assembly needed.

Product Recommendations: Find Your Perfect Match

Ray5 Series (Best Value)
Ray5 10W: Affordable entry point. Great for learning the basics.
Ray5 20W (Star Product): Best price-to-performance balance. 

*Ray5 20W Pro Max (Machine + Honeycomb Panel + Air Pump + Roller): Covers all essentials. 
Honeycomb panel protects base, improves airflow. 
Air pump clears smoke for better clarity. Roller enables cylindrical engraving. 

Back-to-school deal: $499.99 (was $869.99), save $370! 

*RAY5 20W Extension Pack (+ Extension Rods): Increases Y-axis space for larger material. Deal: $839.99.   

B1 Series (Professional)
B1 40W: High power for serious work. 

*B1 40W Pro Max (Machine + Honeycomb + Roller + Camera + Enclosure): Ultimate setup. 
Camera allows precise positioning; enclosure improves safety. 
Deal: $1099.99 

*B1 40W IR + Material Pack (+ IR Head + Material Kit)
Infrared laser head for metal marking, material kit for instant use. Deal: $1289.99

Nano Series (Desktop Precision)
Nano Pro 12W: Ideal for jewelry, electronics, and detailed work. 

*Nano Pro Max (Machine + Chuck + Extension Rod)
Chuck enables rotary engraving; rods extend X-axis. Deal: $989.99

Accessory Guide: Upgrade Smart for Better Results

Honeycomb Panel (Highly Recommended!): Protects base, avoids reflection, improves results. 
Air Assist (Highly Recommended!): Removes smoke/debris during engraving, enhances line clarity. 
Roller: Enables cylindrical engraving (cups, tubes, etc.) 
Extension Rods: Expand engraving area. 
Camera: (B1 Series) Allows precise design placement. 
IR Laser Head: For metal/ceramic marking. 

Smoke Purifier: Improves air quality, protects health.


Back-to-School Bundle Tip: Accessories bought separately are often pricier. Back-to-school bundles offer 25%-42% OFF. Choose a package that includes key items like a honeycomb panel and air pump for best value. For example, the Ray5 20W Pro Max's accessory value exceeds the bundle discount.


This back-to-school season, by evaluating your needs, focusing on key specs, prioritizing safety and ease of use, and grabbing the best bundle deals, you can find a high-value laser engraver that supports your learning, creativity, and entrepreneurship. Take action now and start your laser engraving journey today!

By Operation Tutorial | September 2, 2025
LONGER How To: Adjust the Nano Extension Rod for a 300mm Engraving Range
By Operation Tutorial | July 31, 2025