CONTENTS
Trending searches
Wagen ($0)
Wagen ($0)


ABSTRACT
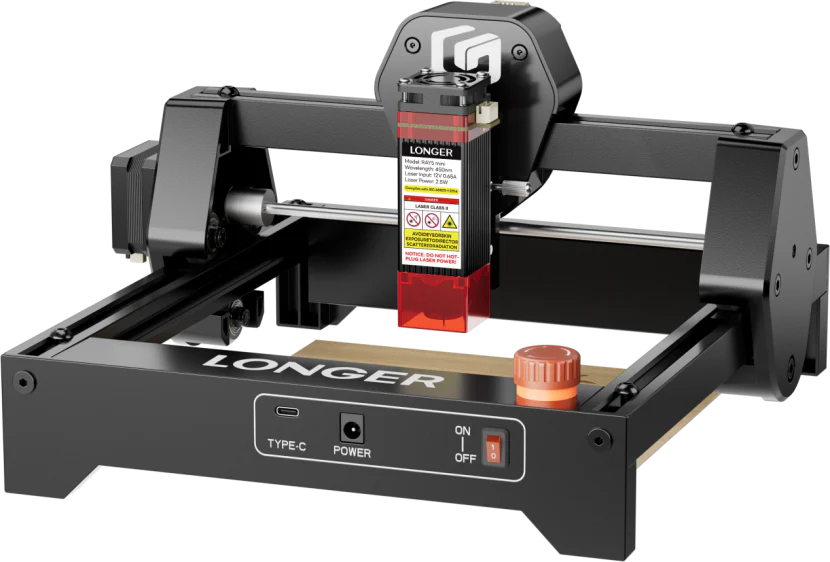
The Ray5 Mini by LONGER is a compact, high-precision diode laser engraver designed for creators, designers, and small studios. With a working area of 130 x 140 mm, it is ideal for detailed and small-scale engraving projects. Built with industrial-grade safety standards in a desktop-sized machine, the RAY5 Mini offers both reliability and convenience. This article provides a step-by-step guide to completing a basic engraving project using the RAY5 Mini, with the support of the LightBurn software.
The Ray5 Mini is LONGER's newly launched small-format laser engraver. Despite its compact footprint, it is equipped with powerful engraving capabilities suited for materials such as wood, plastic, leather and acrylic. It features a precision laser module and user-friendly operation, making it suitable for both hobbyists and professionals.

Before starting your engraving project, follow these steps to configure your machine:
a)Import Device Configuration
Launch LightBurn software and import the RAY5 Mini device profile (RAY5 mini.lbdev).
b)Connect the Machine
Connect the RAY5 Mini to your computer. In LightBurn, select the correct communication port. Once the console displays device information, the connection is successful.
c)Setup the Work Area
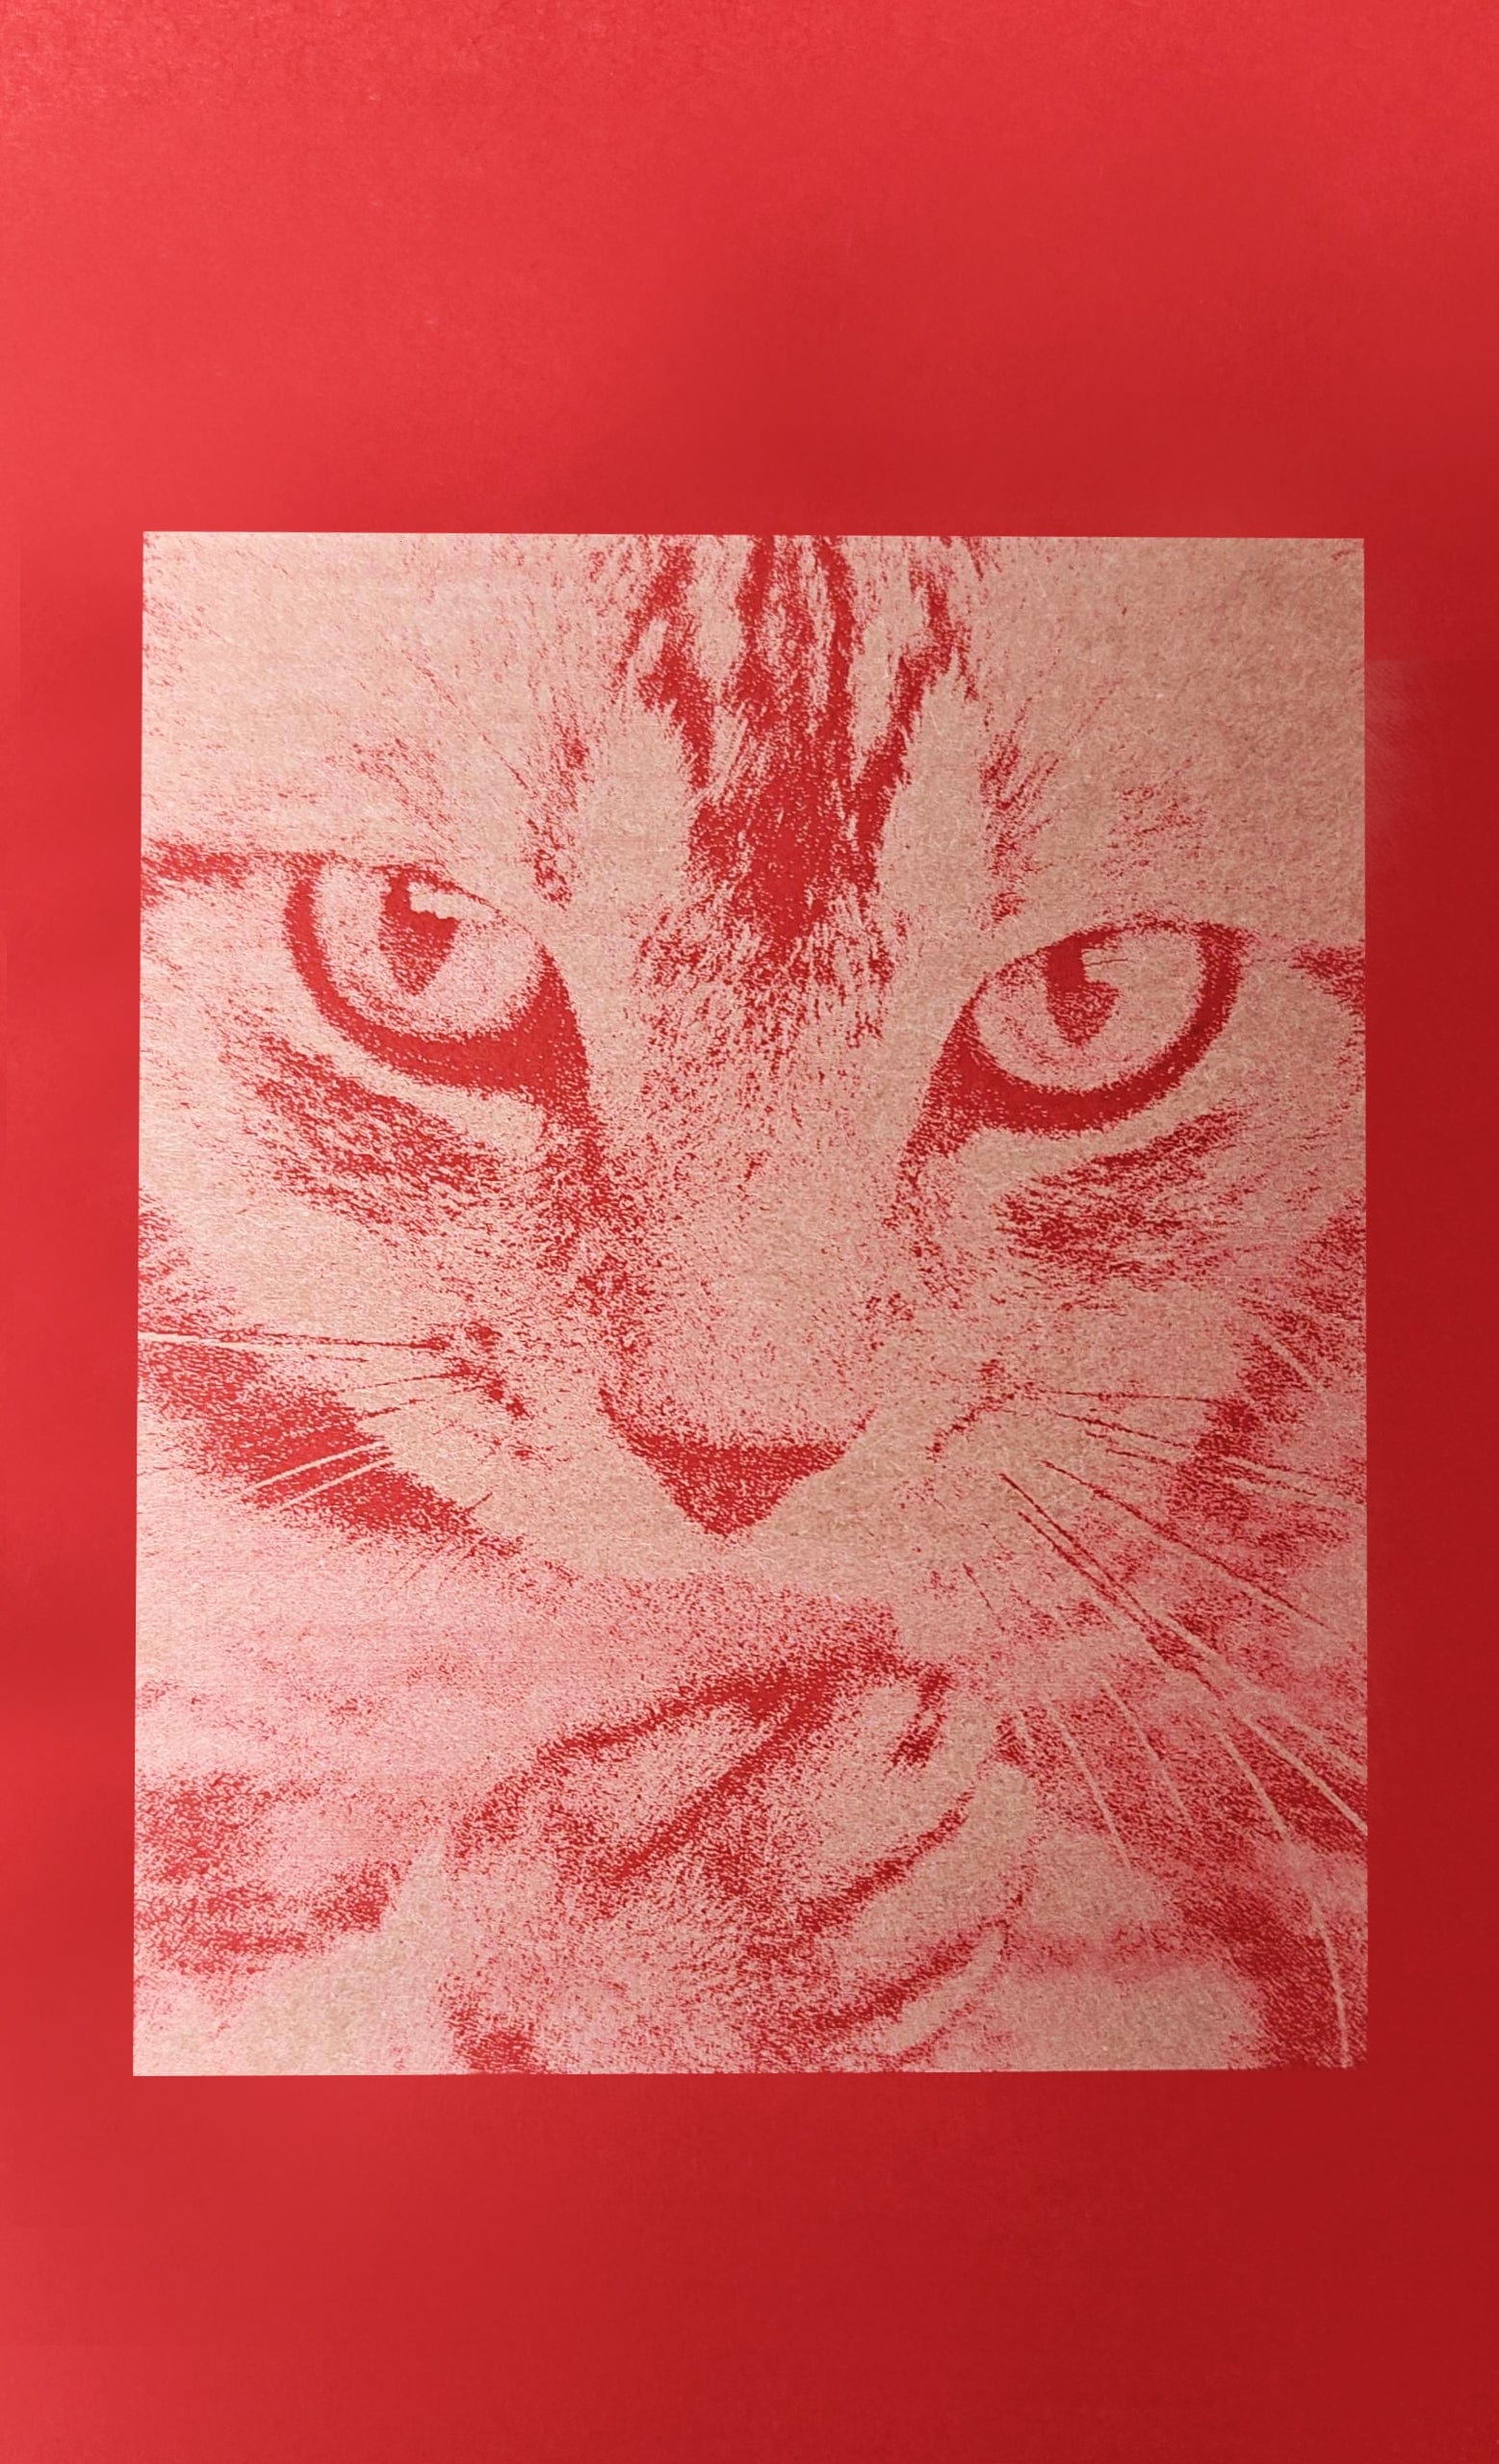
Place a metal plate or other things base under the material to be engraved. In this case, we are using red cardstock for the demonstration.
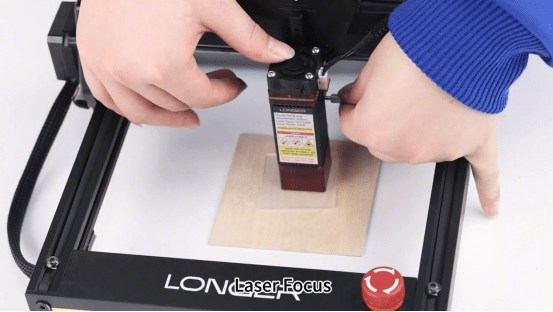
Proper focusing ensures clean and precise engravings. Here's how to focus the RAY5 Mini:
a)Place the focus block on top of the engraving material.
b)Loosen the thumb screw on the laser module.
c)Allow the acrylic cover of the laser module to rest gently on the focus block.
d)Re-tighten the thumb screw to secure the laser height.
e)Remove the focus block. Your laser is now properly focused.
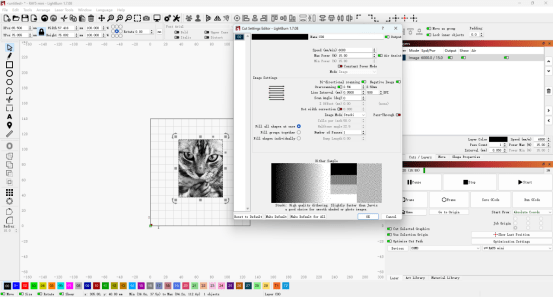
a) Import Design File
Open your desired image or vector graphic in LightBurn.
b) Configure Engraving Parameters
Set the appropriate settings for speed, power, and number of passes according to the material type and thickness.
c) Frame the Work Area
Use the “Frame” or “Border” tool in LightBurn to preview the engraving area and ensure the material is properly aligned.
5. Start Engraving
Once everything is in place:
a)Double-check the material and laser focus.
b)Click “Start” in LightBurn to begin engraving.
The Ray5 Mini offers an accessible yet powerful solution for small-scale laser engraving projects. With proper setup and the use of LightBurn software, users can achieve precise results on various materials. Whether you're creating personalized gifts, intricate patterns, or prototyping small components, the Ray5 Mini is a dependable tool that balances performance, safety, and ease of use.
RELATED POSTS
Program
Company
Visit
(+1) 888-575-9099
Customer Service: support@longer.net
Brand Cooperation: info@longer.net


!


