Lasergravierer-Blog

LONGER Research: How to choose Laser Engraving Efficiency

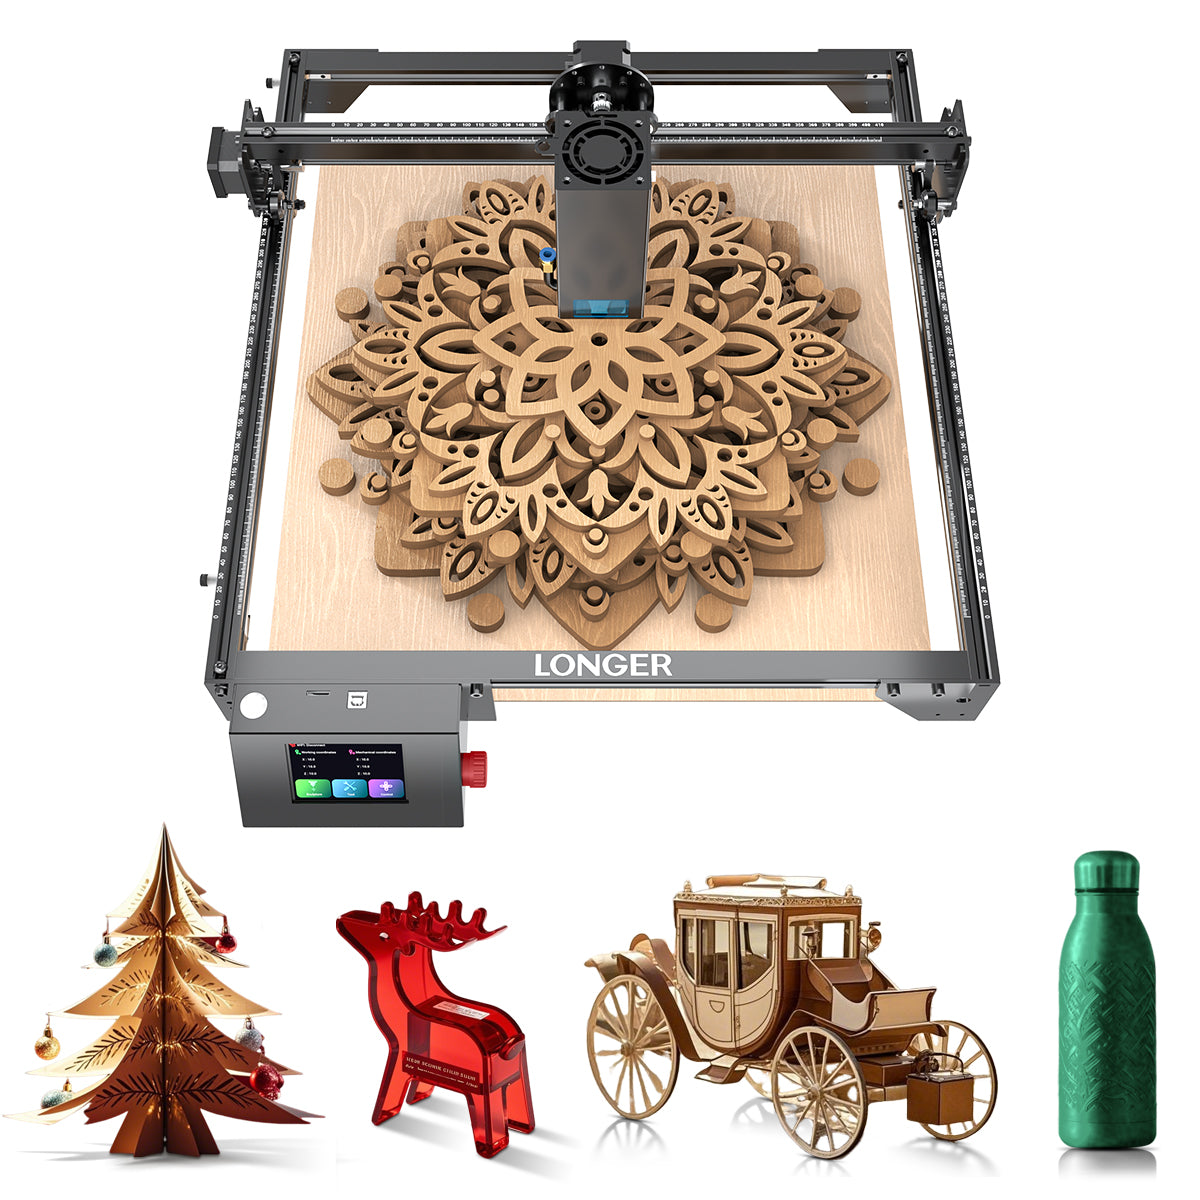
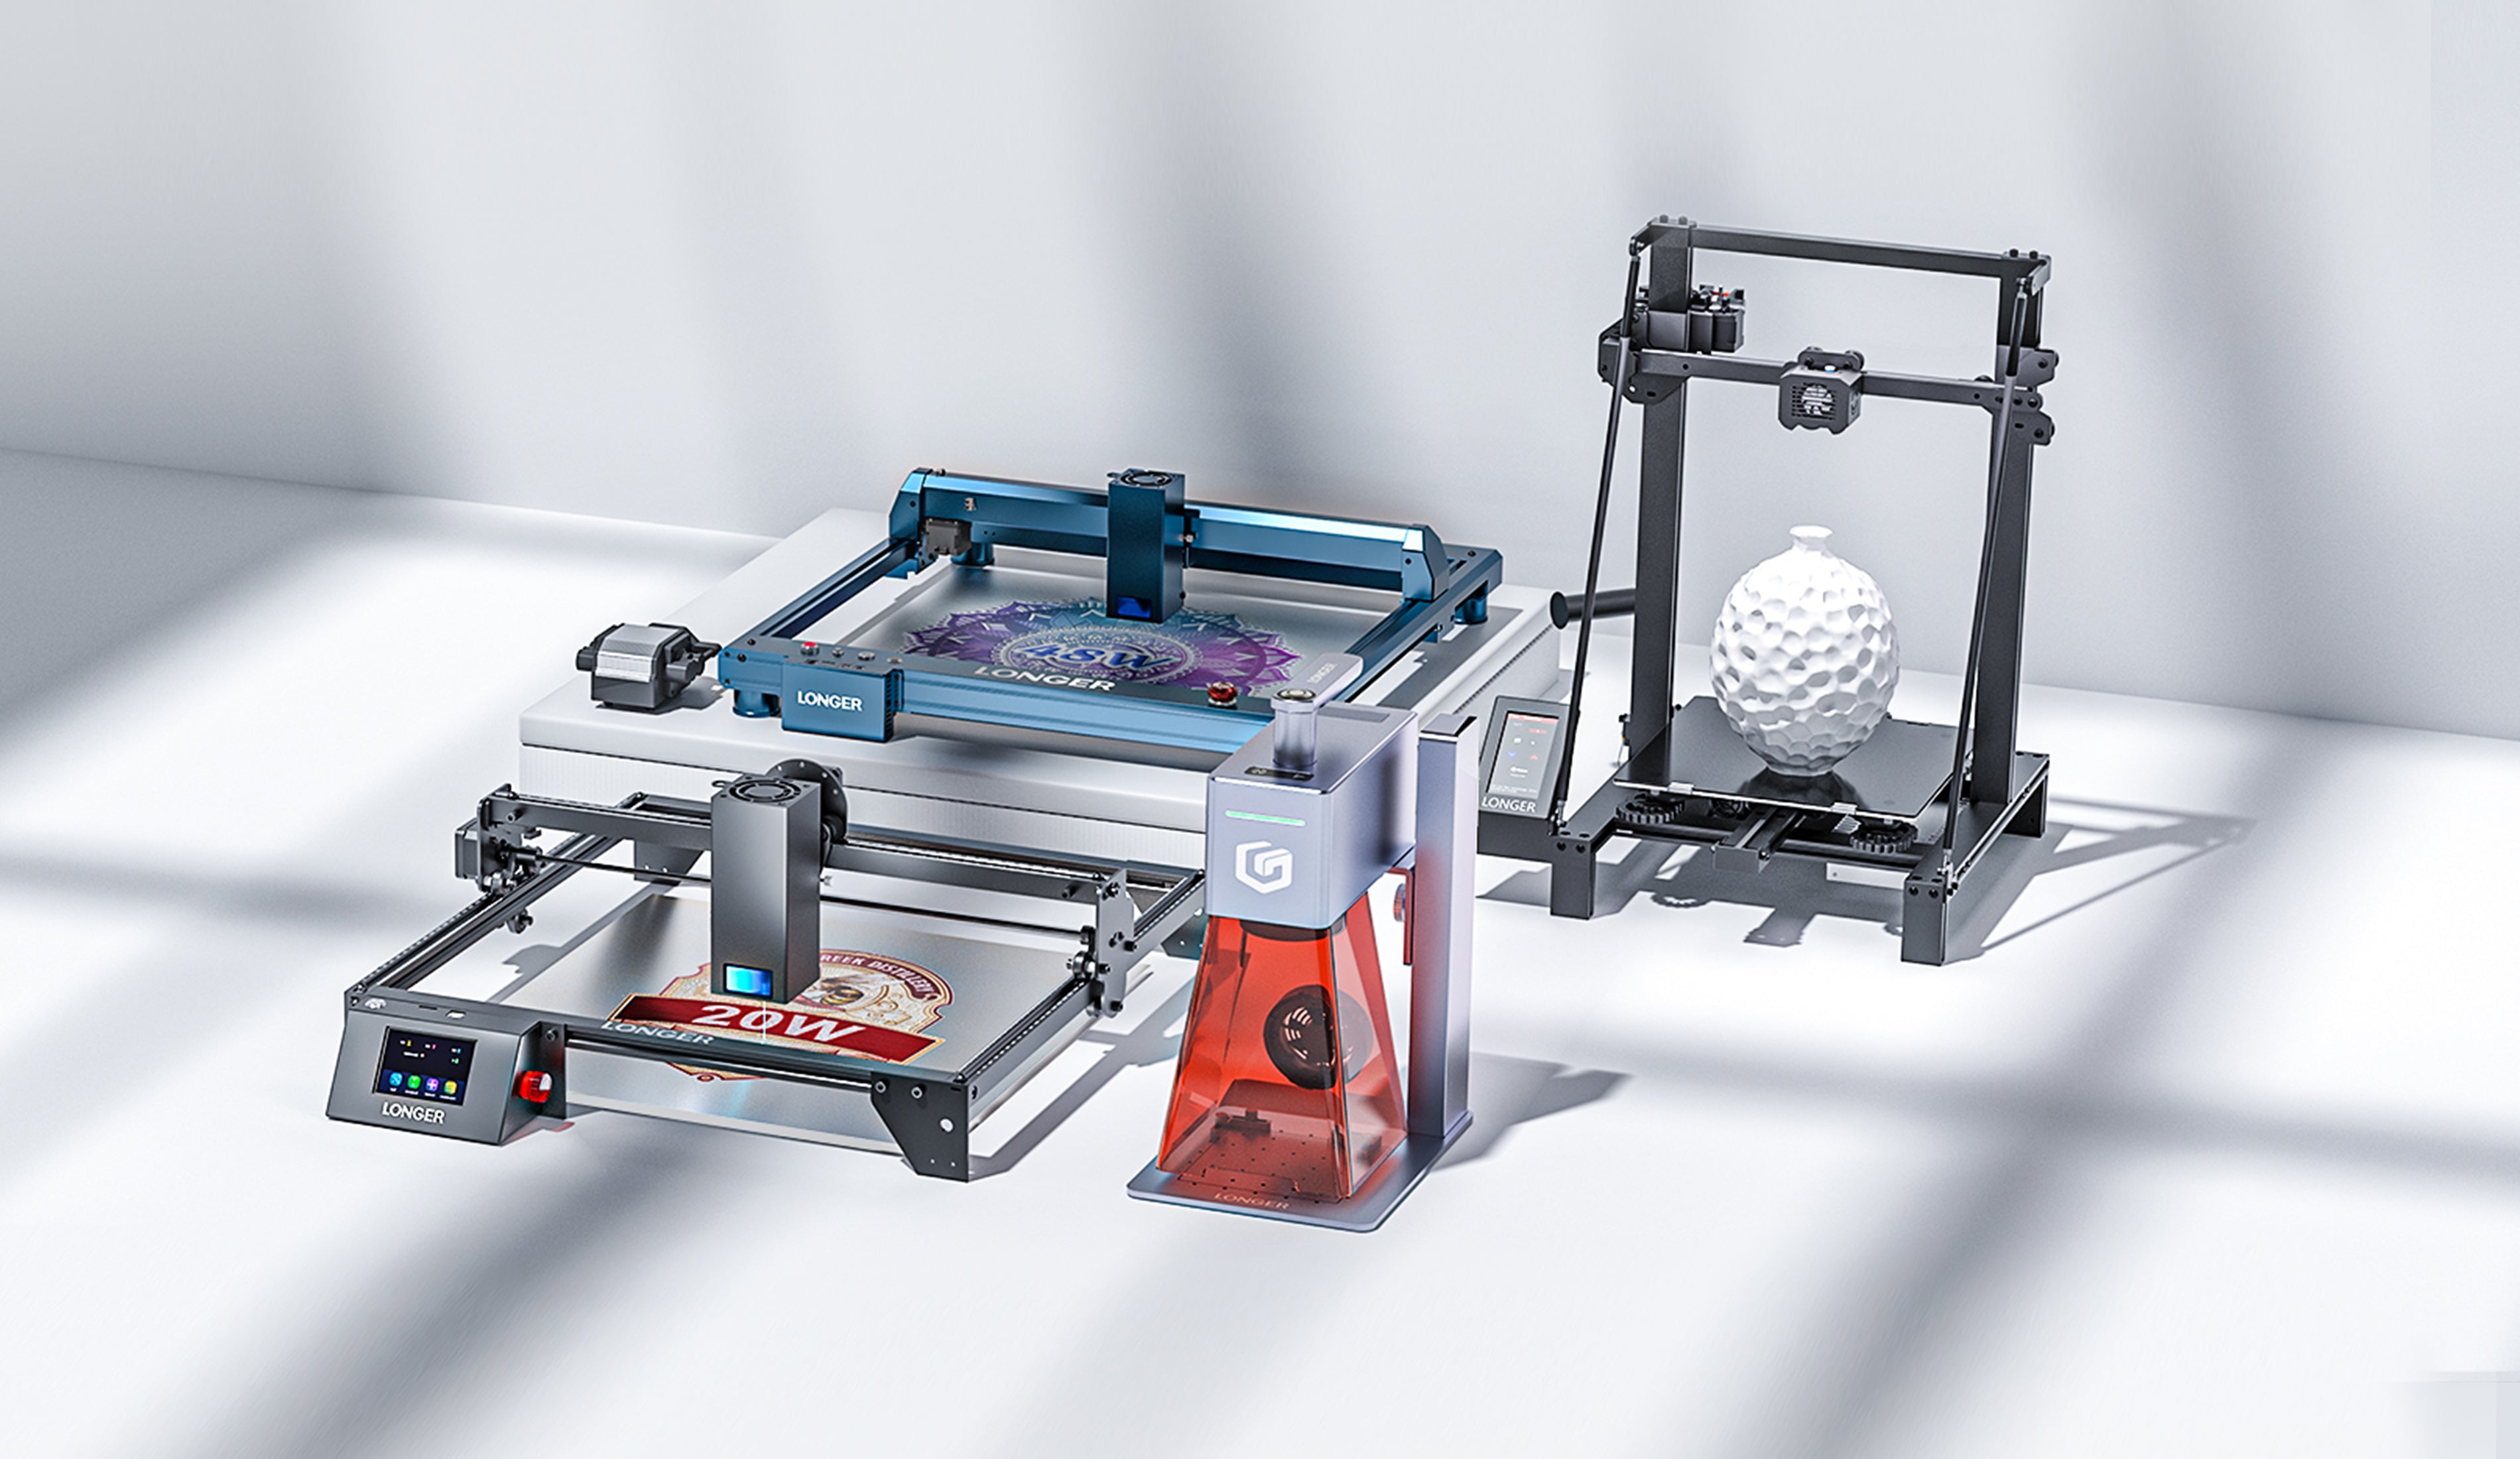
When it comes to choosing a laser engraving machine, the power output plays a crucial role in determining the efficiency and quality of the results. At LONGER, we offer a diverse range of laser engraving machines tailored to different power requirements, ensuring that there's an option to suit every need. From the compact yet versatile Ray5 series, available in 5W, 10W, and 20W models, to the robust and high-powered LaserB1 series, offering 20W, 30W, and 40W variants, our lineup caters to a wide spectrum of applications. Let's delve deeper into the unique opportunities and advantages offered by each of these options.


The RAY5 10W laser engraver is a versatile option, ideal for working with textured materials such as leather, paper, and thin plastic surfaces. Despite its lower power output compared to the B1 model, it still delivers excellent engraving capabilities for creative projects. Like other LONGER models, it comes with free shipping in the US and EU, providing convenience for customers.
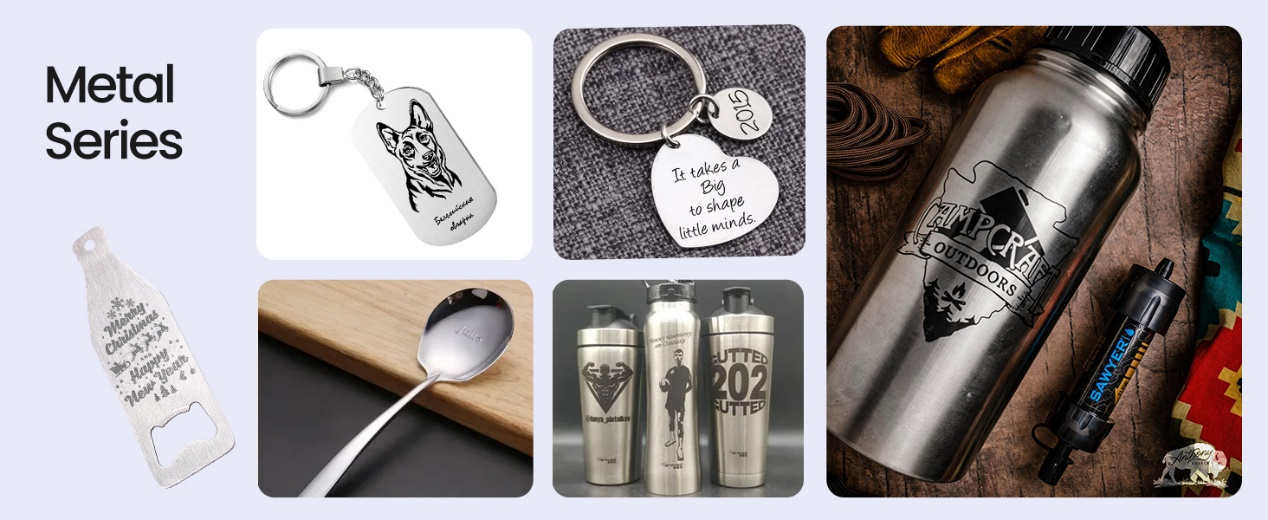
 

On the other hand, the Long Time B1 30W Laser Engraving Machine offers a balanced power output of 30W, sitting between the B1 40W and RAY5 10W models. It's suitable for printing on materials like wood, acrylic, and rubber, offering manufacturers versatility in their applications. With a good compromise between speed and accuracy, this model delivers reliable performance. 
 

Choosing the right LONGER laser engraving machine based on power output is essential for boosting productivity and achieving desired results. Whether you need more power for faster engraving or less power for intricate designs, LONGER offers the options you need


When considering the optimal power output for a LONGER laser engraving machine, it's essential to evaluate your specific requirements, the materials you'll be working with, and the desired outcomes. LONGER offers a diverse range of laser engraving machines to suit various needs, including the Ray5 series with power options ranging from 5W to 20W, and the LaserB1 series with power options ranging from 20W to 40W. By carefully considering these factors and conducting thorough research, you can ensure that the machine you choose aligns perfectly with your needs. If possible, testing the machine before making a purchase can provide valuable insights into its suitability for your projects.


Conclusion

When selecting the best laser engraving machine for your needs, consider factors such as material compatibility, engraving speed, efficiency, depth, intensity, versatility, and cost. While higher power outputs can increase productivity, they may also impact engraving quality and precision. Evaluate the depth and intensity of the engravings you require, as higher power outputs are typically better suited for deep engravings with high contrast.
By Lasergravierer-Blog | April 16, 2024
LONGER Research: Comparative Analysis of Red and Blue Laser Engraving

With the continuous advancement of technology, laser engraving technology has become an increasingly popular process. There are many types of laser engravers, including portable laser engravers and traditional desktop models. Convenience is an important consideration when choosing which type of laser engraver to use. This article will compare these two types of conveniences to help readers better understand their pros and cons.


Portability

Portable laser engraving machines obviously have advantages in terms of portability. They are usually smaller and lighter than traditional desktop models and can be easily carried to different places for use. Whether in the studio, at a trade show or at an outdoor event, portable laser engraving machines can be quickly deployed and put into use. This portability allows users to use laser engraving technology more flexibly to realize creative expression and production anytime and anywhere.


In comparison, traditional desktop models are often bulky and need to be fixed in one place for operation. While desktop laser engravers typically have larger work areas and more power, their mobility is greatly limited. Users need to transport materials to where the laser engraver is located, which can add time and cost, especially for projects that require handling large materials.


Setup and operation


Portable laser engraving machines are generally designed to be simpler and easier to use, making them relatively easy to set up and operate. They often come with simple and intuitive interfaces and operating guides that allow even inexperienced users to get started quickly. Additionally, due to their compact design, portable laser engravers typically require fewer installation and adjustment steps and can be put into use more quickly.


In comparison, traditional desktop models may require more time and skill to set up and adjust. Due to its complex structure and functions, users may need to spend more time learning and becoming familiar with the operating procedures. In addition, since desktop laser engraving machines usually have more functions and parameter setting options, users may need more technical knowledge to adjust and optimize to achieve the desired engraving effect.


Applicable scene

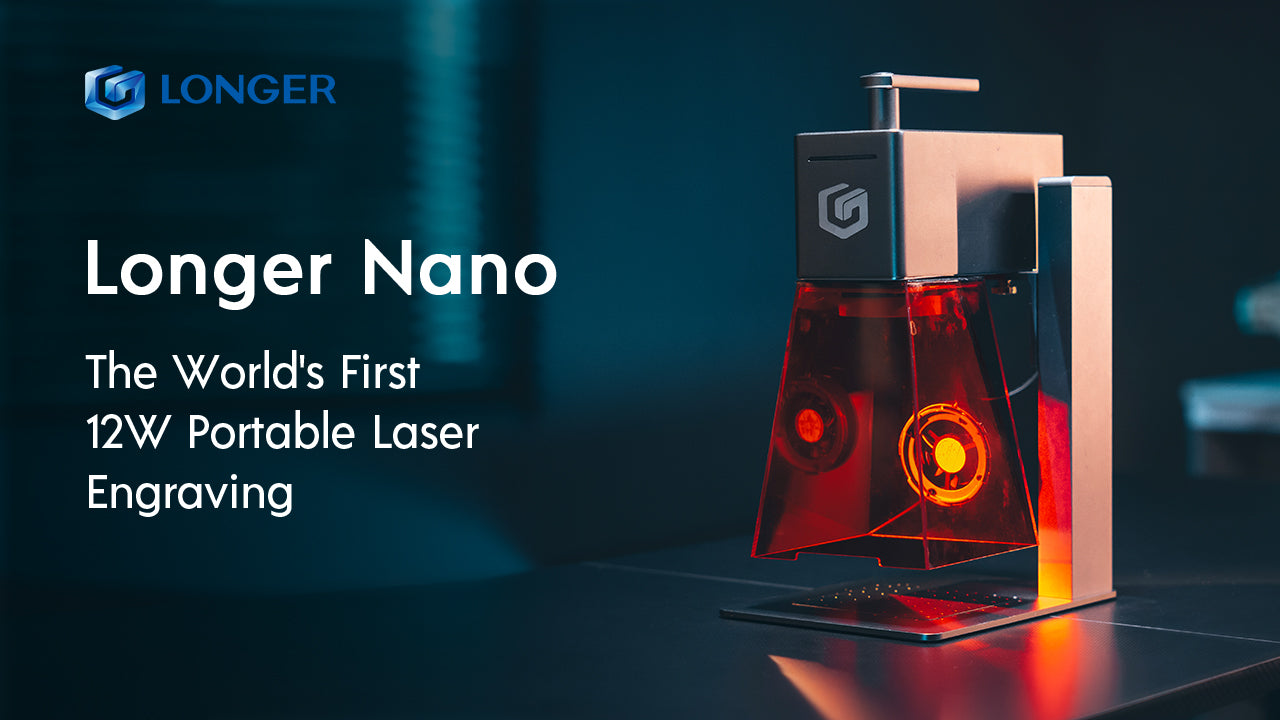
Portable laser engraving machines are suitable for scenarios that require flexible movement and rapid deployment. For example, artists can use portable laser engraving machines in different studios, exhibition venues or outdoor events to realize their creative ideas. In addition, portable laser engraving machines are also suitable for education and training fields, where students and teachers can easily carry the equipment for teaching and practical operations. Additionally, our Longer Nano boasts a powerful 12W of power and a fast speed of 2200mm/s, ensuring fast and efficient performance.


The traditional desktop laser engraving machine is more suitable for scenarios that require long-term continuous work and large-scale projects. For example, manufacturing companies may prefer to use desktop laser engraving machines to achieve mass production and efficient processing. Additionally, due to their larger work area and greater power, desktop laser engravers can often handle projects of larger sizes and thicker materials. Longer laser engravers are available on the desktop, such as the LaserB1 series and Ray5 series


Conclusion


In conclusion, Longer's portable laser engravers offer unparalleled advantages in terms of portability, flexibility, versatility, ease of use, and time-saving capabilities. These devices empower users to unleash their creativity and achieve superior engraving results with convenience and efficiency, making them an indispensable tool for various applications and industries.

By Lasergravierer-Blog | April 12, 2024
LONGER Research: Portable Laser Engravers vs. Traditional Desktop Models

In today's era of rapid technological development, laser technology has become an important part of many fields. In laser technology, red laser and blue laser have always been the focus of attention. The contrast between them is not only the difference in color, but also the unique characteristics and advantages displayed in different application fields. Let us explore the comparison between red laser and blue laser and explore their different charms in the world of technology.


Wavelength


When we take a closer look at red lasers and blue lasers, their wavelength differences are not just differences in color, but also reflect differences in the energy and properties of light. The wavelength of red laser light is at the longer end of the visible spectrum, typically between 800 and 1064 nanometers, which gives it its bright red color. In contrast, blue laser has a shorter wavelength, approximately between 445 and 500 nanometers, which causes it to appear a deeper blue color. This difference in wavelength determines their position in the spectrum and corresponding energy levels. Blue laser has a higher energy density due to its shorter wavelength, which makes it uniquely advantageous in certain applications


Manufacture


In addition to differences in wavelength and application fields, red lasers and blue lasers also differ in the manufacturing and cost of laser devices. Because blue lasers require more complex manufacturing processes and higher quality materials, blue laser devices are generally more expensive to manufacture than red laser devices. This has also resulted in red lasers being more common in some consumer electronics products, such as laser pointers or laser pointers. Red lasers typically use helium-neon gas, dyes, or specific semiconductor materials that produce light with wavelengths between 800 and 1064 nanometers. In contrast, the main laser material of blue laser is gallium nitride (GaN) semiconductor, which can produce light with wavelengths between 445 and 515 nanometers. There are obvious differences in the laser structure between the generation processes of red laser and blue laser. The laser structure of a red laser can be a gas laser, a dye laser, a semiconductor laser or a solid laser, depending on the laser material used. Helium-neon gas laser is one of the earliest red lasers developed, and semiconductor laser is one of the common types of red lasers. In contrast, blue lasers usually adopt a semiconductor laser structure, mainly using semiconductor materials such as gallium nitride (GaN). These different laser structures have an important impact on the performance and application of lasers, such as power output, wavelength stability, and complexity of the preparation process. There are significant differences in the excitation methods of red laser and blue laser generation processes. Red laser can be excited in various ways, including electric shock, beam incidence or chemical reaction. Specifically, helium-neon gas lasers can be excited by electric shock to generate laser light, while dye lasers can be realized by laser beam incidence or chemical reactions. In contrast, blue lasers are typically achieved by electrically or optically injecting semiconductor materials such as gallium nitride. These different excitation methods determine the energy efficiency, stability and complexity of the preparation process of the laser, thereby affecting the performance of red lasers and blue lasers in their respective application fields.


Application


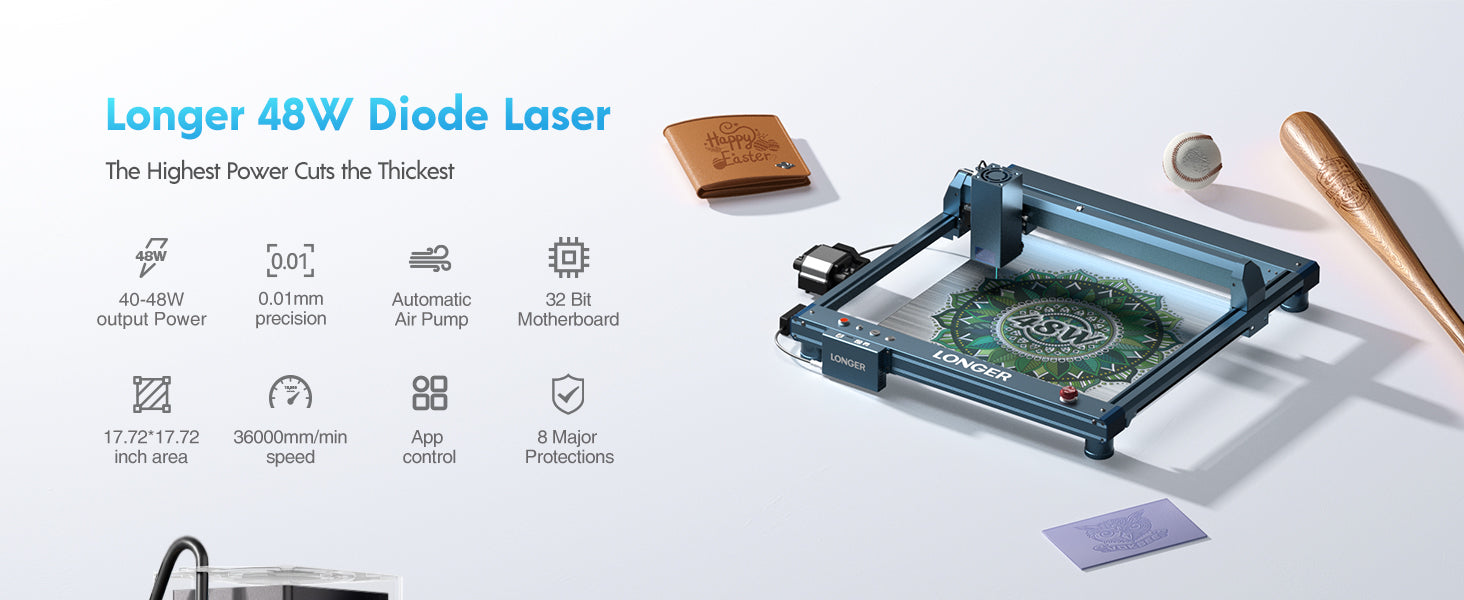
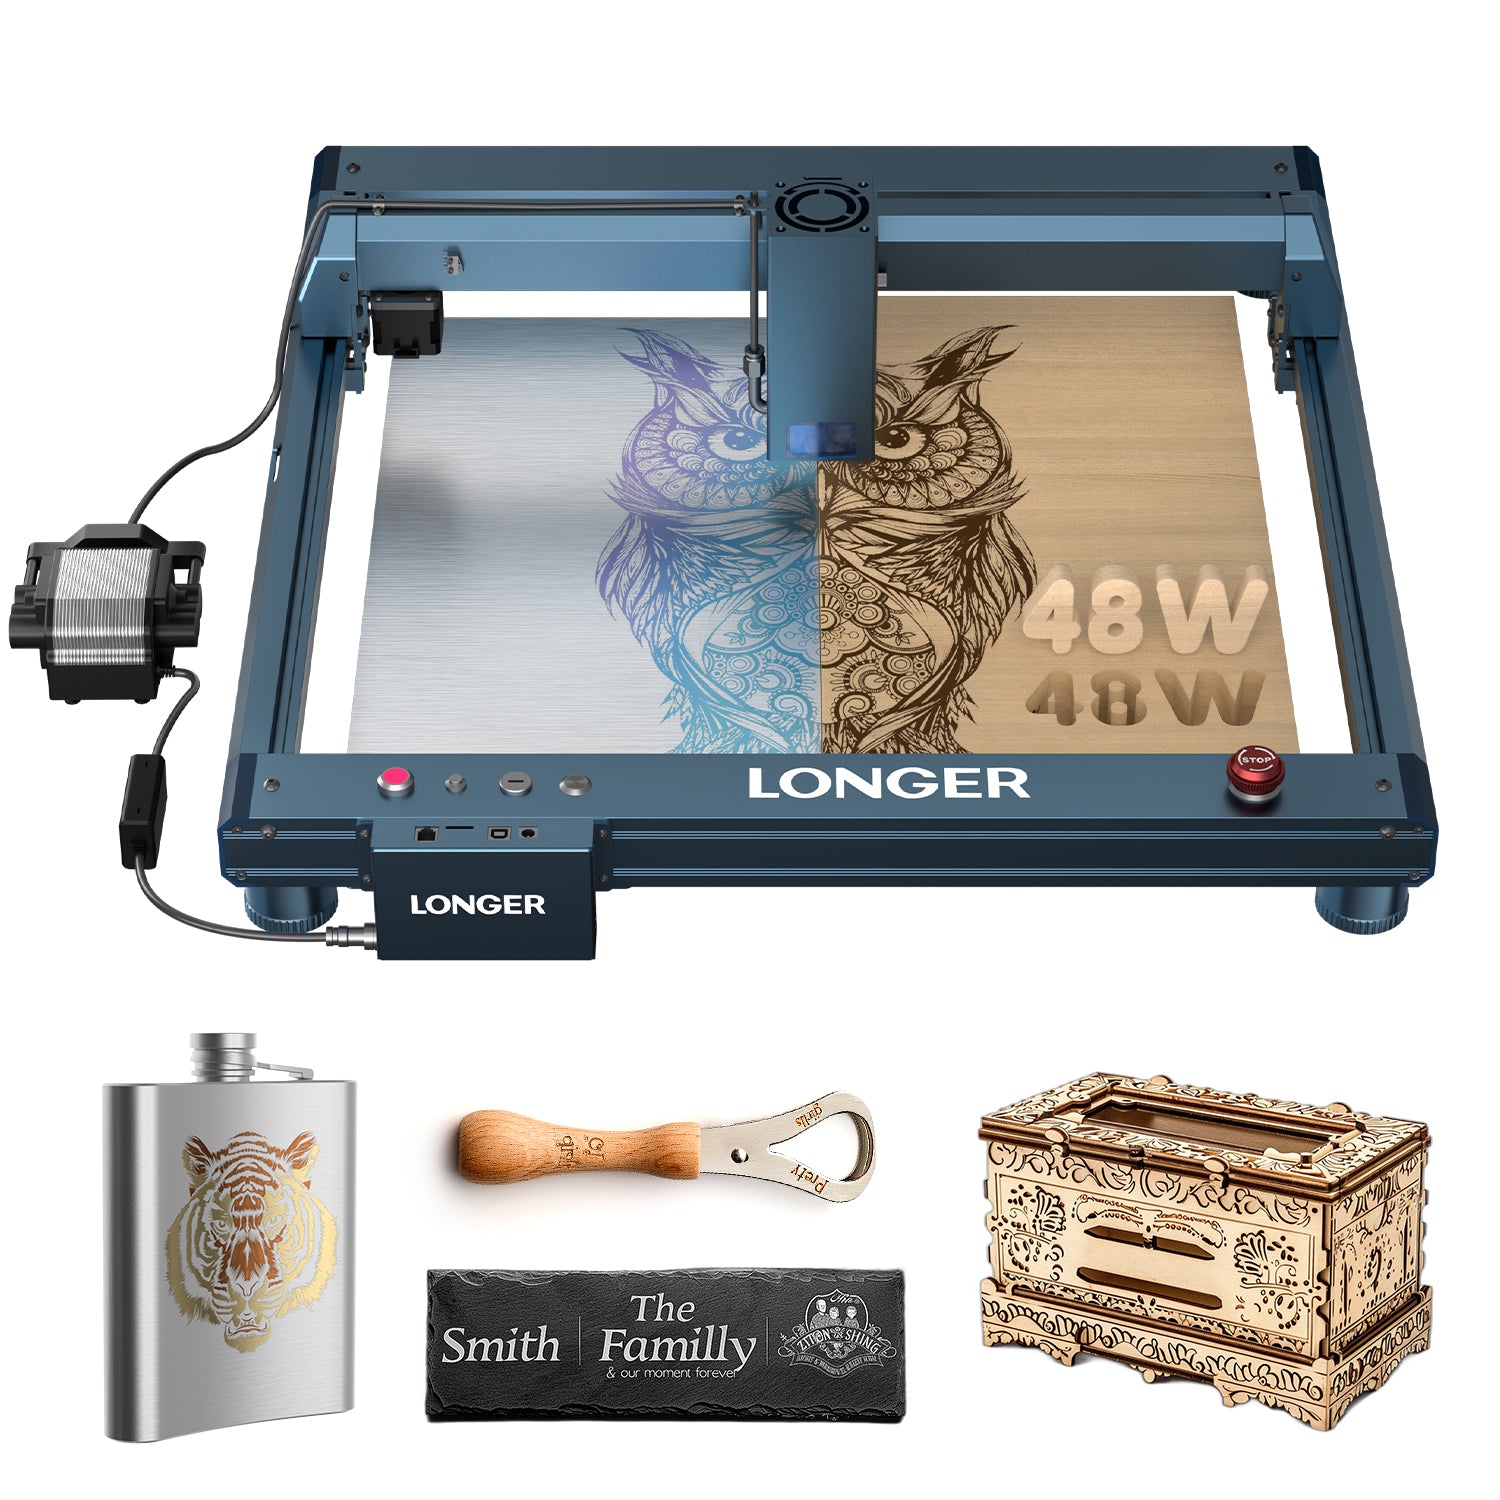
In terms of optical storage, blue lasers are widely used in high-definition optical discs and Blu-ray discs because of their shorter wavelength and higher data density. In contrast, red lasers work in traditional DVDs and CDs. In the medical field, due to the higher energy of blue laser, it has wider applications in laser surgery and laser therapy, enabling more precise treatment effects. Infrared lasers typically operate at longer wavelengths, typically in the 800 to 1064 nanometer range. These longer wavelengths are suitable for engraving or marking materials that effectively absorb infrared light. LONGER Ruby pulsed infrared laser adopts the most advanced technology and an ultra-fine laser spot size of 0.03*0.03mm. Longer Ruby can achieve complex details accurate to millimeters, and perform perfect engraving on metal, plastic and other objects. Blue lasers operate at shorter wavelengths, typically in the 400 to 500 nanometer range. These shorter wavelengths provide higher energy density and are suitable for engraving materials that absorb blue light efficiently. Laser B1 is equipped with an 8-core diode 44-48W power laser, which increases the laser engraving machine's cutting capacity by 20%. The highly concentrated laser beam increases the cutting capacity by more than 20%, and can cut 40mm basswood and 50mm acrylic multiple times. 17.72 x 17.32 inches (450 x 440mm) engraving area, ideal for A3 panels. The engraving speed is as high as 36,000mm/min, equipped with a 32-bit chipset and intelligent air assist system with automatic lighting control, 8 major safety protections, and a solid frame. Designed for advanced users who are proficient in laser engraving and cutting technology, the Laser B1 has superior cutting capabilities and can easily cut through a variety of materials. Whether you're working with wood, acrylic, or metal, the Laser B1 delivers powerful cutting performance for complex projects and ensures efficient, precise results every time. 


Conclusion


In general, red laser and blue laser, as two important representatives of laser technology, each show their unique charm in different fields. Their comparison is not only the difference in color and wavelength, but also the comparison in application fields, cost and performance. With the continuous advancement and development of science and technology, we believe that red lasers and blue lasers will continue to play an important role in their respective fields, bringing more innovation and convenience to mankind. LONGER's laser engraving machines, including the LaserB1 and Ray5 series, come standard with blue laser heads. However, for customers who prefer red lasers, they have the option to purchase our LONGER Ruby laser head for replacement. With 8 years of professional research in laser engraving machines, LONGER is committed to providing customers with high-quality products that offer excellent value for money.

By Lasergravierer-Blog | April 12, 2024
Mastering Precision: Essential Tips for Laser Cutting Success

Proper calibration and setup are critical to achieving high-quality results in laser cutting and engraving. Whether you are working with wood, acrylic, fabric, or metal, following correct operating practices ensures accuracy, efficiency, and consistency.

1. Proper Calibration

Accurate calibration is the foundation of successful laser cutting.

This includes:

  • Fine-tuning the cutting bed level
  • Ensuring precise laser beam alignment
  • Verifying correct focal distance and positioning

Consistent calibration throughout operation helps maintain stable cutting accuracy and prevents quality issues.

With LONGER laser machines, precise calibration ensures smooth material processing and clean, professional-grade results. The fixed-focus system also helps maintain consistent cutting depth, reducing the need for frequent manual adjustments.

2. Material Selection Matters

Different materials respond differently to laser energy, making material selection a key factor in performance.

Important factors include:

  • Thickness
  • Density
  • Surface reflectivity

For example:

  • Delicate materials like paper or fabric require lower power settings to avoid burning or scorching
  • Dense materials such as wood or acrylic require higher power and slower speeds for clean cuts

LONGER laser machines provide flexible settings that allow users to adapt easily to different material types.

3. Always Perform Test Cuts

Before starting complex or final projects, test cuts are essential.

Test cutting helps you:

  • Adjust power and speed settings
  • Verify focus accuracy
  • Avoid material waste or damage

For instance:

  • When engraving fine details on metal with the RAY5 20W, test cuts help prevent discoloration or overheating
  • When cutting thick materials like basswood or acrylic with the Laser B1 series, trial runs ensure clean edges and consistent performance

4. Ensure Proper Ventilation

Laser cutting produces smoke, dust, and fumes that may be harmful if not properly managed.

Always:

  • Work in a well-ventilated environment
  • Use an exhaust system or air filtration setup

This protects both the operator’s health and machine performance.

5. Secure Material Placement

To ensure accuracy during operation, materials must be firmly fixed in place.

Recommended methods include:

  • Clamps
  • Double-sided adhesive
  • Custom fixtures

Proper fixation prevents movement, vibration, or misalignment during cutting.

6. Optimize Cutting Parameters

Fine-tuning settings is essential for achieving optimal results.

Adjust:

  • Power
  • Speed
  • Frequency

Balancing these parameters helps reduce:

  • Burning
  • Melting
  • Edge charring

Experimentation is key to finding the best combination for each material.

7. Maintain the Laser Lens

Regular lens maintenance is critical for consistent performance.

Dust or residue buildup can:

  • Reduce cutting accuracy
  • Weaken laser power
  • Affect beam quality

Always clean the lens using manufacturer-recommended methods and replace it when necessary.

8. Use Assistive Technologies

Modern laser systems may include:

  • Camera alignment systems
  • Real-time monitoring tools
  • Smart positioning software

These features improve precision and efficiency, especially for complex or detailed designs.

Conclusion

By following proper calibration, material selection, testing, and maintenance practices, users can achieve highly precise and efficient laser cutting results.

With LONGER laser engraving machines—developed through years of innovation in laser technology—you are equipped with reliable tools designed to enhance creativity, accuracy, and productivity across a wide range of materials and applications.

By Lasergravierer-Blog | April 11, 2024
Troubleshooting Common Issues with Ray5 20W Laser Cutter

The LONGER Ray5 20W laser engraving machine is a powerful and versatile tool widely used for cutting and engraving a variety of materials. However, like any precision device, users may occasionally encounter technical issues that affect performance and workflow efficiency.

Understanding how to identify and resolve these common problems is essential for maintaining consistent output quality and ensuring long-term machine stability. This guide outlines the most frequently encountered issues with the Ray5 20W and provides practical troubleshooting solutions.

Poor Cutting Precision

One of the most common issues is inaccurate or inconsistent cutting results.

Possible causes:

  • Loose belts or mechanical components
  • Improper focus adjustment
  • Incorrect machine calibration
  • Unstable working surface

Solutions:

  • Tighten belts and check all mechanical connections
  • Recalibrate the laser module and ensure proper focusing
  • Level the working bed before operation
  • Secure the material firmly to prevent movement

Maintaining mechanical stability is key to achieving precise cutting results.

Insufficient Engraving Depth

If engraving appears too light or shallow, the issue is often related to energy output or settings.

Possible causes:

  • Low laser power setting
  • Incorrect speed configuration
  • Dirty or obstructed lens

Solutions:

  • Increase laser power gradually
  • Reduce engraving speed for deeper marking
  • Clean the laser lens regularly to ensure optimal beam transmission

Proper parameter adjustment is critical for achieving consistent engraving depth.

Software Connection Issues

Connectivity problems between the laser cutter and control software can interrupt workflow.

Possible causes:

  • Faulty USB cable or connection port
  • Driver installation errors
  • Incompatible software version

Solutions:

  • Replace or reconnect USB cables
  • Reinstall device drivers
  • Ensure software is updated and compatible with the Ray5 system

Stable communication between software and hardware is essential for reliable operation.

Burn Marks or Excessive Charring

Burnt edges or excessive charring can affect the quality of finished work.

Possible causes:

  • Excessive laser power
  • Slow engraving speed
  • Poor airflow or ventilation

Solutions:

  • Reduce power settings appropriately
  • Increase engraving speed
  • Improve ventilation or use an exhaust system

Balancing power and speed is key to clean engraving results.

Lens Contamination or Degradation

A dirty or damaged lens can significantly reduce laser performance.

Possible causes:

  • Dust buildup during operation
  • Smoke residue accumulation
  • Lack of regular maintenance

Solutions:

  • Clean the lens using recommended cleaning tools
  • Inspect regularly for damage or wear
  • Replace the lens if necessary

Routine maintenance ensures long-term performance stability.

Conclusion

While the LONGER Ray5 20W laser cutter is designed for reliability and precision, proper maintenance and correct operational settings are essential for optimal performance. Most common issues can be resolved through simple adjustments, regular cleaning, and proper calibration.

By understanding these troubleshooting methods, users can minimize downtime, improve engraving quality, and ensure smooth, efficient operation across a wide range of projects.


By Lasergravierer-Blog | April 9, 2024
Unleashing Creativity: The Evolution of Laser Engraving Technology

Laser engraving technology has rapidly evolved over the past decades, transforming from a specialized industrial process into an accessible creative tool for makers, designers, and small businesses. Today, laser engraving machines are widely used to turn everyday materials into personalized, detailed, and high-value creations.

From custom gifts to artistic works and functional products, this technology has opened new possibilities for creative expression with a level of precision that was previously difficult to achieve.

From Industrial Tool to Creative Platform

Originally, laser engraving systems were primarily used in industrial manufacturing for marking, cutting, and serial production. These machines required complex setups and were limited to professional environments.

However, advancements in laser diode technology, control systems, and software integration have significantly lowered the barrier to entry. Modern laser engravers are now more compact, user-friendly, and affordable, making them accessible to a much wider audience.

As a result, laser engraving has shifted from a purely industrial function to a creative platform for personalization and innovation.

Expanding Creative Possibilities

One of the most significant advantages of laser engraving technology is its ability to work with a wide range of materials, including:

  • Wood
  • Acrylic
  • Leather
  • Glass
  • Metal surfaces
  • Paper and cardboard

This versatility allows users to create diverse projects such as:

  • Personalized gifts
  • Custom home décor
  • Jewelry and accessories
  • Branding and product labeling
  • Artistic installations

With precise control over depth, power, and speed, even highly detailed designs can be accurately reproduced.

Precision and Control in Modern Laser Systems

Modern laser engraving machines are designed to deliver high precision and repeatability. Fine control over laser parameters enables users to achieve consistent results across different materials and project types.

Key technological improvements include:

  • Higher resolution engraving capability
  • Improved motion control systems
  • More stable laser output
  • Advanced software integration

These developments allow creators to move seamlessly from digital design to physical product with minimal loss of detail.

Empowering Makers and Small Businesses

Laser engraving technology has also become an important tool for entrepreneurs and small businesses. It enables on-demand production, customization services, and low-volume manufacturing without the need for large-scale industrial equipment.

This shift has empowered individuals to:

  • Launch personalized product businesses
  • Offer custom engraving services
  • Prototype designs quickly and efficiently

As a result, creativity is no longer limited by manufacturing constraints.

The Future of Laser Creativity

As laser technology continues to advance, we can expect even greater accessibility, precision, and automation. Integration with smart software, AI-assisted design, and improved material compatibility will further expand creative possibilities.

Laser engraving is no longer just a tool—it is becoming a bridge between digital imagination and physical reality.

Conclusion

The evolution of laser engraving technology has fundamentally changed the way people create, design, and manufacture. By combining precision engineering with creative freedom, it enables users to transform simple materials into meaningful and personalized works of art.

As this technology continues to develop, its role in both creative industries and everyday life will only continue to grow.

By Lasergravierer-Blog | April 8, 2024
How to operate RAY5 Laser engraving machine

LaserBurn is a powerful mobile application designed specifically for LONGER laser engraving machine users, including the Nano and B1 series. It is developed to improve both convenience and control, allowing users—whether beginners or professionals—to operate their laser engraving machines directly from a smartphone.

With LaserBurn, users can streamline workflow, reduce setup complexity, and enjoy a more flexible engraving experience without relying entirely on desktop software.

What LaserBurn Can Do

The LaserBurn app enables users to:

  • Control LONGER laser machines directly via smartphone
  • Adjust engraving and cutting parameters remotely
  • Monitor machine status in real time
  • Improve workflow efficiency for both beginners and advanced users

This mobile-first approach makes laser engraving more accessible and flexible than ever before.


STEPS Calibrating Laser
a.Place the machine on a flat table and make sure that the machine is stable and will not shake.
b.Place the wood board to be engraved or cut under the laser
c.Loosen the two thumb screws on the front of laser head by hand. Then place the focusing column vertically on the bottom of the laser head form the rear side, and manually lift the laser head so that the bottom of the rear side of the laser is close to the upper surface of the calibration column.
d.Tihten the two laser thumbscrews, then remove the focusing column


Power Up
a.Find the adapter and power cable and connect them.
b.Connect the power cord to the power supply and connect the other end of the adapter to the power port of the motherboard.
c.Connect the computer and the engraving machine through a USB computer (or insert a Micro SD card).
d.To Turn ON your RAY5 by press the power switch (To Turn OFF your RAY5 by press the power switch once again.)
Touch Screen Operation
RAY5 has a full-color 3.5-inch touch screen with a user-friendly user interface. Engraving and cutting work can be operated with touch screen and SD card.


Alt image
Wi-Fi Control operation
Enter the IP address in the browser of mobile phone or computer, then the control interface will pop up
Alt image


LaserGRBL Software Operation and SetupLaserGRBL is an easy-to-use and fully free software for laser engraver only running on Windows.
a.Find LaserGRBL software in attached SD card(path:/software),Or download from the link: https://lasergrbl.com/download/
b.After installing laserGRBL, power up the RAY5, press the power switch button, and connect the laser engraver and computer via USB cable.
c.Open LaserGRBL, select correct port(depend on your PC), baud rate: 115200. Then click connect button.(If you cannot find correct port, please install CH340 driver manually by click Menu >> Tools >> Install CH340 Driver in LaserGRBL)
Usage1.Main Interface
Alt image


2.Open file and set parameters
Alt image


Alt image


3.Start to engrave
Place a board under the laser, then calibrate the laser.
Move the laser head to the place you want.
Click “Frame” button to check the work frame.
Click button to start engraving.
Alt image


Or you can save gcode file to SD card by click “File” >> “Quick Save” for offline workingMore help information about LaserGRBL, please refer to the link: https://lasergrbl.com/usage/
Alt image


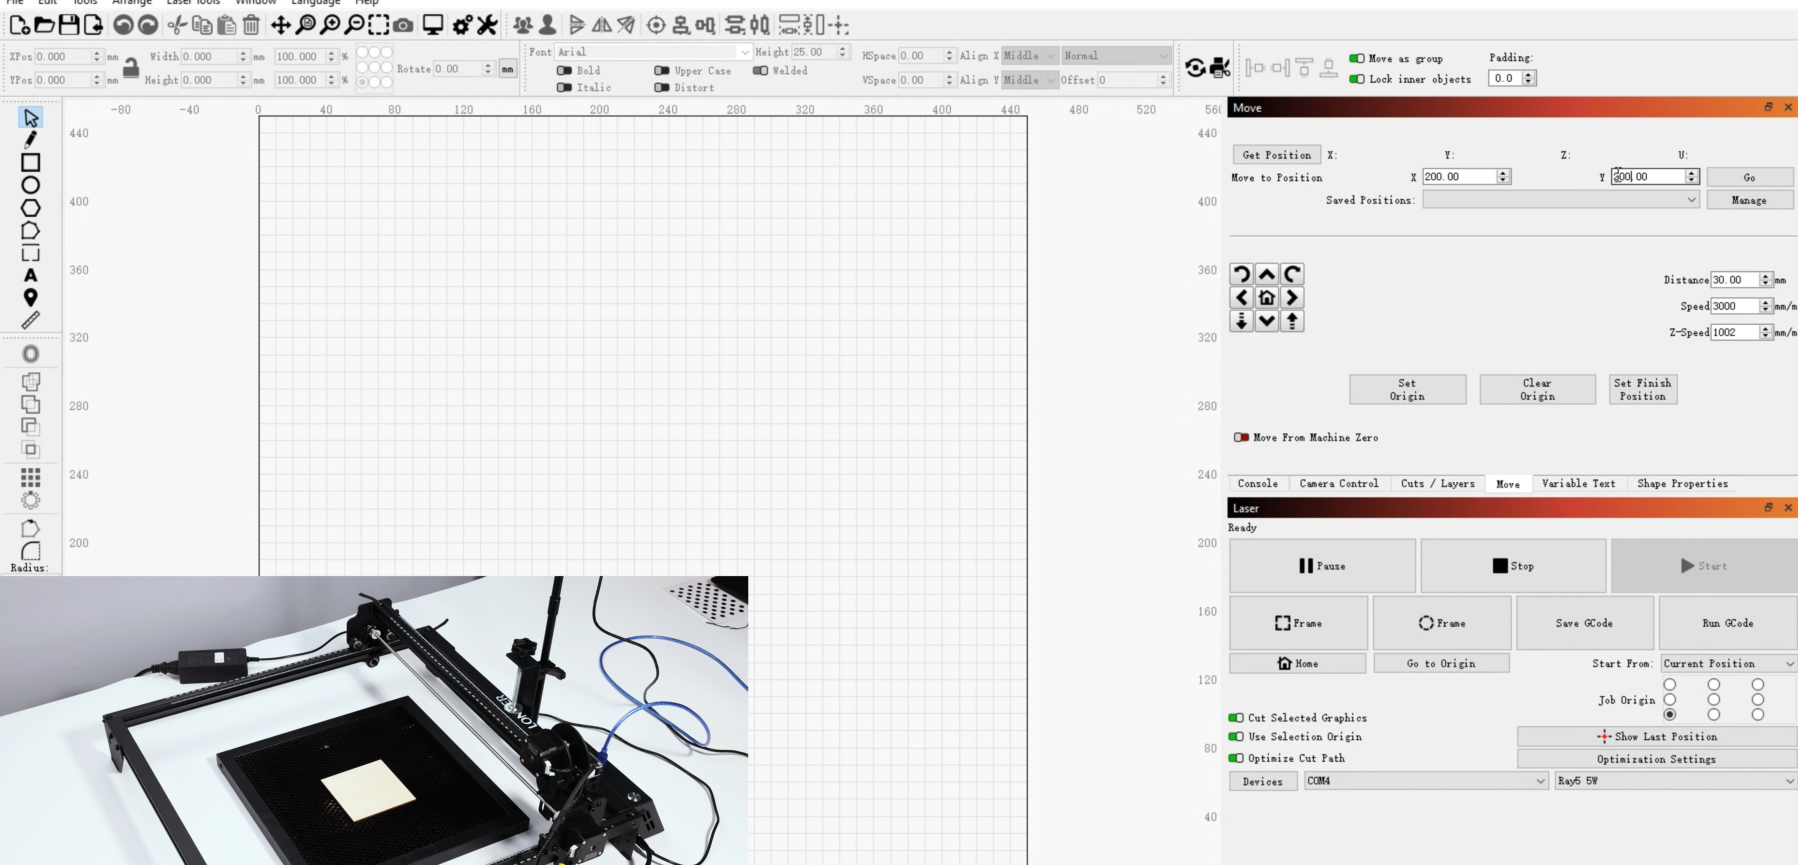
LightBurn Software Operation and setupLightBurn is a professional software for engraver, a charging software running on Windows, macOS, and Linux. It provides a trial period. You could pay for it afterward if you like it.
a.Find Lightburn software in SD card(path: /software) came with the package. Or just download from the link:https://lightburnsoftware.com/download/
b.After installing Lightburn, power up the RAY5, press the Power Switch button, and connect the laser engraver and computer via USB cable.
c.For the first time launching LightBurn, it will prompt a “New Device Wizard” for help you setup machine.
d.Select GRBL form the list, then click “Next” button
Alt image


e.Select Serial/USB and press “Next” button.


Alt image


f.Fill your Device Name, X, Y axis, then click “Enter” button
Name: RAY5
X = 400
Y = 400
g.Select “Front Left” as your Origin X,Y and activate “Auto ‘Home’”, then click “Next” button.
Alt image


h.Select RAY5 and press Make Default. Your RAY5 is ready to be used in LightBurn software.
Main interface
Alt image


Select correct port(depends on your PC), then the RAY5 is connected to the computer.
Alt image


Click Menu “File” >> “Import image from disk.” Or just use draw tool on left column to design your own pattern
Alt image


Set the name, speed, maximum power, mode, and other parameters in the cutting/layer; (engraving function and cutting function are only different in speed, power. Normally, the cutting speed parameter is slower)
Alt image


After placing the board under the laser, click Frame to check the laser path whether is completely inside of the board.
Click “Start” to start to work.
Or you can save gcode file to SD card by click “Save GCode” button in Laser panel for offline working
Alt image


More help information about lightburn, please refer to the link: https://lightburnsoftware.com/pages/tutorials
APP Operation
RAY5 can be controlled or engraved through MKSLaser APP when the engraver and APP are connected to the same WIFI.
Please search for "MKSLaser" in Google play or app store or visit the address below to download Android system https://play.google.com/store/apps/details?id=makerbase.com.mks laser
Please search for "MKSLaser" in the app store or visit the address below to download https://apps.apple.com/us/app/mkslaser/id1542756280?uo=4&at= 11l6hc&app=itunes&ct=fnd for Apple system
Alt image

LaserBurn significantly improves the usability and accessibility of LONGER laser engraving machines by bringing core controls directly to mobile devices. Combined with traditional software options like LaserGRBL and LightBurn, users can choose the most suitable workflow for their skill level and project requirements.

Whether you are a beginner exploring laser engraving or a professional managing detailed production work, LaserBurn provides a more intuitive and efficient way to operate LONGER machines.

By Lasergravierer-Blog | April 7, 2024
Longer Ray5 20W Laser Engraver: Unveiling the Magnificence of Innovation

The Longer Ray 20W laser engraver stands as a testament to the relentless pursuit of innovation, born out of years of dedicated research and development. Longer spared no expense in exploring the frontiers of laser engraving technology, channeling substantial funds and countless hours into perfecting every aspect of the machine.


The Challenge of Longer Ray5 20W

The path to developing the Ray5 20W laser engraver was not without its challenges. LONGER's team of engineers and researchers encountered numerous obstacles along the way, from technical hurdles to logistical complexities. Yet, with unwavering determination and boundless creativity, they persevered, turning each setback into an opportunity for growth.


One such memorable moment occurred during the refinement of the engraving speed. As the team sought to push the boundaries of what was possible, they faced setbacks in achieving the desired level of precision without compromising on efficiency. However, through tireless experimentation and collaboration, they eventually achieved a breakthrough, culminating in the RAY5 20W laser engraver's exceptional engraving speed of up to 10,000mm per minute.


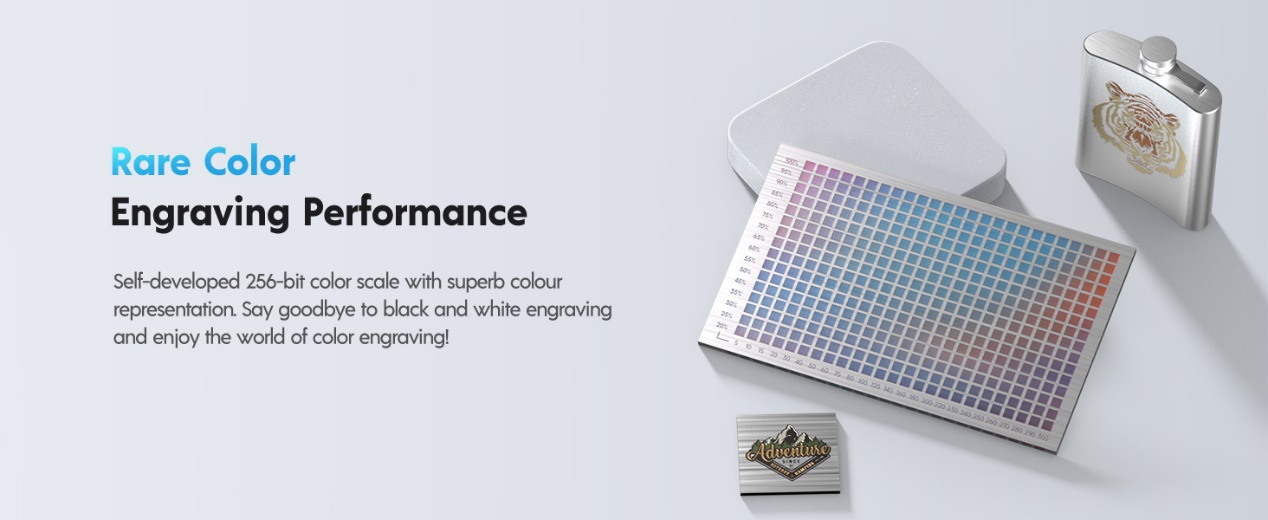
Another pivotal moment came in the development of the color engraving feature. LONGER's engineers embarked on a quest to unlock the potential of vibrant color engraving, seeking to transcend the limitations of traditional black and white engraving. Through meticulous calibration and innovation, they succeeded in creating a proprietary 256-bit color scale, ushering in a new era of expressive engraving possibilities.


Features of Longer Ray5 20W

Discover why the LONGER RAY5 20W laser engraver stands out as the top choice for both laser engraving enthusiasts and professionals alike. Here's why the RAY5 20W is the ultimate solution for your engraving needs:


  1. Unparalleled Color Engraving Performance: Experience the brilliance of color engraving with our self-developed 256-bit color scale. Bid farewell to monotonous black and white engraving and step into a vibrant world of color.


  1. Precision Redefined: With an engraving capability of 0.01mm, the RAY5 20W laser engraver delivers unmatched accuracy. Achieve intricate and precise engraving results like never before.


  1. Enhanced Eye Protection: Our laser head features professional shielding that filters out over 95% of laser light. Additionally, we provide anti-laser glasses to ensure your safety and well-being during operation.


  1. Lightning-Fast Engraving: Experience engraving speeds of up to 10,000mm per minute – nearly three times faster than conventional machines! Save valuable time and boost productivity with swift engraving capabilities.


  1. Ideal for Hobbyists and Startups: Whether you're a hobbyist exploring your creative passion or a budding entrepreneur launching a small-scale business, the LONGER RAY5 20W laser engraver is tailor-made for you. Versatile and efficient, it caters to a wide range of engraving needs.


Why Choose Longer Ray5 20W

In essence, the LONGER RAY5 20W laser engraver offers unparalleled performance, precision, safety, and efficiency, making it the ultimate tool for unleashing your creativity and enhancing your production capabilities. Choose the RAY5 20W Laser Engraver and elevate your engraving experience to new heights!


Join us on this journey of innovation and discovery with the LONGER RAY5 20W laser engraver, and unlock new realms of creativity and production. Choose the RAY5 20W Laser Engraver and embark on a journey of limitless possibilities!

By Lasergravierer-Blog | April 7, 2024
Exploring the Principle, Development, and Applications of Infrared Lasers

Infrared lasers are key optical devices in modern photonics, playing an essential role in communication, medicine, industry, military systems, and scientific research. As a core technology in laser processing, infrared lasers enable high-precision energy delivery and have become foundational tools in advanced manufacturing.

Leveraging deep expertise in laser systems, LONGER has been actively engaged in laser engraving technology research and development since 2016. Over the past 8 years, the company has continuously advanced optical design and system integration, delivering a diverse portfolio of high-precision laser engraving machines, ranging from desktop-level devices to industrial-grade solutions.

LONGER laser engravers, including the high-speed RAY5 series and the high-power B1 series, reflect years of engineering optimization and innovation. These systems are widely recognized for their stability, precision, and performance across various application scenarios.

1. Principle of Infrared Lasers

Stimulated Emission

Infrared laser operation is based on the principle of stimulated emission. In the active medium (solid, gas, or semiconductor), atoms or molecules are excited to higher energy states. When an incoming photon interacts with an excited particle, it triggers the release of a second photon with identical energy, phase, direction, and frequency. This process results in coherent light amplification, forming the basis of laser generation.

Optical Resonance

A laser cavity, composed of two mirrors (one fully reflective and one partially reflective), enables optical resonance. Light reflects back and forth within the cavity, repeatedly interacting with the gain medium. Only photons matching the resonant frequency are amplified, while others are suppressed. This selective feedback mechanism produces a highly coherent and directional laser beam.

2. Development of Infrared Lasers

Early Stage (1960s)

Initial infrared laser research focused on gas and solid-state lasers, such as CO₂ lasers. Although these systems demonstrated early success, they were limited by large size, high energy consumption, and high production costs.

Rise of Semiconductor Lasers (1970s–1980s)

Advances in semiconductor technology led to compact, efficient, and cost-effective infrared semiconductor lasers. These devices significantly expanded laser applications, especially in optical communication and medical systems.

Modern Development (1990s–Present)

Continuous technological improvements have greatly enhanced infrared laser performance. Today, they are widely used in:

  • High-speed fiber-optic communication systems
  • Medical laser surgery and diagnostics
  • Military targeting, guidance, and infrared imaging systems
  • Industrial precision processing

Infrared lasers have become a core enabling technology across multiple industries.

3. Applications of Infrared Lasers

Communication

Infrared lasers serve as key light sources in fiber-optic communication, enabling high-speed, long-distance data transmission. They are also used in optical modulation and wireless infrared communication systems.

Medicine

In healthcare, infrared lasers are widely used in surgical procedures, ophthalmic treatment, dermatology, and diagnostic imaging technologies such as OCT (Optical Coherence Tomography), providing high precision and minimally invasive solutions.

Military

Infrared laser systems are critical in target tracking, missile guidance, night vision, and infrared imaging technologies, significantly improving detection accuracy and operational efficiency.

Scientific Research

Infrared lasers are essential tools in spectroscopy, atomic physics, chemical analysis, and optical experimentation, enabling precise measurement and material characterization.

Industrial Processing

Infrared lasers are extensively used in cutting, welding, engraving, drilling, and surface treatment of materials such as metal, plastic, glass, and ceramics, significantly improving manufacturing efficiency and product quality.

4. Conclusion

Infrared laser technology plays a fundamental role in modern scientific and industrial development. Its principles of stimulated emission and optical resonance enable highly precise and controllable energy output, supporting a wide range of advanced applications.

With strong capabilities in optical system design and engineering, LONGER continues to advance infrared laser technology through continuous innovation and product development. The company’s laser engraving systems reflect a deep understanding of laser physics and real-world application needs, setting new standards in precision, reliability, and performance.

As laser technology continues to evolve, infrared lasers will remain a critical driver of innovation across industries. LONGER is committed to advancing this field through sustained research and development, empowering users with more efficient, precise, and intelligent laser solutions for the future.

By Lasergravierer-Blog | April 7, 2024
Tips for engraving glass using laser engraving machine

Laser engraving on glass using diode technology is a versatile craft that finds its place in contemporary artistry and manufacturing. In the realm of art creation, this technique empowers artists to intricately etch stunning patterns, text, and textures onto glass surfaces, crafting exquisite sculptures, decorative pieces, and more. Similarly, diode laser engraving is a staple in manufacturing, facilitating the production of ornaments, accessories, and personalized gifts with unparalleled precision and customization options, meeting the demand for top-quality craft products in the market.

Longer's diode laser engraving serves as an efficient solution for personalized engraving services, offering tailored options for souvenirs, trophies, and keepsakes from 2016. In architecture, Longer lends itself to the decoration and customization of glass elements in buildings, infusing spaces with unique artistic flair and bespoke designs. With its attributes including precision, automation, versatility in achieving various effects, and the ability to maintain glass surface smoothness, diode laser engraving emerges as a pivotal technology in glass processing and decoration, unlocking endless creative and manufacturing opportunities for creators and businesses alike.


Tip 1: Clean the Glass Surface Before Engraving

Cleaning the glass surface is a crucial first step before engraving. It not only helps ensure the accuracy and quality of the engraving but also prevents adverse effects during the process. Cleaning removes dirt, grease, and other impurities from the surface, ensuring that the laser can accurately irradiate the glass. Additionally, a clean glass surface aids in the uniform propagation of laser energy, avoiding excessive local heat that may cause glass breakage or uneven engraving effects. Therefore, it is essential to thoroughly clean the glass surface before engraving, using ethanol and a lint-free cloth to wipe it clean.

Tip 2: Apply Paint to the Engraved Glass Surface

Applying paint to the glass surface during engraving is a critical technique. By applying acrylic paint, the refraction of the laser is reduced, allowing the glass to absorb energy more fully and maintain stability during laser engraving. Additionally, spraying black paint or adhering colored paper is also a common method.

Tip 3: Clean the Engraved Glass Product

After waiting for the laser engraving to complete and cool down, use an appropriate solvent or cleaner (such as acetone, alcohol, or paint remover) to spray or apply it to the painted areas. These chemicals can typically dissolve the paint, making it softer and easier to remove. After spraying, gently wipe the painted areas with a soft cloth.

The above tips provide key techniques for achieving laser engraving on glass materials. LONGER is definitely a great helper for making glass decorations. Currently, the RAY5 and Laser B1 series machines have been released. The RAY5 series engraving machine is equipped with a 0.08*0.08mm compressed laser spot, which focuses energy more, perfectly combining simplicity with precision, making it an ideal choice for beginners entering the world of engraving and cutting. Meanwhile, the Laser B1 series machine boasts a engraving speed of up to 36000mm/min, standing out with its powerful functionality, meeting the needs of experienced creators proficient in engraving and cutting techniques.

Explore Ray5 20W at https://www.longer3d.com/products/ray5-20w-laser-engraver and Laser B1 30W https://www.longer3d.com/products/longer-laser-b1-30w-laser-engraver to learn more and elevate your glass engraving journey with Longer.

By Lasergravierer-Blog | April 7, 2024