Laser Engraver Blogs

Protective Lens Replacement for Longer Ray5 10W

When engraving with the Longer Ray5 10W, smoke buildup can cloud the protective lens, reducing laser power. This guide shows you how to replace the protective lens to restore performance. Regular replacement or cleaning ensures efficient cuts and extends the life of your laser. If the lens is damaged or remains blurry after cleaning, a new one can be purchased directly from the official LONGER website.

By Laser Engraver Blogs | April 19, 2025
LaserBurn 1.2.0 Official Release|LONGER Launches Smart Engraving Across All Models

LONGER officially releases LaserBurn 1.2.0—its smart engraving software now supporting Nano Duo, Nano Pro, Nano, and B1 series. Featuring AI-powered functions like auto-positioning, real-time preview, text-to-image design, and batch sync, this update transforms how creators work. The Ray5 series will join soon with future firmware support. With smarter control, advanced design tools, and flexible connectivity, LaserBurn 1.2.0 marks the next step in LONGER’s evolving ecosystem for laser engraving.

By Laser Engraver Blogs | April 19, 2025
How to Enable Framing Mode on Lightburn for Longer Laser Engravers

LightBurn Framing Mode is essential for accurate laser engraving with Longer machines like Nano, B1, and Ray5. It lets users preview the engraving area before starting the job, minimizing material waste and errors. This guide walks you through enabling Framing Mode in LightBurn—just activate the laser fire button, set framing power to 2%, and you're ready to frame with precision. Perfect your setup and avoid costly mistakes with this simple yet crucial step in the engraving process.

By Laser Engraver Blogs | April 18, 2025
How to Get Colored Shades Engravings with Longer Ray5 & B1

Longer laser engravers like Ray5 and B1 series can create brilliant multicolor engravings on metal, starting from just 10W of power. Using LightBurn's Material Test, users can easily identify the best settings to unlock vibrant shades. Even with lower-power lasers, up to 90 distinct colors are possible, making metal engraving both creative and accessible. Learn how to test, tweak, and master color engraving with your Longer machine.

By Laser Engraver Blogs | April 18, 2025
How to realize Christmas Decorations with Longer B1 - LONGER
How to realize Christmas Decorations with Longer B1

Christmas is a very heartfelt holiday, which many people from all over the world are only very fond of. Decorating your home with Christmas decorations and preparing gifts for your loved ones is something very important, and thanks to Longer B1 you can achieve what you have most in your heart.

In this article we will see how to make decorations for your Christmas tree and gift packages with Longer B1, very quickly and easily using Lightburn.

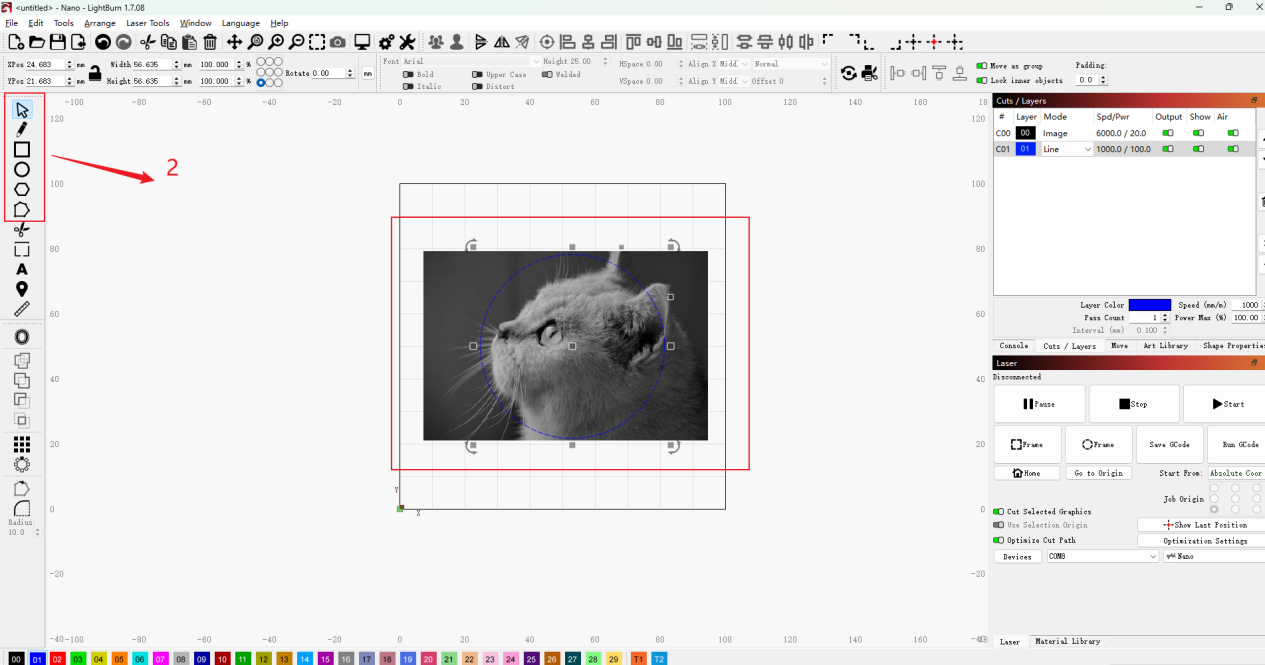
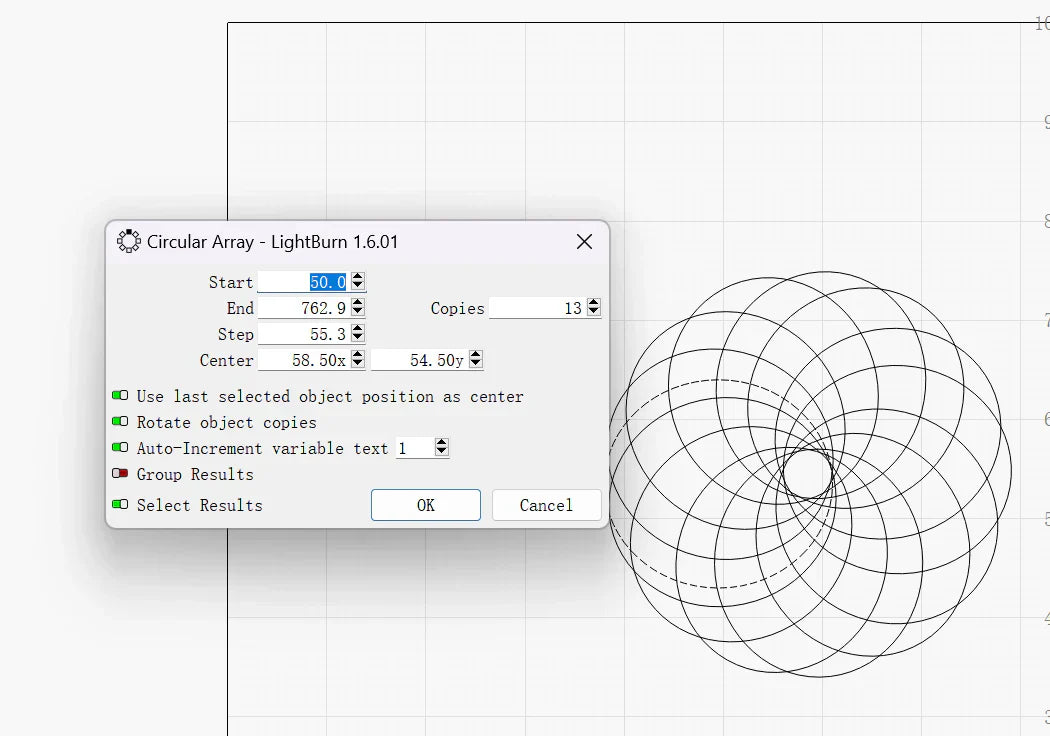
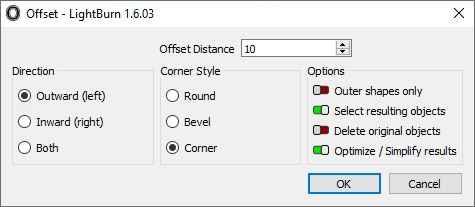
First, after opening the Lightburn software you need to make a circle using the appropriate function in the menu on the left, after which you need to make a smaller circle inside it. The larger circle represents a sphere, while the smaller circle is the hole through which you can hang the ornament you have created.

Also using the appropriate left lullaby, it is now possible to select the option to write a text. The text can include what you prefer, the important thing is to make sure that the text is contained in the sphere.

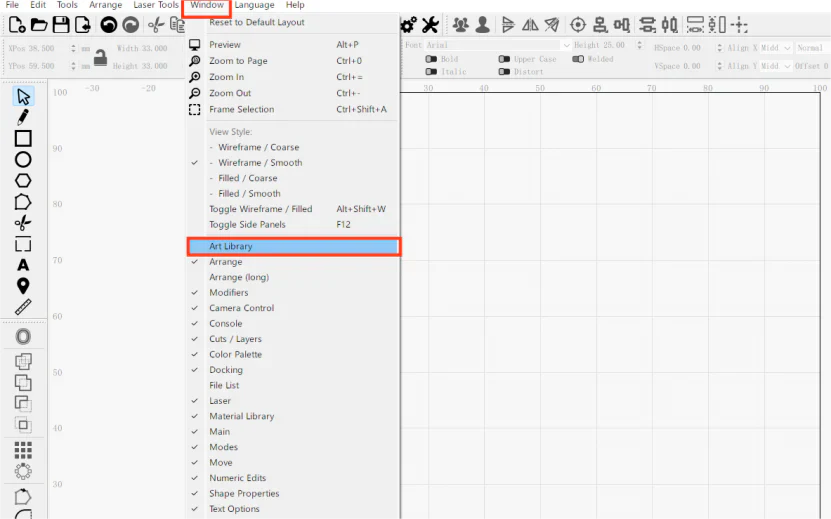
However, the text you create is vector, so during the laser processing process it will be treated as a cut rather than an image to be engraved. To solve the problem, just right-click on the text and select "Convert to Bitmap". The "Convert to Bitmap" option allows you to transform text from vector format to image format. Therefore, you need to select the "Fill All" option to set the text fill and confirm with OK.

By now, the text will have been successfully converted into a format that is ready to be engraved rather than cut.

After doing this, you can also add images if necessary, such as the small Christmas tree shown in the example below.

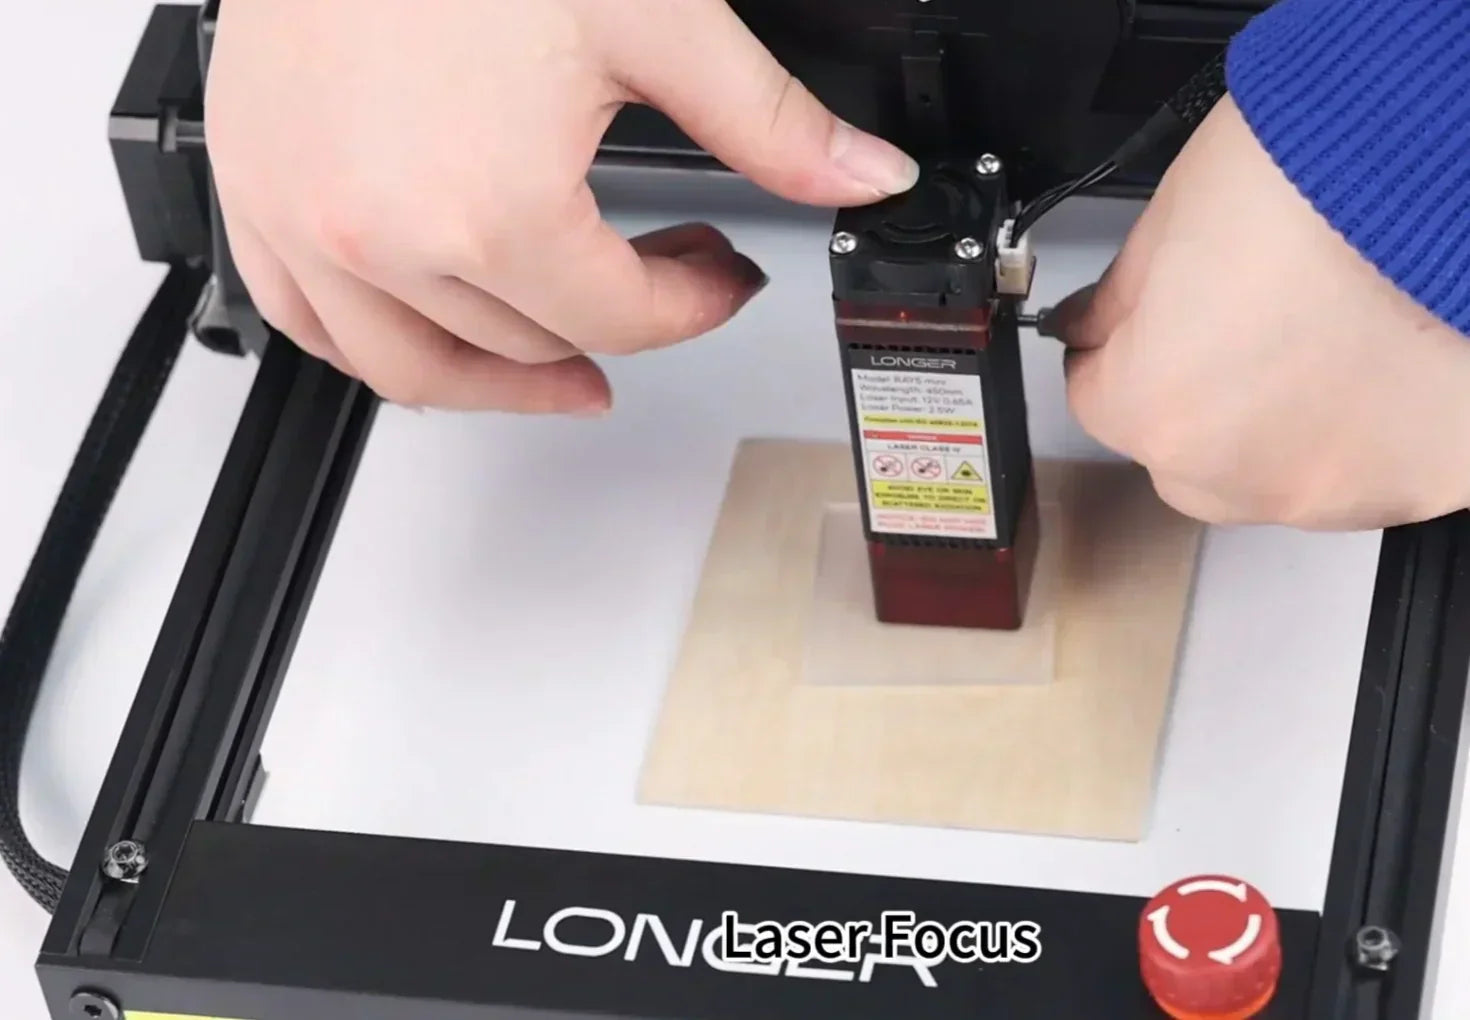
Once the model is ready, then you can finally move on to setting the engraving parameters. Through the "Cut/Layers" menu on the right it is possible to set the power, speed and number of passages related to the content to be engraved (Image) and the one to be cut "Cut"; Image represents the text and image inside the sphere, while Cut represents the outline of the sphere and the hole in it. Speed, power and number of passes for both options depend on the type of wood used, and therefore must be tested beforehand with the appropriate material test.

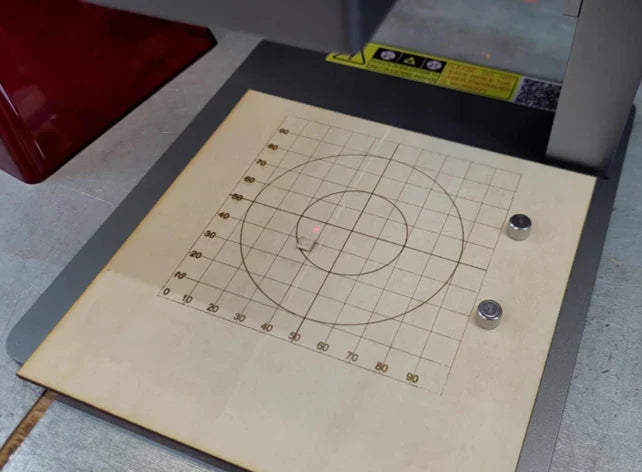
Before proceeding with the work with the laser, it is possible to select the "Preview" mode which shows the result obtained on the screen.

As we have seen, with Longer B1 and Lightburn it is really easy to make wonderful decorations for your Christmas tree, as well as make personalized tags for your gifts.


By Laser Engraver Blogs | December 18, 2023