Academy

Longer Drawing Machine - LONGER
Longer Drawing Machine

 A Pen Plotter is a Drawing Machine that is positioned between a 3D printer and a Laser Engraver, since it has characteristics of both of them. In fact, it uses a three-axis Cartesian XYZ system (like a 3D printer) to make 2D images (like a Laser Engraver) using a pen. In simple words, this machine allows you to draw as you do by hand, but with the precision and handwriting of a computer.

This guide allows you to make a Pen Plotter using any Longer FDM 3D printer as a base. The change does not alter printing capabilities but is an added feature. Note that this guide is not compatible with printers equipped with BL-TOUCH leveling sensors.


Preparation of the machine

  1. Download and print this pen holder:

https://drive.google.com/file/d/1gwQJZo7U1t-0NzUbUzdNdexHfIp1fW4g/view?usp=sharing 

  1. Screwdown the two screws placed to the left of the head module and the pen support (the dual blower module already provides two holes where to install the pen support)


  1. Proceed to normal leveling of the printer, using the sheet of paper to level the nozzle and the glass of the hotbed
  2. After leveling the print bed, remove the glass and replace it with a sheet of paper; Since the sheet of paper is thinner than the glass, the nozzle will be very far from the sheet of paper, but this is normal
  3. Insert a pen inside the pen holder; the pen must be in contact with the sheet of paper, the tip of the pen must touch the paper to be able to write, then secure the pen using a screw through the support


  1. Using a test sheet, test whether moving the x-axis can write to all points on the sheet
  2. To prevent the filament sensor from reporting an error, insert a piece of filament through the filament sensor; also, disconnect the extruder motor E cable


Preparation of the Cura software

  1. From the Cura menu, add a new printer that matches your printer model (if LK4PRO add LK4PRO, if LK5PRO add LK5PRO, etc.), and rename the new printer as "Drawing Machine"


  1. Replace the Start G-code with this new Start G-code:

; LONGER Start G-code

G21 ; metric values

G90 ; absolute positioning

M82 ; Set Extruder to Absolute Mode

M107 ; start with the fan off

G92 E0 ; Reset Extruder

G28 ; Home all axes

G1 Z2.0 F3000 ; Move Z Axis up little to prevent scratching of Heat Bed


  1. Download and import into Cura this print profile "plotter.curaprofile" for "Drawing Machine". The imported profile allows the printer to work without heating hotend/hotbed and without extruding filament:

https://drive.google.com/file/d/1cxeTZ1QrjHt8bsGC8TLVEHthtU_jNLkI/view?usp=sharing


Preparation of the Drawing File

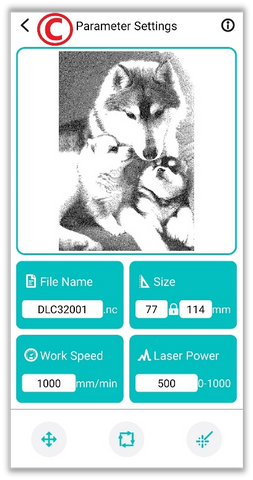
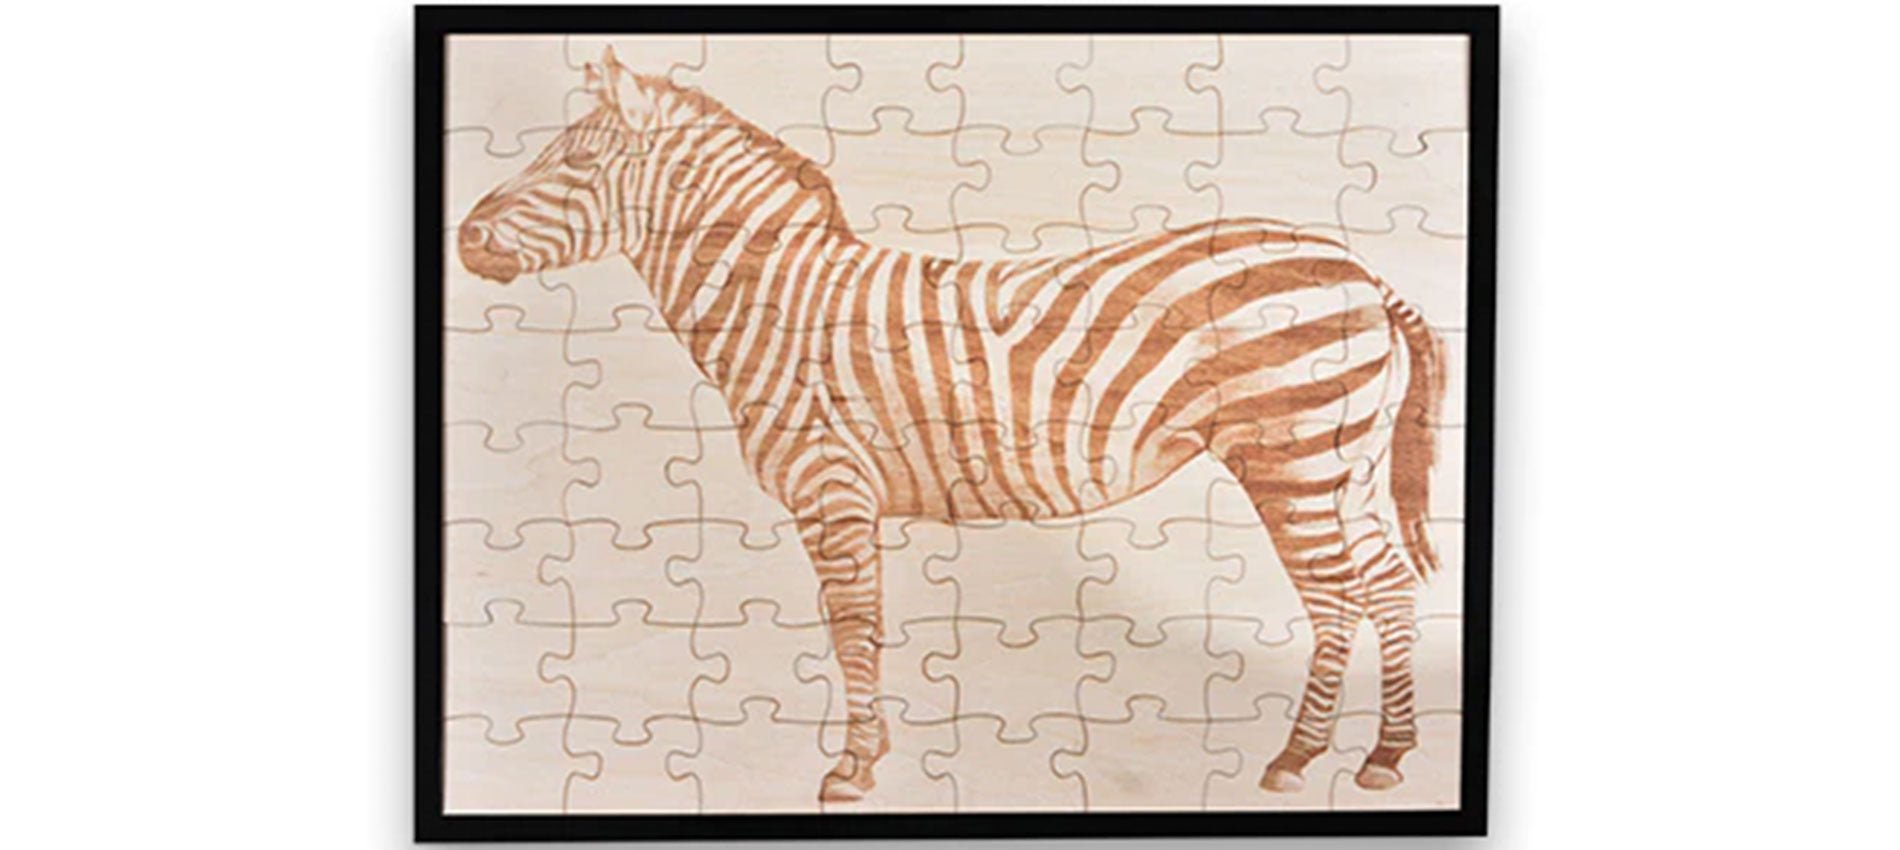
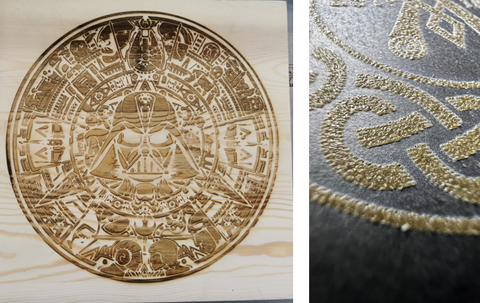
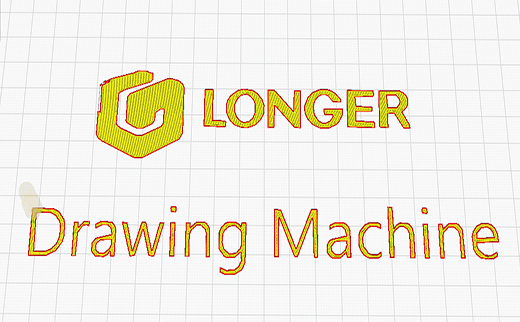
  1. After choosing a 2D image without background (like this one above in the figure), open the "3D Builder" software preinstalled in Windows 10 (if it was not present, download it from the Windows Store). Then select "Open – Load image" to import the selected image.


  1. Once the image has been imported into 3D Builder, you can change some settings such as Levels, Smooth, and so on; using these settings, edit the file according to your preferences. Once the editing is complete, select Import Image to get the image converted to 3D file.


  1. At this point, assign to the 3D model aheight "Z" of 0.1 mm; in fact, a drawing can be considered as a 3D model composed of a single layer, therefore assigning a thickness of 0.1 mm then the printer finishes the work after the first layer
  2. When the 3D model is ready, proceed to export, selecting "Save as - . STL".


Drawing printing procedure

  1. Import the previously created "3D" drawing into Cura
  2. At this point, the design can be made either full or with only the outline   a.To make a full drawing, make sure "Top/Bottom Thickness" is set to "1"


          b.To create a blank drawing, with edges only, make sure "Top/Bottom        Thickness" is set to "0"


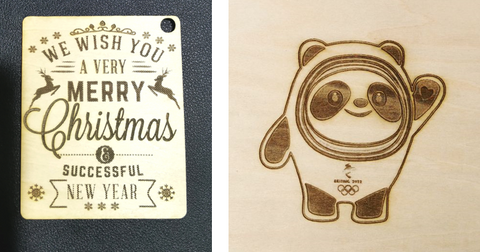
  1. Export the Gcode, proceed to print, and here is the final result

  1. Download here some sample model, enjoy your new Longer Drawing Machine!

https://drive.google.com/file/d/1K4Adp4pt1v9ypqZ2ytmCrK679k0XrAsy/view?usp=sharing 

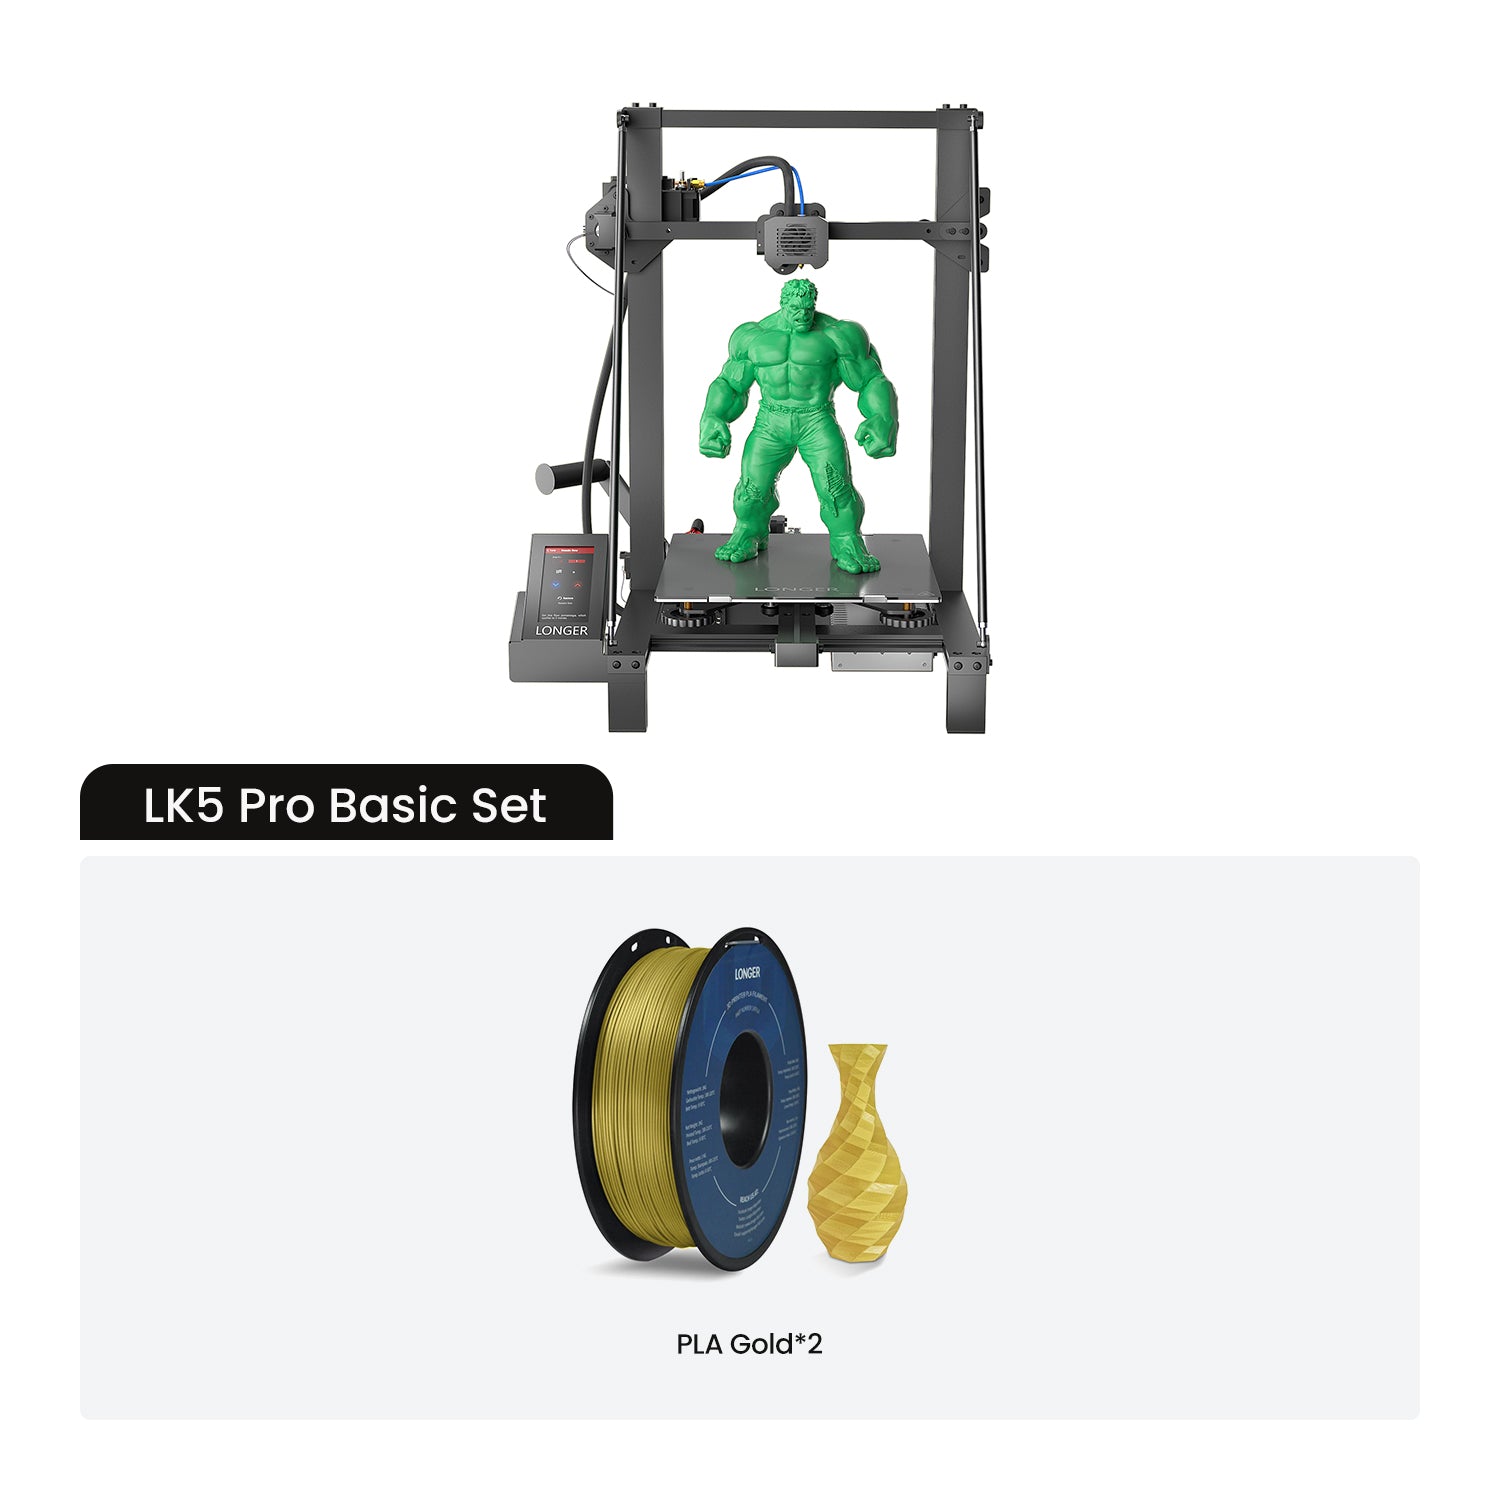
https://www.longer3d.com/products/lk5-pro-fdm-3d-printer


By Academy | December 12, 2022
Diode Laser Engraver (450 nm) vs CO2 Laser Engraver (1024 nm) - LONGER
Diode Laser Engraver (450 nm) vs CO2 Laser Engraver (1024 nm)

In physics, the propagation in space of electromagnetic field energy is called electromagnetic radiation. Depending on the wavelength, the radiation takes on a different nomenclature; in particular, electromagnetic radiation with a wavelength between about 400 nm and 700 nm is called visible radiation and is perceptible by the human eye and transformed by the brain into visual sensations; this radiation is what is commonly called light.


electromagnetic spectrum

Frequency and wavelength are inversely proportional quantities, i.e., when the wavelength decreases, then the frequency increases. Radio waves, also used for FM and TV broadcasts, are in the MHz range; instead, microwaves are on the order of GHz. Instead, visible light is already in the order of THz and then increases more and more in the rays due to nuclear decay, which, however, have a minuscule wavelength. Note that with the same power, electromagnetic radiation is able to pass through matter more easily when it has a longer wavelength (i.e., lower frequency); a trivial example is the ability of radio waves to pass through the walls of a house, while sunlight is shielded.

By analyzing the laser beams, they therefore take on a different color according to the wavelength; a blue beam (like the Longer Ray5 laser) has a wavelength of 450 nm, while green or red laser beams have different lengths. However, a laser beam does not necessarily belong to the visible spectrum, as it can also be generated as a different radiation. For example, there are some lasers belonging to the infrared, which are invisible but retain their abilities.

An example of an infrared laser is the CO₂ laser, which is a laser characterized by a wavelength between 940 nm and 1060 nm, which is generated within an active laser medium contained in an air- or water-cooled gas discharge tube. The gas contained within the laser tube consists mainly of carbon dioxide (CO2) and other gases, where an initial gas is excited by electric current but is not able to release a photon because of its chemical structure and then transfers its energy to a CO2 molecule that triggers the first photon. The operation is similar to a neon/fluorescent bulb, although in this case the photons generate a laser beam instead of optically isotropic light.

Given the high power obtainable (as the ratio between input and output power is very high), CO₂ lasers are widely used for metal engraving, for cutting materials, and for industrial welding. They are also very useful in surgery because the main constituent, water, of the cells absorbs very well the emitted infrared frequency. In addition, CO₂ lasers are also used for telemetry, as infrared can pass through the Earth's atmosphere easily, being almost completely transparent to infrared.

https://www.longer3d.com/collections/laser-engraver

By Academy | November 8, 2022
MKSLaser - Longer Ray5 Smartphone App - LONGER
MKSLaser - Longer Ray5 Smartphone App

Longer Ray5 adopts an MKS DLC32 mainboard, characterized by wireless technology, microSD card reading, a touchscreen display with a graphic interface, and total interaction with your smartphone through the MKSLaser application.

MKSLaser is an application for Android/iOS smartphones used to interact with Longer Ray5 and allows you to move the laser within the work area, switch the laser beam on and off, define the homing position, transfer files, start an engraving, monitor engraving information, and so on. Thanks to MKSLaser, your smartphone becomes not only a remote display for Longer Ray5 but also a powerful device for processing your work.

After downloading MKSLaser, first make sure that your smartphone and Ray5 are connected to the same local network. Verify the IP address assigned to Ray5 and enter the same IP in the application. After the connection is successful, remote use can be operated.


Note: The IP address of Longer Ray5 may change frequently, so it is recommended that you set an IP RESERVATION for the Mac-Address of Ray5 within the DHCP parameters of your Router/Access Point so that you always get the same IP address at each subsequent connection.

The MKSLaser Home screen shows at the top the current X/Y coordinates and the S intensity of the laser, while at the bottom there are four large buttons to access the corresponding submenu:

  1. Creation

It allows you to process an image and slice it for engraving exactly as you do when using desktop LaserGRBL/LightBurn, in an easy and comfortable way from your smartphone.

      A. Import an image or take a photograph, which can be edited in several ways

      B. In the next step you can edit the image by manually setting brightness, contrast, and other effects.

      C. In the last step you can configure file name change, image size, engraving speed, laser power, M3/M4 mode, and more.

      D. After finishing adjusting the parameters, you can slice and upload it via WiFi to the Ray5 microSD. After Ray5 has received it successfully, you will enter the engraving page from which you can monitor the progress of the processing status, stop processing, or change the power and speed of processing.


  1. Control

It allows you to move the laser module within the processing area and different steps and speeds of movement can be set; you can also go back to homing, define a new homing position, turn the laser beam on and off, etc.


  1. Material

There are some graphic samples to be used to determine the best parameters for engraving on different materials. Once you have chosen the image to carry out the various tests, set the various parameters (refer to the "Creation" paragraph).


  1. Graving

The list of files on the microSD card inserted inside Longer Ray5 is shown, and you can select a file to engrave.

https://www.longer3d.com/collections/laser-engraver

By Academy | August 17, 2022
Longer Ray5 Laser Engraving, Carving and Cutting Applications - LONGER
Longer Ray5 Laser Engraving, Carving and Cutting Applications

A laser engraving machine like Longer Ray5 allows you to realize many types of processing, offering not only high precision but also high-quality details for every type of DIY project. Depending on the type of material, different possibilities of laser processing may occur, including engraving, carving, and cutting. Some materials allow only some of these processes; however, some materials, such as wood, allow you to carry out all three types of processing.

If you are curious to see with your own eyes what types of processing you can achieve with your new Longer Ray5, continue reading this article, and you can find a vast archive of real photographs from the projects made by our customers with Longer Ray5.


Laser Engraving Applications

This type of processing allows you to customize everyday objects in the way you want, for example, by making a greeting card, engraving the name of your pet on its metal plate, or engraving a photograph or an image on ceramic or stone. This process is the easiest to carry out, and if you intend to engrave a difficult material such as metal or ceramics, then it is possible to temporarily color the surface in black so that the laser can engrave the material more easily and then wash off the paint at the end of the realization.


Laser Carving Applications

This type of processing causes a lowering of the surface of the material (usually wood) in a range between a few tenths of a millimeter and a few millimeters, causing a carving. This allows you to have not only a visual representation of the processing, but also feedback to the touch of the surface. Probably this is the most difficult type of processing to achieve, as it is necessary to find the right combination between the various settings of Lasergrbl / Lightburn to carve into the material without burning or cutting it. 


Laser Cutting Applications

This type of processing allows you to create three-dimensional objects and to give vent to your creativity. In fact, adapting the settings of Lasergrbl / Lightburn to each type of material (usually wood, paper, cardboard, leather, acrylic) it is easy to create a nameplate, a greeting card, a puzzle to compose and even real 3D models. Yes, just engrave and cut the various pieces of a model always using plywood of the same thickness, and then proceed manually to the interlocking of the various pieces to obtain a 3D realization. 


Access to unlimited support for image files

Longer Ray5 can engrave many materials and can realize a lot of great projects, all depends from your creativity! And if you need to find new ideas, you can always count on an immense archive of images on the web. Here is a list of resources from which you can take inspiration for your 2D and 3D creations:


https://www.longer3d.com/collections/laser-engraver

By Academy | July 25, 2022
Longer Ray5 An Introduction to the Laser Engraving Technique - LONGER
Longer Ray5 An Introduction to the Laser Engraving Technique

In physics, the propagation in space of electromagnetic field energy is called electromagnetic radiation. In particular, electromagnetic radiation with a wavelength between about 400 and 800 nm is called visible radiation and is perceptible by the human eye and transformed by the brain into visual sensations; this radiation is what is commonly called light.

In an electromagnetic wave the energy is distributed in discrete and indivisible packets, called quanta, and the quantum of energy of the visible radiation is called a photon. Photons, having energy in the form of an impulse, when they hit matter are able to excite atoms and molecules, which emit quanta at various frequencies that are also detected as heat: this is the physical mechanism at the base of life, why sunlight also produces heat, and how this heat is more or less intense depending on direct or indirect exposure to sunlight.

Although this does not exist in nature, human progress has made possible the ability to "line up" the photons of a light source, concentrating them in a light beam called a laser beam. If the propagation of a light source takes place in the form of a laser, then all the energy is concentrated within a beam of a very small section; therefore, when the laser hits matter, it is instantly able to radiate great power into a very small area, causing a sudden and rapid increase in temperature that alters the state of matter.


Laser engraving

A laser engraving machine is based on a laser module of a given power, capable of generating a laser beam that can be modulated in power within a range between 0% and 100%. When the laser beam hits a surface, it undergoes a rapid increase in temperature that instantly transforms the state of matter by combustion, and the contrast between the lasered surface and the surrounding surface creates the visual effect commonly called laser engraving.

To create an engraving, the laser module is moved in a Cartesian plane X/Y, thus being able to emit a certain power in a given spatial position, and the set of points hit by the laser beam constitute the engraving. Depending on the power with which the laser beam hits each point of the surface, it is more or less able to transform part of the matter, which results in a more or less deep incision with respect to the surface. In fact, when the laser hits a surface, not only is blackening caused by combustion but also a lowering of the surface; the higher the power of the laser, the greater the amount of matter removed. This contrast of hue and depth creates the typical effect of laser engraving, thus being able to make drawings, markings, and engravings on various types of materials.


Difference between laser engraving, carving and cutting

Depending on the type of material, different possibilities of laser processing may occur, including engraving, carving, and cutting. Some materials allow only some of these processes; however, some materials, such as wood, allow you to carry out all three types of processing.

Taking wood as an example, suppose you apply a laser beam on its surface; depending on the power of the beam, the following possibilities occur:

  • The laser has a power capable of burning only the outermost layer of the surface, causing a surface blackening. This process is called laser engraving.

  • The laser has a power capable of transforming the innermost layers of the material, causing a removal of matter and a lowering of the surface in a range between a few tenths of a millimeter and a few millimeters. This process is called laser carving.


  • The laser has a power capable of transforming the innermost layers of the material, causing a removal of matter such that it is greater than the thickness of the material; in this way a hole is created through which light can pass, and this can also lead to the division into several parts of the original surface. Note that this can often be achieved by passing the laser beam at the same point several times so as to remove the entire thickness of the material by the sum of smaller thicknesses removed at each step. This process is called laser cutting.


Note that, even with the same material, these three processing techniques can take different settings, as they depend on the maximum power of the laser beam, the power applied to the processing, the permanence of the laser beam at each surface point (ie the processing speed), the hardness of the type of wood treated, and other factors. Therefore, it is always necessary to carry out empirical tests in order to obtain the correct processing parameters for each type of material, even if of the same type.

The processing parameters, such as power, speed, number of steps, and more, are assigned to the machine using management software such as LaserGRBL. This software takes care of processing in machine code the instructions useful for realizing by laser processing the image or the incisive effect desired by the user. In this way, the machine is able to know point by point where to apply the laser beam, with what power to apply the laser beam, and with what speed to move to a next point, thus being able to transform into reality any type of idea.

https://www.longer3d.com/collections/laser-engraver

By Academy | July 8, 2022
Longer Ray5 Laser Engraver – Technical Backgroud - LONGER
Longer Ray5 Laser Engraver – Technical Backgroud

Longer Ray5 is an innovative, technological laser engraver able to offer professional performance. In fact, it is equipped with wifi technology with which it is possible to transfer work without the need for cables, the latest security systems and a 5w or 10w laser module able to offer greater performance than those offered by other laser modules of the same nominal power. Let's see together what makes Longer Ray5 one of the best products on the market.


Mainboard MKS DLC32

Longer Ray5 adopts a DLC32 mainboard, characterized by wireless technology, microSD card reading and touchscreen display with graphical interface.

  • The 32bit CPU allows you to process the workload at 240mHz quickly and without delays, thus avoiding lag during laser engraving that could compromise the quality of the final result, as is the case with some 8bit mainboards. Also, it allows to reach a max speed 10.000 mm/min, great results in a short time.
  • The microSD card allows you to transfer from the PC to the Ray5 the work to be carried out at the laser, thus ensuring the possibility of working at any time, even without the availability of a PC. In fact, once you have created the work file on Lasergrbl/Lightburn, just select to export the ".gcode/.nc" to the microSD card, remove the microSD card from the computer and insert it into Ray5. At this point you can start, stop, repeat and edit engraving jobs directly from the Ray5 screen, just as you would with your 3D printer, without needing a PC anymore. In addition, on the microSD card you can keep dozens of work files, so you can repeat them at any time you need them.


  • The touchscreen display is equipped with an intuitive graphic interface, through which you can consult the list of working files on microSD, choose and start an incision, move the axes and fix the "homing" position, turn on and off the laser beam and establish the wireless connection between Ray5 and your wifi internet connection.


  •  The wireless technology of the Ray5 DLC32 mainboard offers unique features, thanks to which it is possible to fully control every aspect of Ray5, remotely and without the need for cables. Simply establish the wireless connection between Ray5 and your wifi internet connection using the touchscreen display interface, after which make a note of the assigned IP address; at this point, by typing in the browser of your PC the IP address marked above, a web page will be opened from which you can fully control Ray5, having a "remote display" of command directly on your PC. In addition, transferring engraving jobs to microSD also becomes easier, as you can transfer files to the microSD via wifi, without the need to physically remove the microSD from Ray5.


  • The mobile APP"MKSLaser" available for Android & iOS allows you to use Ray5 directly from your smartphone, not only to control the machine but also to edit   the images andthe related engraving parameters on the move.


Security Protections

Longer Ray5 adopts the latest and most advanced safety protections, so as to guarantee safe use at all times.


  • Thermal protection stops the engraving work in the event that the engraved material should catch fire, alerting the user by means of an audible alarm.
  • Motion protection stops engraving work in case Ray5 is suddenly bumped, preventing damage to the machine.
  • Motionless protection stops engraving work if the laser module remains fixed in the same position for more than 5 seconds; this prevents the fixed laser beam in the same position from igniting the worktop.
  • The eye protection at the base of the laser is made of acrylic material capable of filtering 99% of the laser beam in case it is reflected.
  • Emergency General Protection can be manually activated by the user at any time should any sudden problem occur; just press the ON/OFF button on Ray5 and the machine will shut down immediately.


Updated 10w Laser Module with 0.06x0.06mm spot laser

The new version of Longer Ray5 adopts an improved 10w laser module, which offers much greater performance than competing lasers of the same power; in fact, our laser uses a new technology that allows you to reduce the amplitude of the laser beam, concentrating the laser spot in just 0.06x0.06mm (the spot laser adopted by competitors is usually 0.15x0.15mm), and by concentrating the engraving power within a smaller surface it is possible to obtain results similar to those achievable with competing lasers of greater power or with air-assist. In addition, a focal length of 50mm has been specially chosen, which is optimized for cutting. Thanks to these two technical characteristics, for example, you can cut fir wood 1.4cm thick with only 2 passages (against the 4-5 passages required by competing laser modules of the same power), or 5mm thick plywood with only 1 passage.


  • We performed some demonstration tests, in order to let you see with your own eyes our tests the great performances provided by our 10w - 0.06x0.06mm - laser module. Give a look at this following table, you will be amazed!


Model

Material

Action

Thickness

Power

Speed

Cycles

Remarks

LONGER RAY5 10W

Basswood

Engrave

-

35%

3000 mm/min

1


LONGER RAY5 10W

Hardwood

Engrave

-

40%

2000 mm/min

1


LONGER RAY5 10W

Bamboo

Engrave

-

35%

3000 mm/min

1


LONGER RAY5 10W

Acrylic

Engrave

-

35%

3000 mm/min

1


LONGER RAY5 10W

KraftPaper

Engrave

-

20%

3000 mm/min

1


LONGER RAY5 10W

Mirror

Engrave

-

35%

2500 mm/min

1


LONGER RAY5 10W

Leather

Engrave

-

20%

3000 mm/min

1

Light color. It needs to be adjusted based on different colors.

LONGER RAY5 10W

Denim

Engrave

-

25%

2000 mm/min

1


LONGER RAY5 10W

Powder Coated Metal

Engrave

-


LONGER RAY5 10W

Anodised Aluminium

Engrave

-


LONGER RAY5 10W

Ceramic

Engrave

-


LONGER RAY5 10W

Glass

Engrave

-

70%

1000 mm/min

1

Color with dark paint before engrave.

LONGER RAY5 10W

Stainless Steel

Engrave

-

100%

400 mm/min

1


LONGER RAY5 10W

Basswood

cut

2 mm


LONGER RAY5 10W

Basswood

cut

3 mm


LONGER RAY5 10W

Basswood

cut

8 mm

100%

120 mm/min

1


LONGER RAY5 10W

Basswood

cut

10 mm

100%

100 mm/min

2


LONGER RAY5 10W

Pinewood

cut

14 mm

100%

100 mm/min

2


LONGER RAY5 10W

Acrylic

Cut

3 mm

100%

180 mm/min

1


LONGER RAY5 10W

KraftPaper

Cut

0.1 mm

100%

5000 mm/min

1


LONGER RAY5 10W

Leather

Cut


Light color. It needs to be adjusted based on different colors.

LONGER RAY5 10W

Denim

Cut


  • To compare the differences between Longer 10w - 06x0.06mm - lasermodule and our Longer 5w - 0.08x0.08mm - laser module, you can check this table.


Model

Material

Action

Thickness

Power

Speed

Cycles

Remarks

LONGER RAY5 5W

Basswood

Engrave

-

100%

2000 mm/min

1


LONGER RAY5 5W

Plywood

Engrave

-

100%

2000 mm/min

1


LONGER RAY5 5W

Pine

Engrave

-

100%

2000 mm/min

1


LONGER RAY5 5W

Stainless Steel

Engrave

-

100%

200 mm/min

1

Color with dark paint before engrave.

LONGER RAY5 5W

Anodised Aluminium

Engrave

-

100%

3000 mm/min

1

Dark color. It needs to be adjusted based on different colors.

LONGER RAY5 5W

Cotton Cloth

Engrave

-

100%

1000 mm/min

1

White color. It needs to be adjusted based on different colors.

LONGER RAY5 5W

Leather

Engrave

-

100%

3000 mm/min

1

White color. It needs to be adjusted based on different colors.

LONGER RAY5 5W

Powder Coated Metal

Engrave

-

100%

500 mm/min

1

Dark color. It needs to be adjusted based different colors.

LONGER RAY5 5W

Solid Wood

Engrave

-

80%

3000 mm/min

1

It needs to be adjusted based on different woods.

LONGER RAY5 5W

Glass

Engrave

-

100%

700 mm/min

1

Color with dark paint before engrave.

LONGER RAY5 5W

Basswood

Cut

2 mm

100%

300 mm/min

1


LONGER RAY5 5W

Plywood

Cut

4 mm

100%

100 mm/min

1


LONGER RAY5 5W

Pine

Cut

6 mm

100%

120 mm/min

2


LONGER RAY5 5W

Acrylic

Cut

2 mm

100%

120 mm/min

2


LONGER RAY5 5W

Paperboard

Cut

2mm

100%

1000 mm/min

2


LONGER RAY5 5W

Kraft Paper

Cut

0.15mm

80%

3000 mm/min

1


LONGER RAY5 5W

KT Board

Cut

5mm

100%

300 mm/min

2

White color. It needs to be adjusted based on different colors.

LONGER RAY5 5W

Non-woven Fabrics

Cut

0.5mm

100%

800 mm/min

1

White color. It needs to be adjusted based on different colors.

LONGER RAY5 5W

Cotton Cloth

Cut

1mm

100%

400 mm/min

1

White color. It needs to be adjusted based on different colors.

LONGER RAY5 5W

Leather

Cut

0.7mm

100%

500 mm/min

1

White color. It needs to be adjusted based on different colors.


Compatible with a wide variety of materials and unlimited support for image files

Longer Ray5 can engrave many materials, including wood, aluminum, ceramics, glass, and much more, it all depends on your creativity! And if you need to find new ideas, you can always count on an immense archive of images on the web. Here is a list of resources from which you can take inspiration for your 2D and 3D creations:


https://www.longer3d.com/collections/laser-engraver

By Academy | July 8, 2022