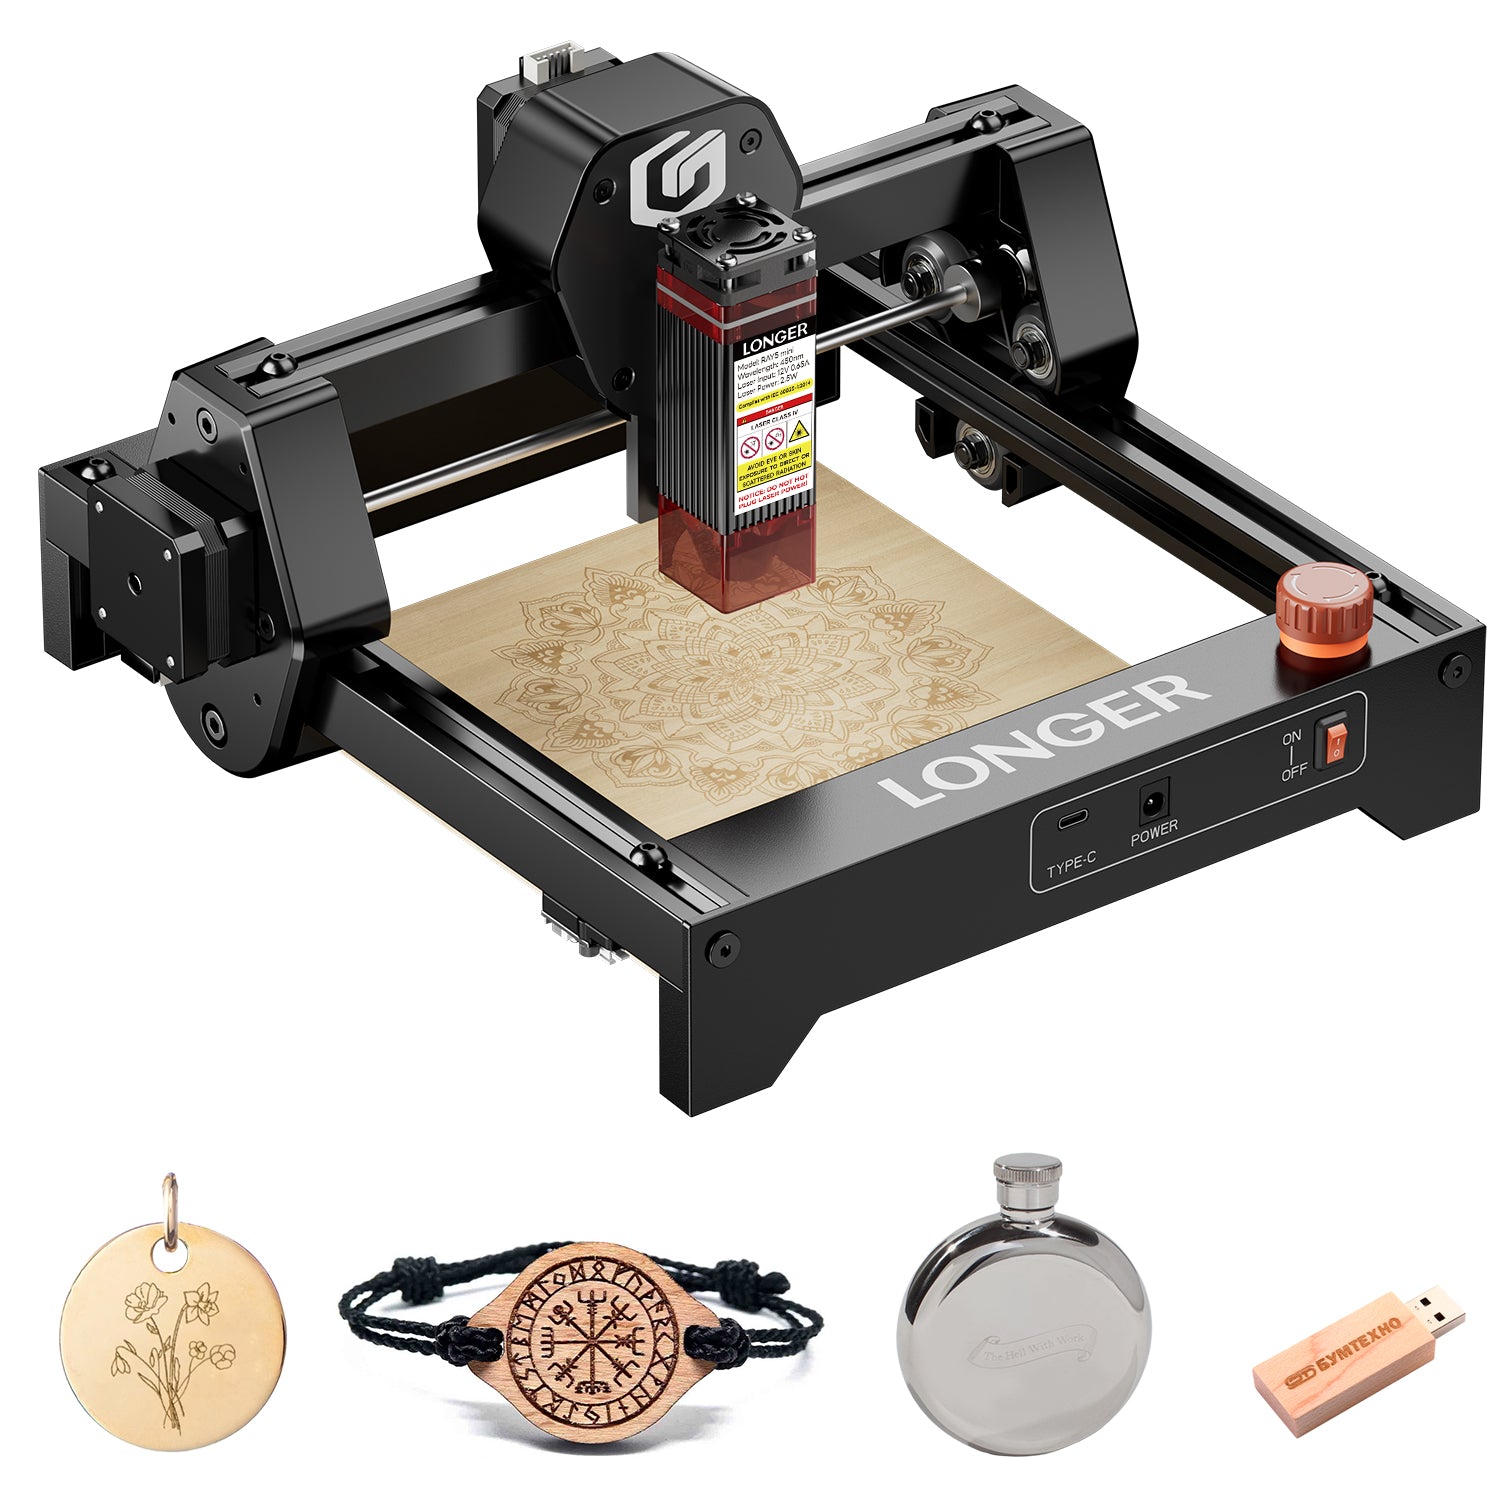
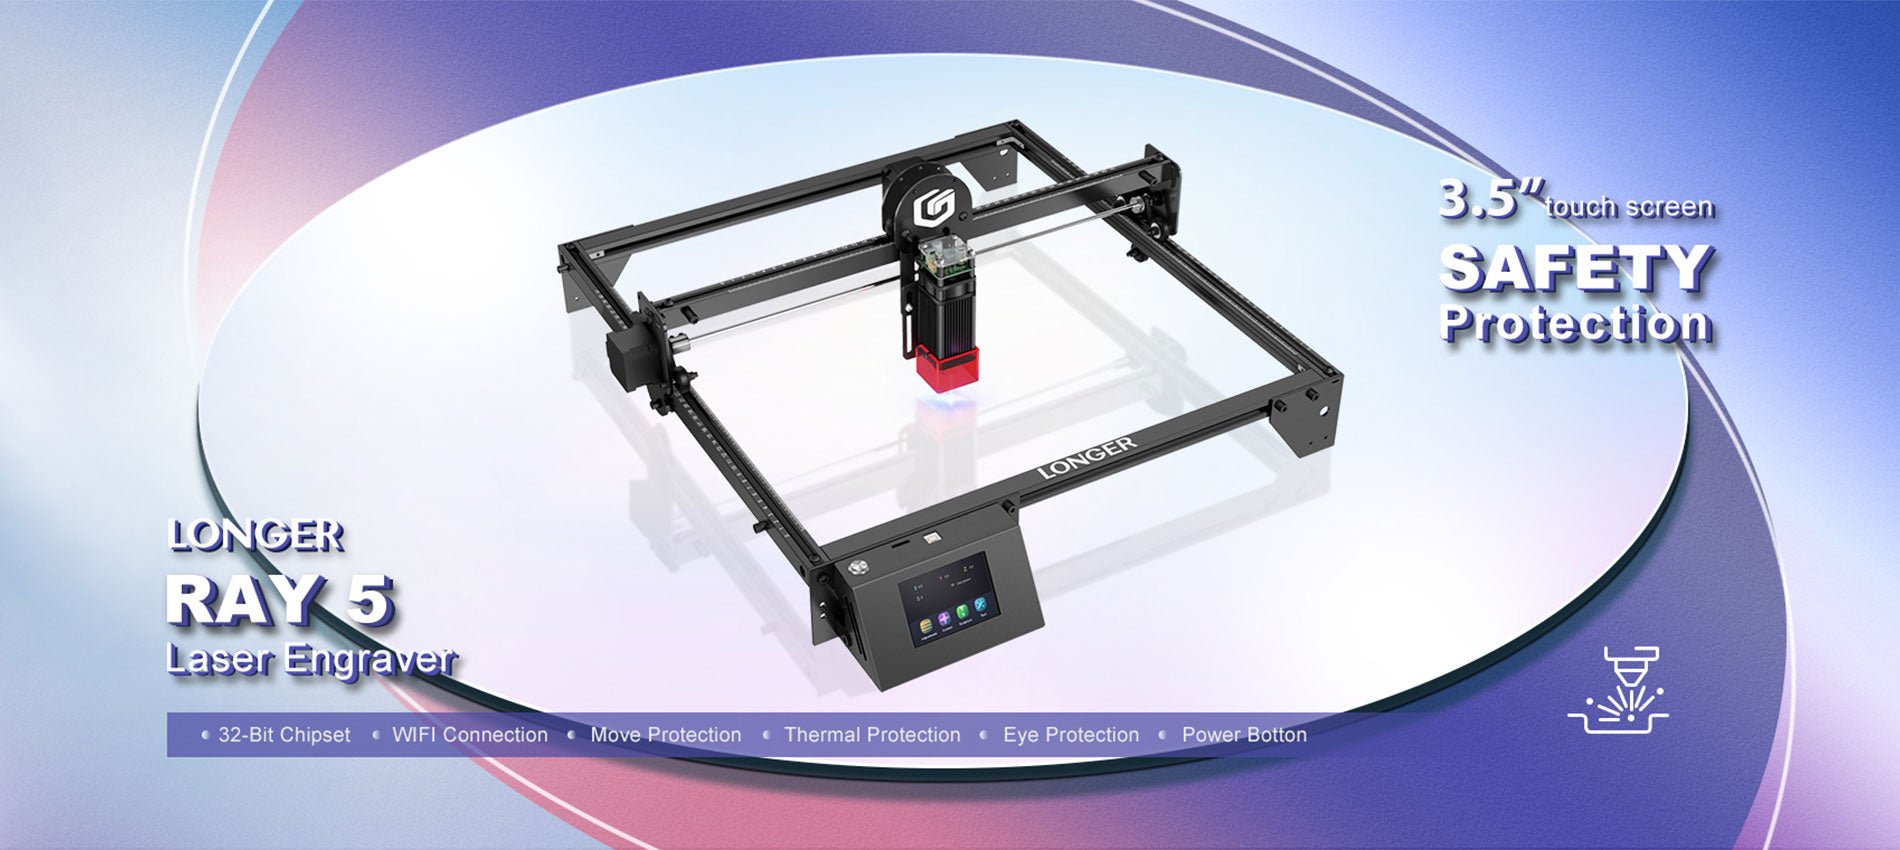
LONGER RAY 5 Newest 20W vs. 10W vs. 5W, What's the Differences? Which One to Buy?
If you want to correctly engrave practically anything, you will need a laser engraver. This is because lasers are extremely precise. Because they sell the RAY5 5W and RAY5 10W engravers, the people at LONGER are a fantastic place to begin. The beam's size, power, and focal length are the key distinctions between them; nonetheless, they can engrave a significant amount of material.
If you are looking for a tool to engrave your selected object, then you should choose the model that is most suitable for your needs. Well, worry not, as we are here to tell you about the three basic types of laser engraving, their differences, and a guide to choose which one suits you according to your need. Without further ado, let's dive right in.
What Is Laser Power?
Before we learn about the three types of laser powers, let's just investigate what laser power is. The strength of the laser is what determines how much energy is taken up by the worksheet. The basic rule is that when the laser power is increased, the bend angle grows as well, reaches a peak, and then begins to fall again as the laser power is increased even further.
The higher the laser power, the more heat is absorbed, which results in a higher peak temperature and, therefore, a more incredible amount of plastic deformation at the scanned surface. This causes the bend angle to increase. After reaching its maximum, the bend angle begins to fall because of an increase in laser power.
This is primarily the result of two factors. First, the melting takes place in the region that is being irradiated at higher power, and the heat energy that is being applied is used up in the phase transformation rather than in the bending of the material. Second, when the power is increased, the peak temperature of the surface of the bottom of the vessel likewise increases.
This results in a reduction in the difference between the plastic deformation at the top surface and the bottom surface, which in turn leads to a reduction in the bend angle at greater power.
In terms of optical laser power, the vast majority of the most popular laser engravers on the market now fit into only two primary categories, namely the 5W and 10W optical power. The modules in the first category each contain a single laser diode. In contrast, the 10W modules contain ingenious optics that combine laser light from two different laser diode sources, resulting in output power that is twice as strong as that of the lower-powered modules.
What Exactly Does The "W" Stand For?
Wattage is one of the most significant aspects to consider when discussing laser cutters. It is something that you will need to specify when you first purchase the machine, and it is the factor that affects the final cutting power and speed of your project.
When the wattage rating is increased, the flow of energy also increases. When it comes to laser cutters, having a 20W laser rather than a 5W laser will enable energy to transfer at a substantially faster rate.
You can see a sequence of lasers inside the head of a LONGER RAY 5 if you crack it apart and look at the laser inside of it. However, we strongly advise against doing this. The head of the 20W laser is made up of four 5W lasers, all of which are pointed in the same direction and concentrated through the head of the laser.
Why? The purpose of this is to generate more power and more energy from a single laser beam.
Differences Between LONGER RAY 5 5W Vs. 10W Vs. 20W
The 5W, 10W, and 20W LONGER RAY 5 all share quite a few characteristics in common with one another. On the other hand, there are a comparable number of differences. Let's focus on what differentiates these machines in a series of head-to-head comparisons so that you can make the most informed decision possible about which one to purchase.
Power Of The Laser Head
Before we go any further, there is something that needs to be clarified: although the laser head is the only difference between the two, it has a significant impact on the operation of your LONGER RAY 5 laser engraver, and we will go over those differences in depth here.
Regardless of which wattage option you go with, the LONGER RAY 5 will provide you with the same framework, sensors, and attachments to use. The laser head is the only component that is different.
The LONGER RAY 5 staff refers to it as a "plug-and-play module" in their explanation. You only need two cables and ten minutes of your time to upgrade from a 5W or 10W laser cutter to a 20W model, which gives you more cutting power.
Variations in Laser Power Depend on Which Laser Head You Use and the Different Materials You Can Cut. You can improve the power of your 5W or 10W laser by purchasing a 20W module to add to it.
To put it another way, if you want a 20W, you have the option of either purchasing one specifically designed for that purpose. The only choice available to you if you want a 5W or 10W is to purchase the machine in its current state.
The benefits are significant even though the adjustment is rather straightforward. The next sections are all about the difference that the simple head swap makes.
Quickness Of Project Completion
The exact amount of time it will take to finish the project is contingent on a few different factors:
-
Quickness of the route
-
Precision in cutting depth, selection of materials, and complexity in design.
-
The depth of the etching or cut.
The remaining three of these five parameters are not dependent on your laser cutter in any way. The speed with which your laser cutter completes your job is solely dependent on the routing speed and cutting speed settings.
In this competition, the speeds of the various routes do not differ from one another. The routing speed of the 5W, 10W, and 20W is all 10000mm/min, which is far quicker than the previous generations.
Where do we stand with the cutting depth now? Here is where you'll see a significant deviation from the norm. A laser with 10W of power can cut nearly exactly twice as deep as a laser with 5W of power. When compared to the 10W, the 20W has twice the cutting depth.
This indicates that there is a theoretical difference in cutting depth that is equivalent to four times greater when going from 5W to 20W.
LONGER RAY 5 states that the difference might be very different depending on the material that is used:
When it comes to the amount of time, it will take to accomplish a project. A 20W laser cutter will get the job done the quickest, followed by a 10W laser cutter, and finally, a 5W RAY laser cutter will be the slowest.
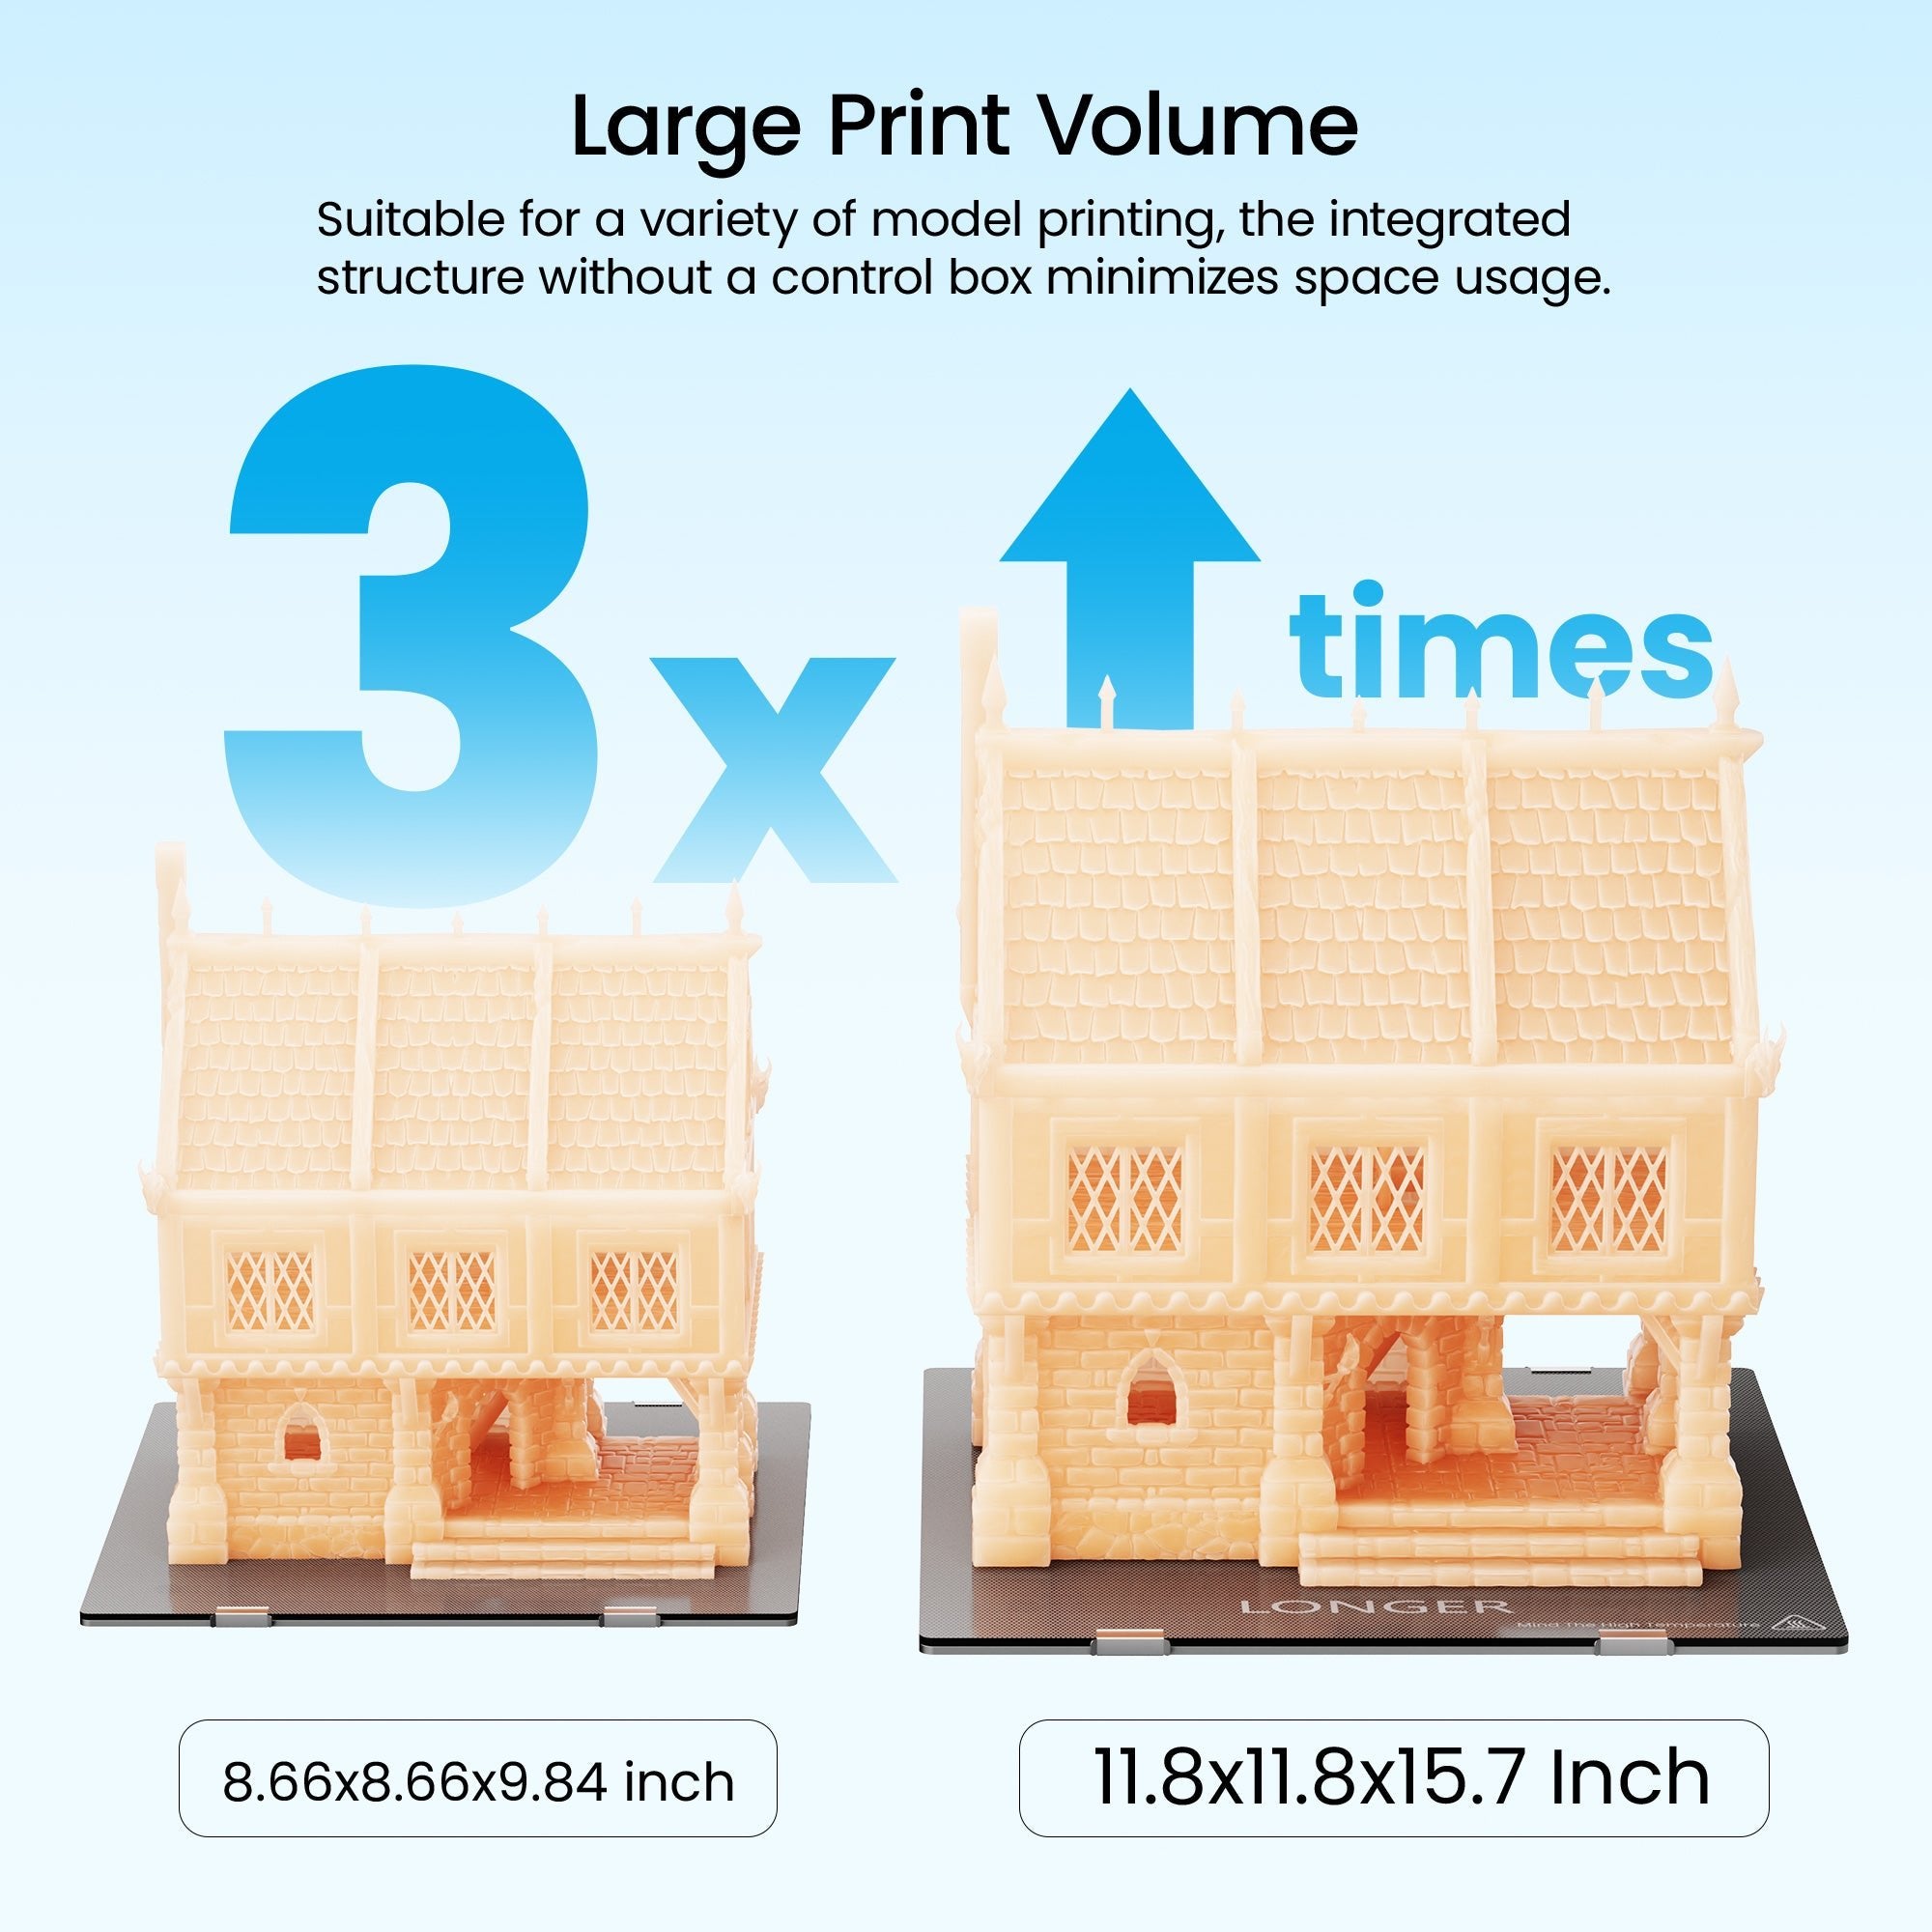
Space For Making Cuts and Working Area LONGER RAY 5
While the chassis of each LONGER RAY 5 is the same, the cutting areas of the various configurations are also quite comparable. The LONGER RAY 5 5W and the LONGER RAY 5 10W lasers offer precisely the same cutting area, measuring 400x400mm (15.75×15.75inch).
Although the laser head on the 20W is significantly larger than that found on the 10W, the cutting area is marginally reduced. The cutting area for a 20-watt laser is 375×375mm (14.76×14.76 inch).
Although the difference isn't huge, it's nevertheless significant enough to indicate that the 5W and 10W laser cutters have a little advantage in this category.
Alternatives To Materials(Cutting Capability)
One further aspect of the topic that is connected to laser power is the many kinds of materials that can be worked with. While attempting to engrave or cut certain materials, significantly greater force and forcefulness are required.
You can work with a greater selection of materials when you have a 20W. You can also work with more substantial materials, which opens even more possibilities for the kinds of projects you can develop.
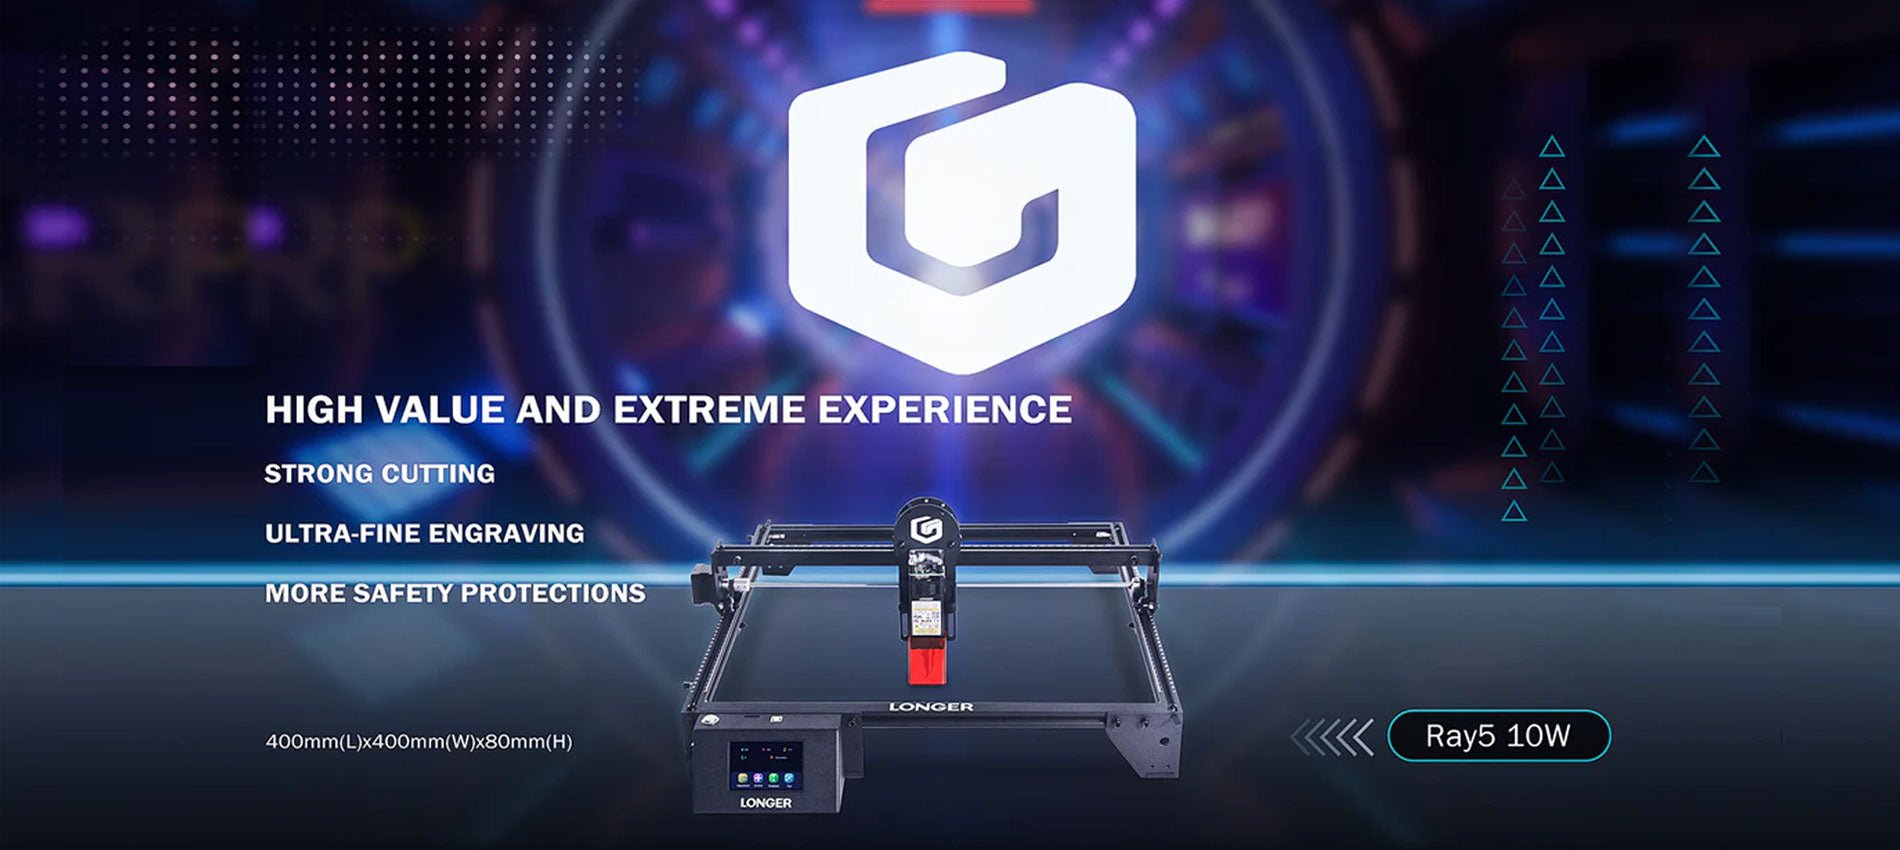
The Ray5 20W comes equipped with a powerful laser module with a 20W output. Also, this machine features the most recent generation of laser enhancement technology, which increases its capacity for cutting. It can cut through 0.002 inches (0.05 mm) of stainless steel, as well as 0.59 inches (15 mm) of pine wood and 0.31 inches (8 mm) of acrylic in a single pass.
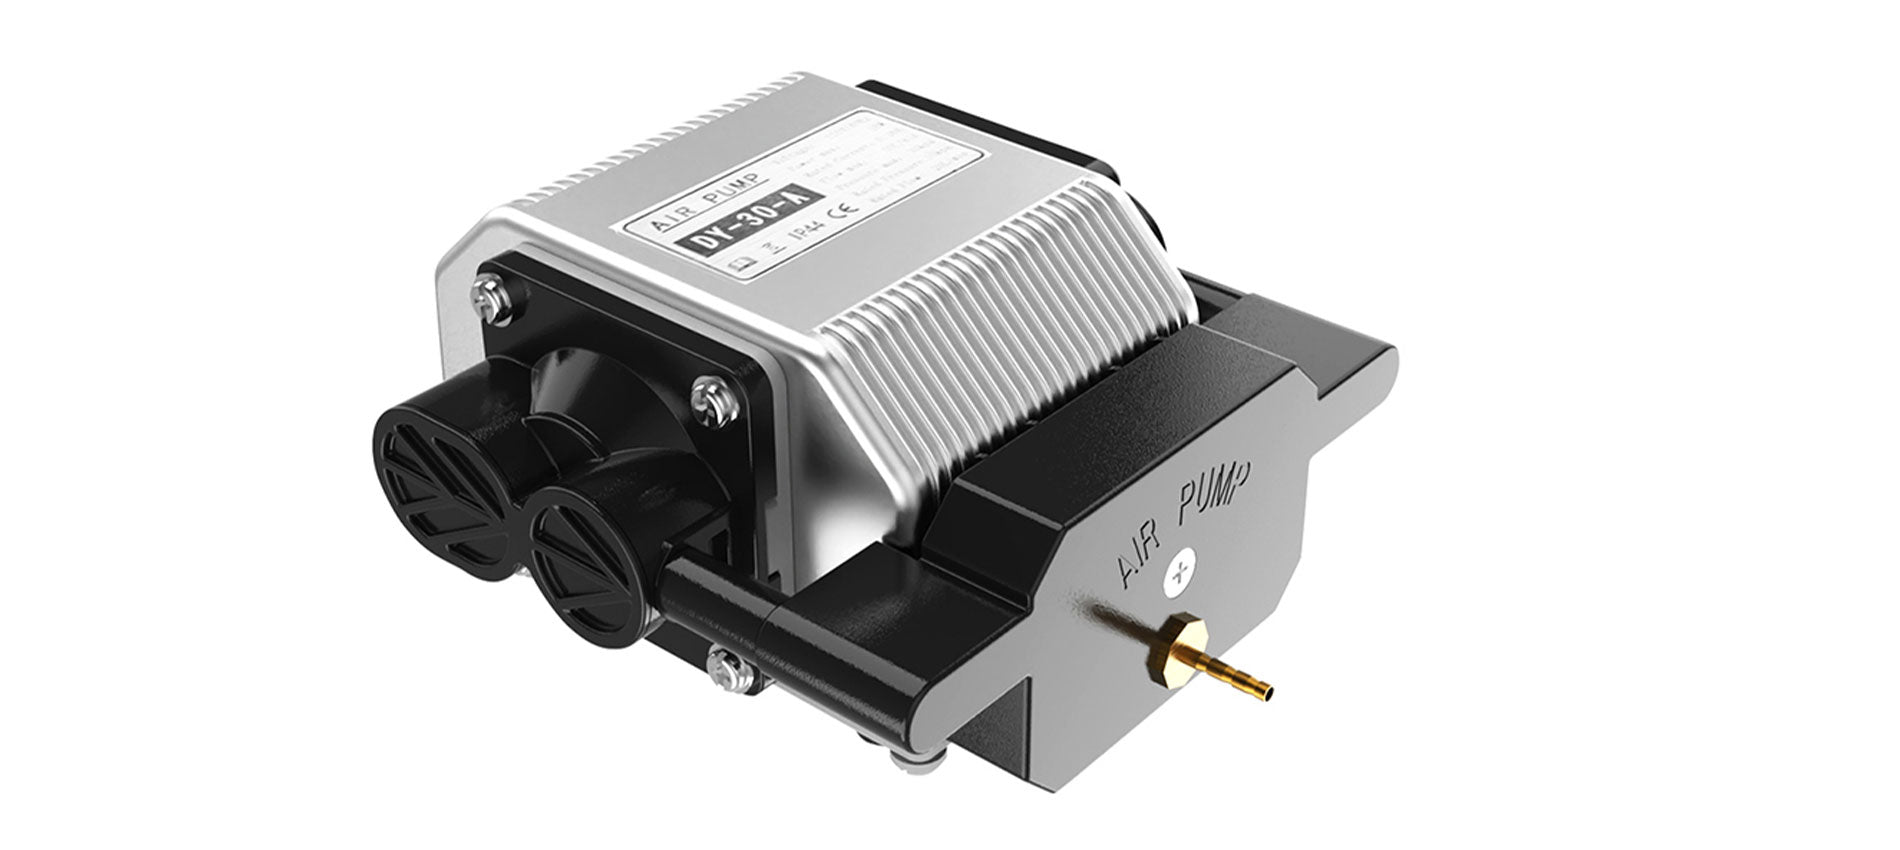
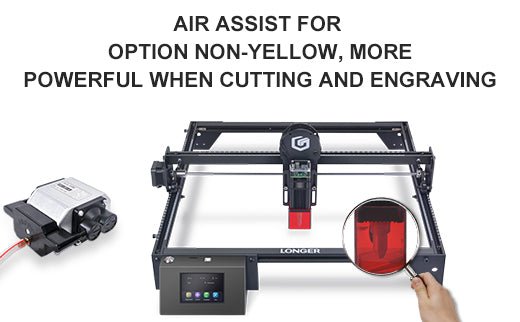
Because of recent advancements in compressed laser technology, the laser spot may now be as small as 0.08*0.1mm2, making it possible to engrave artwork with thinner lines, clearer texture, and more attractive details. And the air-assisted interface is reserved, which allows for a wide variety of air pumps to be easily matched up with more hygienic surfaces.
While utilizing the 5W cutter, metal, ceramic, and stone become a great deal more challenging to work with, and in all honesty, the 5W power setting is more commonly used for engraving than it is for cutting. When utilizing a 5W or 10W laser cutter, most people adhere to cutting materials made of All Wood, Paper, Plastic, Leather, PCB Board, Aluminum Oxide, Non-Reflective Plating, And Lacquered Metal.
Think about getting the 20W laser if you wish to work with a variety of various types of materials. For the purposes of our projects, we have successfully cut through even the denser woodlands.
Precision
What should you do if you need to draw lines on a component that are extremely thin and accurate? In this scenario, we strongly advise you to avoid using the 20W laser head, even though the risk is still relatively low.
The spot size of the 20W laser is 0.08×0.10mm. Imagine that the laser spot is the point at which a laser pointer is pointed. If the RAY uses this laser pointer to cut, you will want the tip to be as small as it possibly can be.
The laser spots of the 5W are 0.08×0.08mm, and the 10W are 0.06×0.06mm lasers. The laser spot of the 20W laser is significantly larger.
So, if you require an accurate component, you should stick to either the 5W or the 10W.
Different Engraving Capability
Pieces can also be engraved with this type of laser cutter, which is another useful function of these machines. A small amount of material is removed from the top surface to produce designs via engraving. Because engraving does not go as deep as cutting, the power required is not as significant.
The 5W RAY's capacity to engrave is significantly improved thanks to a smaller laser point and higher precision than its predecessor. Because the component only needs one pass with the laser, and the routing speed is the same across the board for these three possibilities, the 5W is the one that should be chosen.
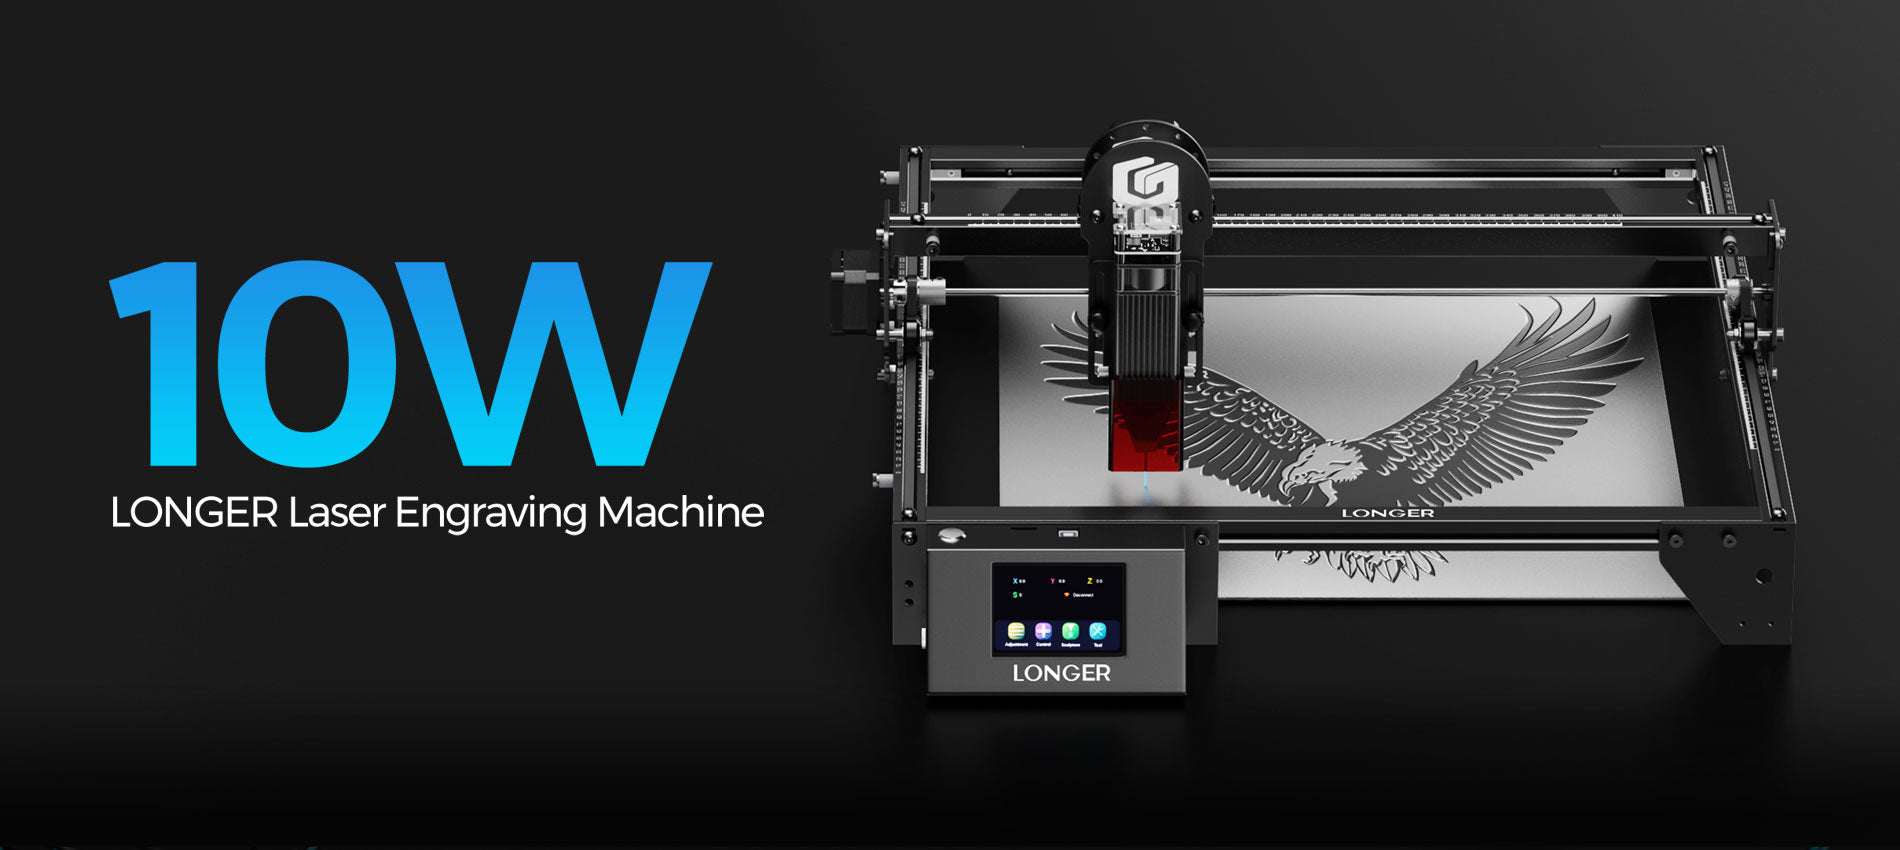
If you need to engrave and cut the same object, going with the 10W laser might be the best choice for you. It possesses an excellent equilibrium of slicing force and accuracy.
Make Colourful Creations
The ability to generate colorful engravings on metal is a special capability that is exclusive to the 20W LONGER RAY 5 and cannot be found on any other machine. What is the mechanism behind this? Because of the increased power provided by the 20W laser, it is capable of oxidizing metal at a variety of rates. It's hard to believe when you see it in person.
Altering the laser's power causes the metal's oxidation to occur at varying rates, ultimately producing a variety of colors. It is effective on brass, copper, stainless steel, and titanium in addition to aluminum. The only difference is the range of colors that are available to you (which depends on the metal type).
Lasers with 5W and 10W outputs are not powerful enough to accomplish this task. You'll need the 20W model if you wish to create vivid engravings on metal.
Pricing LONGER RAY 5 Laser, Available In 5W, 10W, And 20W.
What should I expect to pay for this? The distinction is not as bizarre as it may initially appear to be:
-
LONGER RAY 5W: $299.99
-
LONGER RAY 10W: $449.99
-
LONGER RAY 20W: $899.99
These are currently on discount. Hence it's high time to make a purchase.
What Different Material Can Different Laser Power Cut Or Engrave?
Cutting using a laser can be done on a wide variety of materials, including but not limited to wood, paper, plastics, glass, leather, foam, textiles, and metals. By selecting the parameters that are most suitable for the laser, one can ensure that the cuts produced are of high quality and have a smooth surface finish. On the other hand, it is not suggested to use a laser cutter for cutting certain materials, such as vinyl or ABS.
To produce the desired cut, a laser cutter operates by concentrating a high-energy laser beam on the surface of the substance it is cutting. This causes the material to burn and evaporate.
When being worked on by a laser, each material exhibits its own unique characteristics and necessitates a unique configuration of the various laser parameters to achieve a clean cut with a high level of surface finish.
Aside from that, the capacity of a laser to cut through the material is determined by the sort of laser that is being employed.
In general, laser cutting works best with natural materials like wood, paper, leather, and metals, among other things, because these materials produce no or only a limited amount of potentially dangerous by-products.
Final Takeaway
The best possible outcome will be achieved with a laser power that is tailored specifically to the constituent material. For example, engraving paper uses significantly less power than engraving wood does on average. A minimal amount of power is required to achieve an engraving that is uniformly homogenous in acrylic and is not very deep. In addition, having a higher power enables speedier work while processing engraving materials.
The software allows for straightforward control of the laser's output power. Nonetheless, the hardware has a role in determining the maximum power. The following criteria must be met: You are able to process a wide variety of materials with a laser machine that has a high laser power, which provides you with a great deal of freedom.
https://www.longer3d.com/collections/laser-engraver